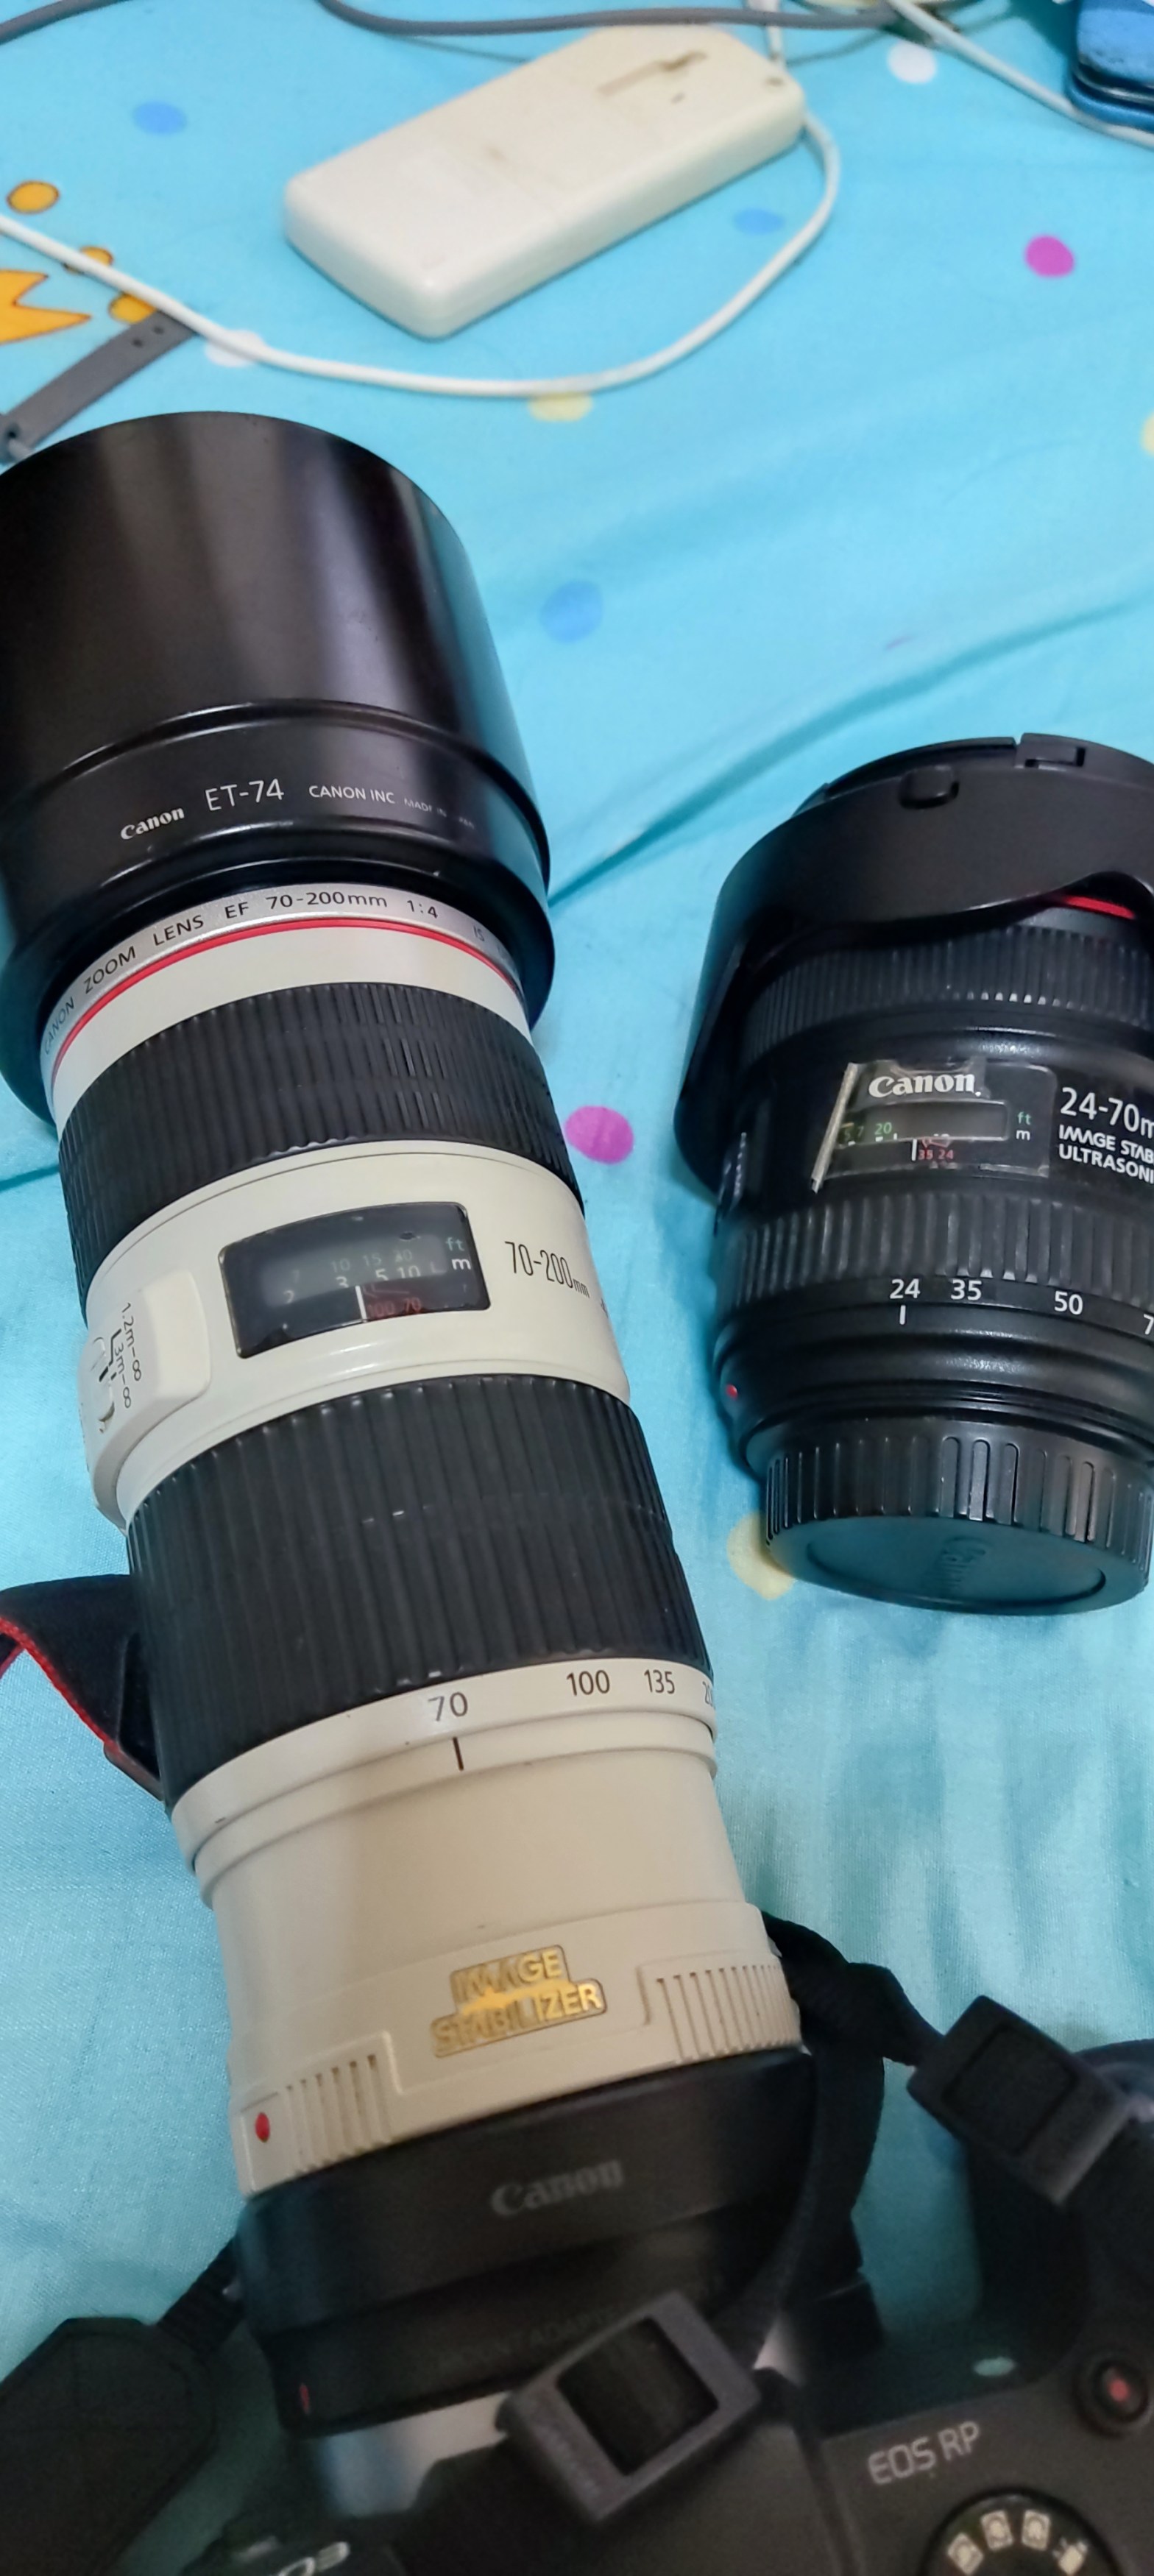
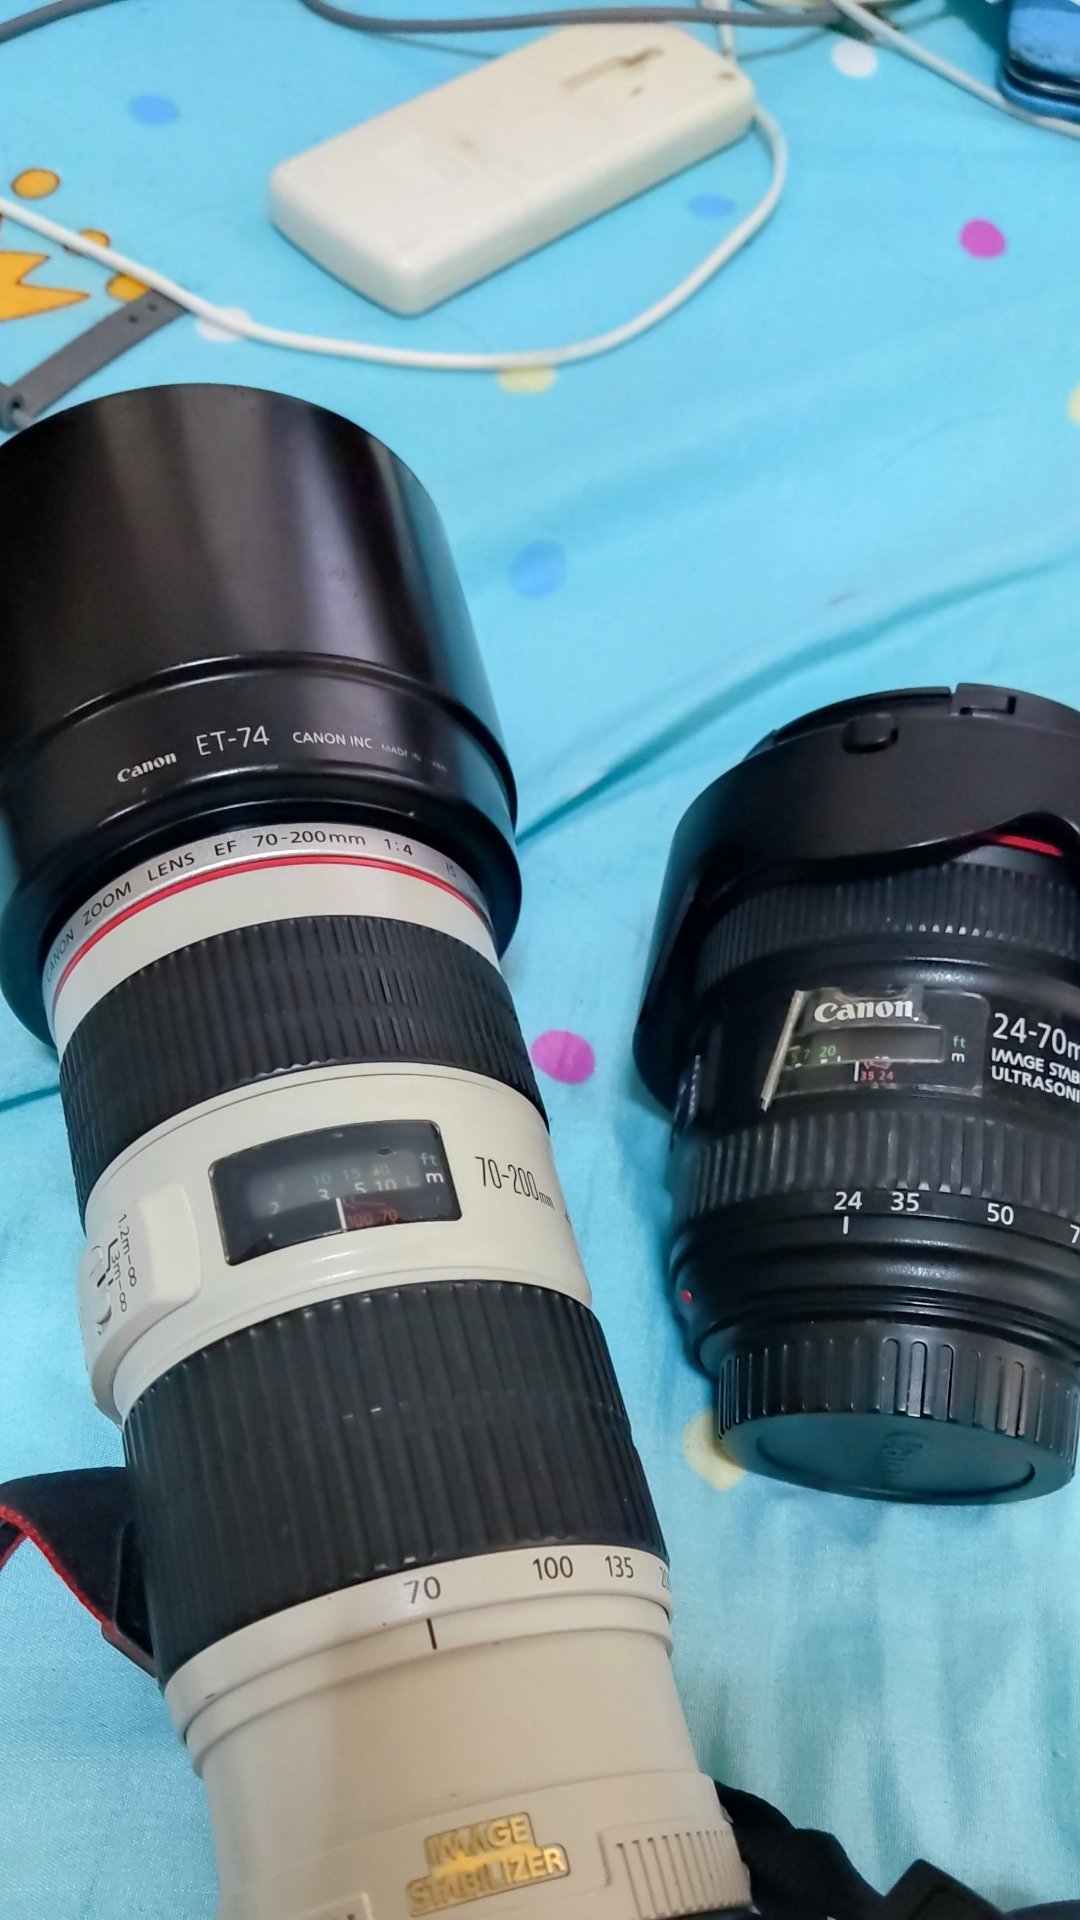
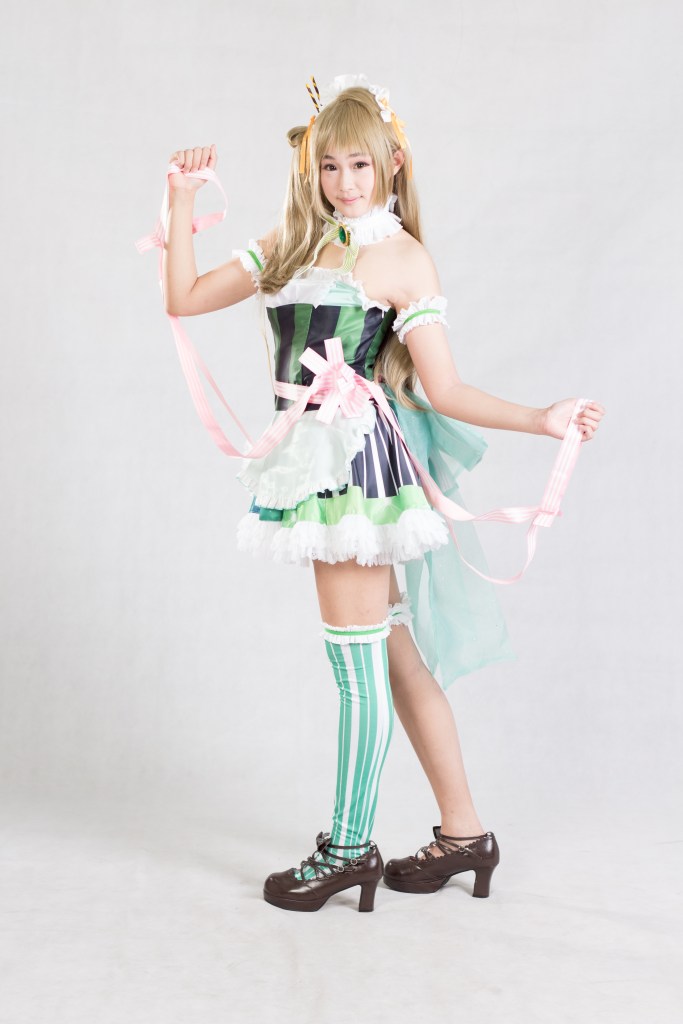
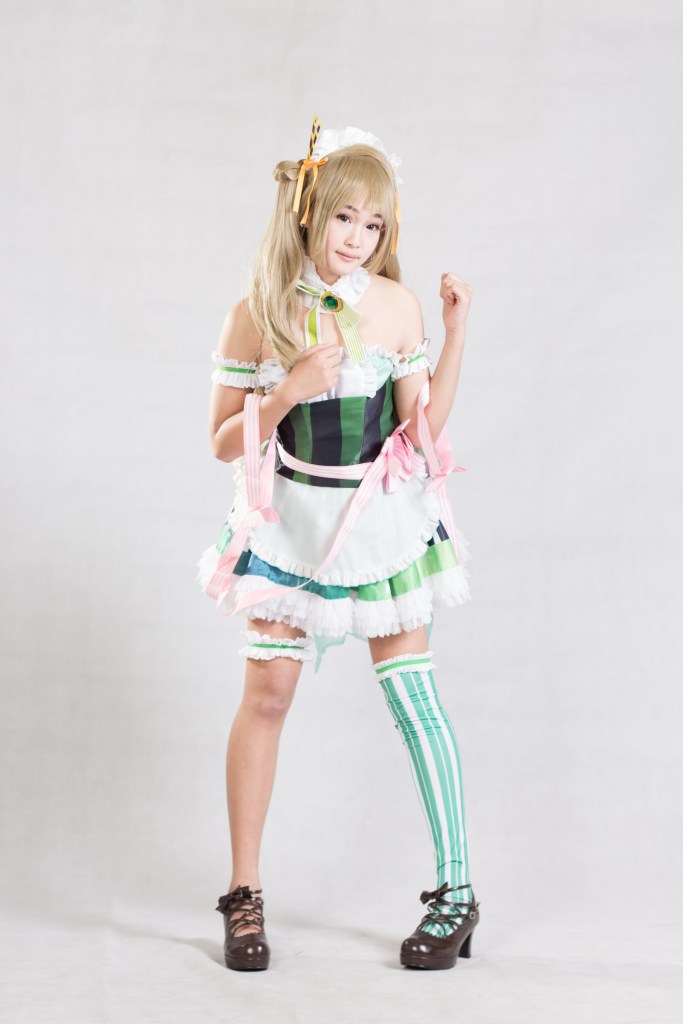
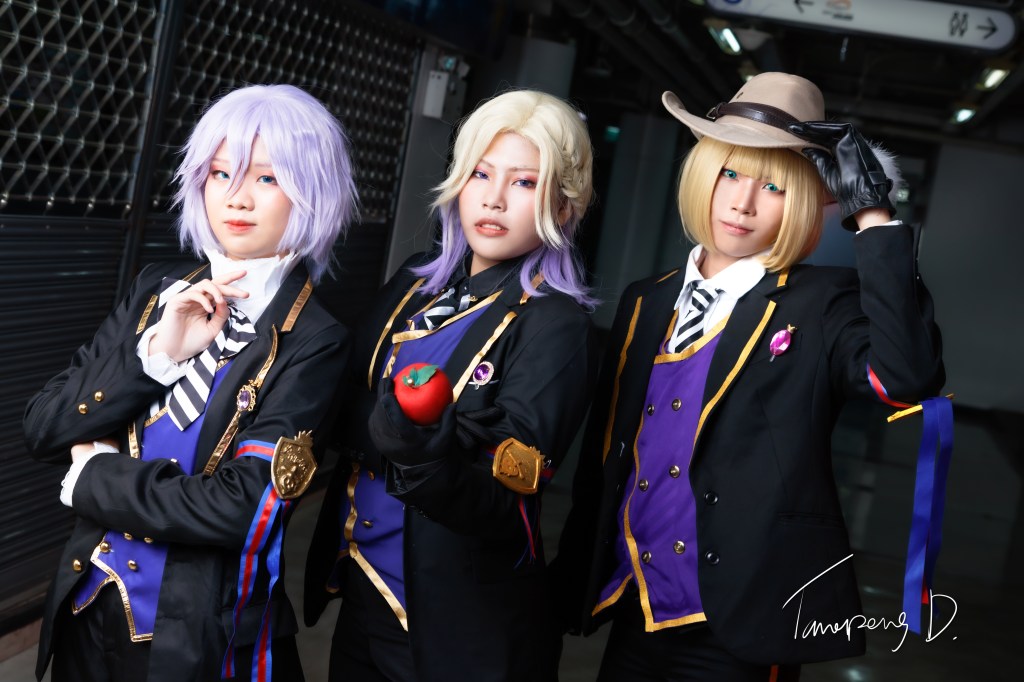
This wasn’t prepared event for me . I bring my gears for one of my friend who took a photo of me on my wedding days, he got married, too! After the wedding ceremony we went to the mall and saw the cosplay event, we joined them some!
Condition – My 24-70 F4L was being borrowed by my friend. XD Condition 2 – Only 70-200 F4L is was available. Solution – Portrait of 70 – 200 would be good ( full body in the narrow range and crowd )
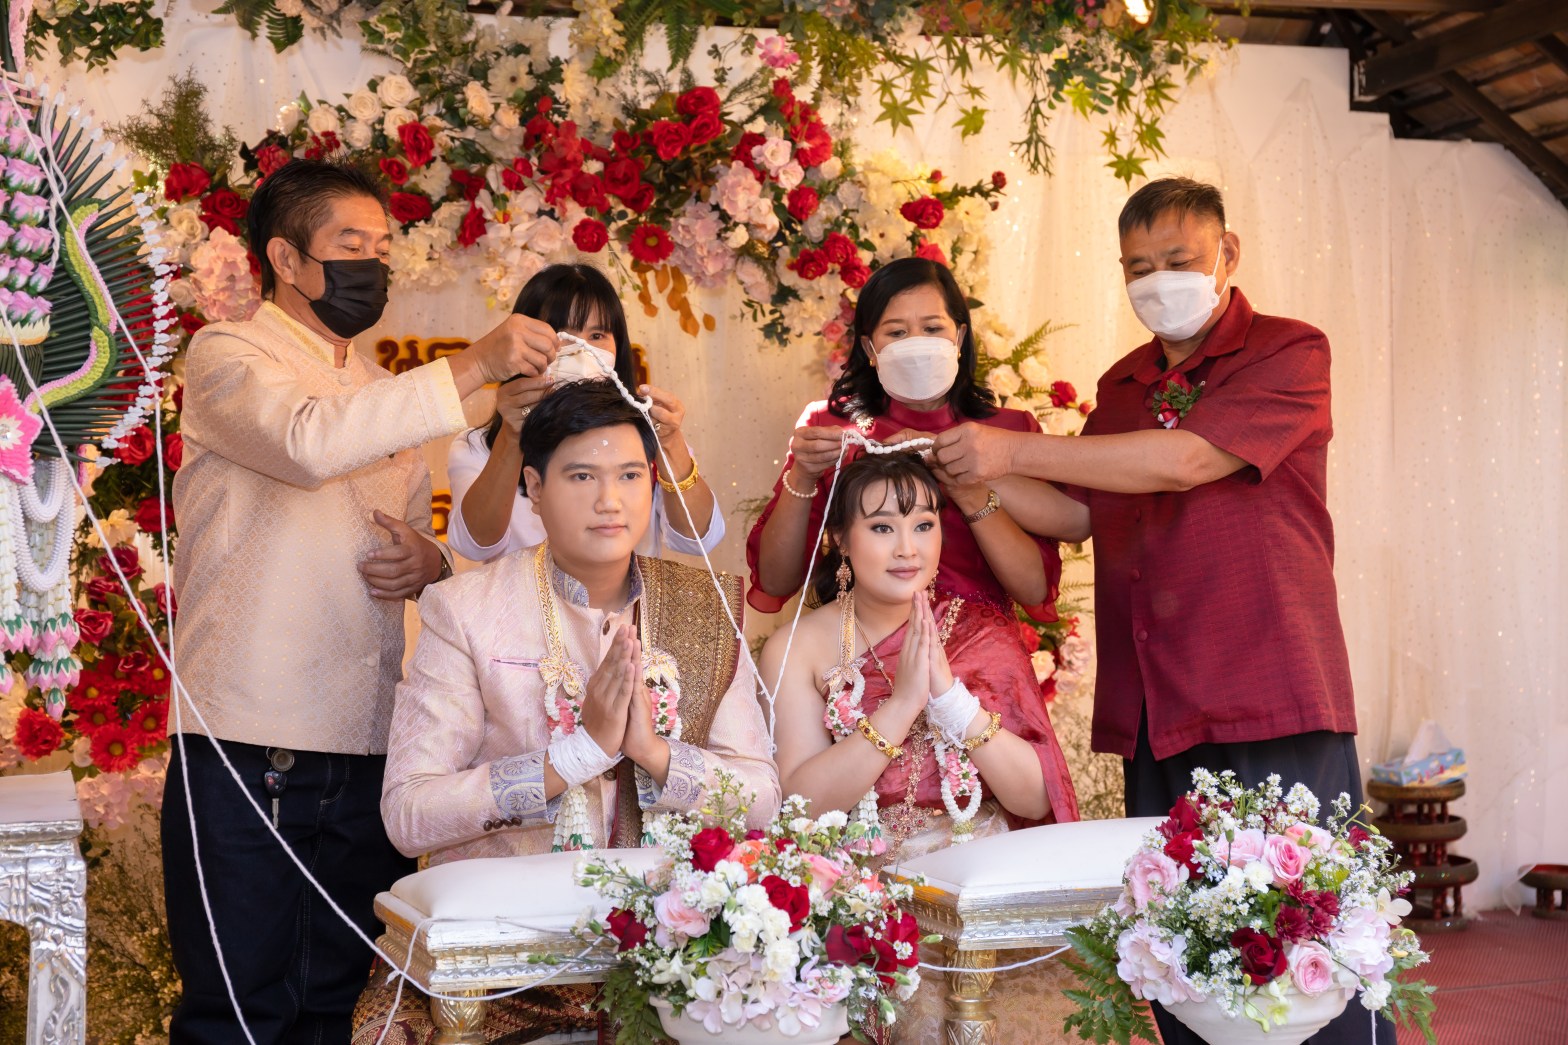
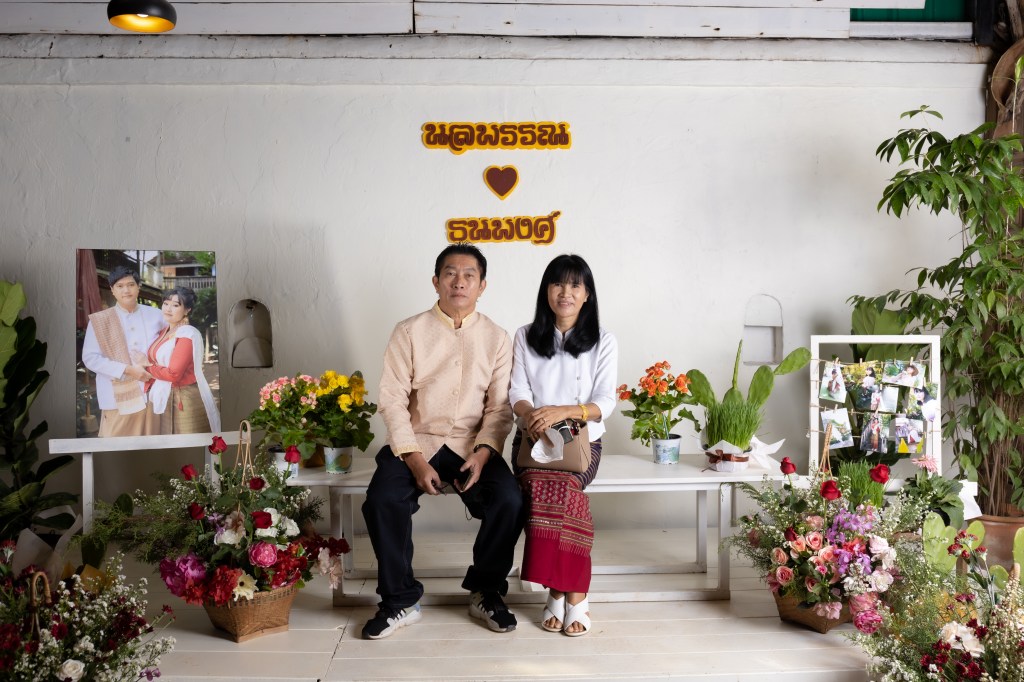
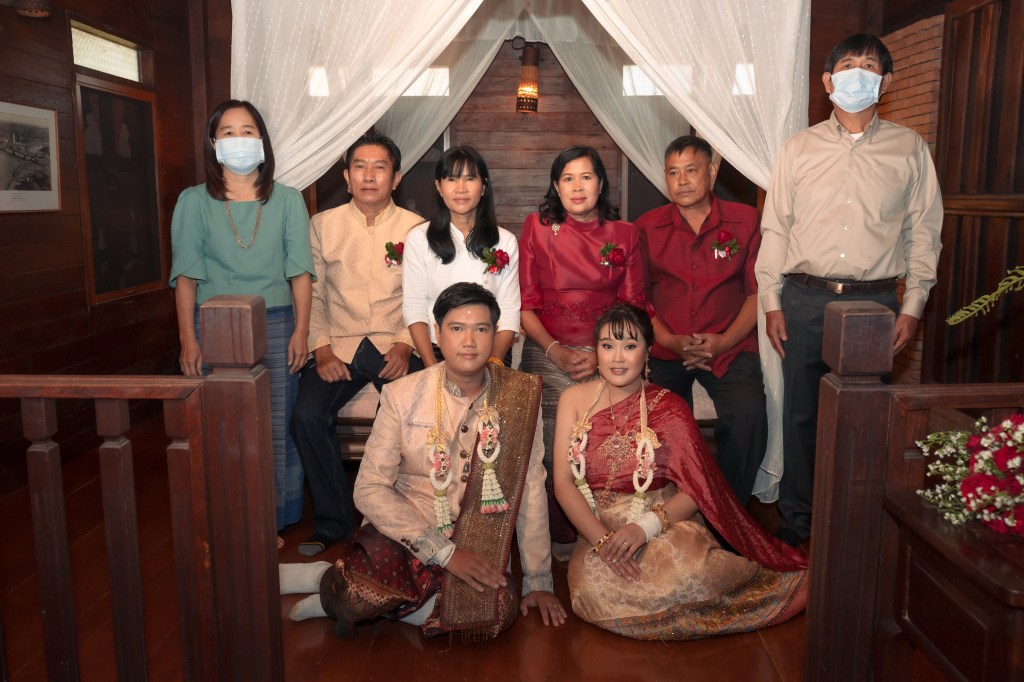
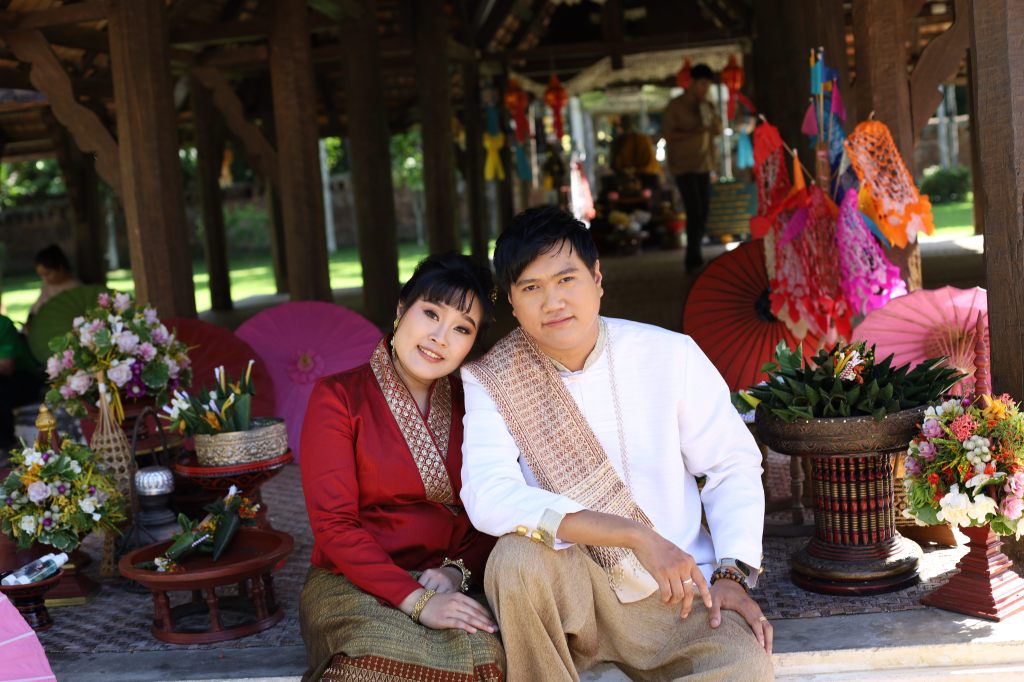
70-200 F4L is was repaired, the images of my parents
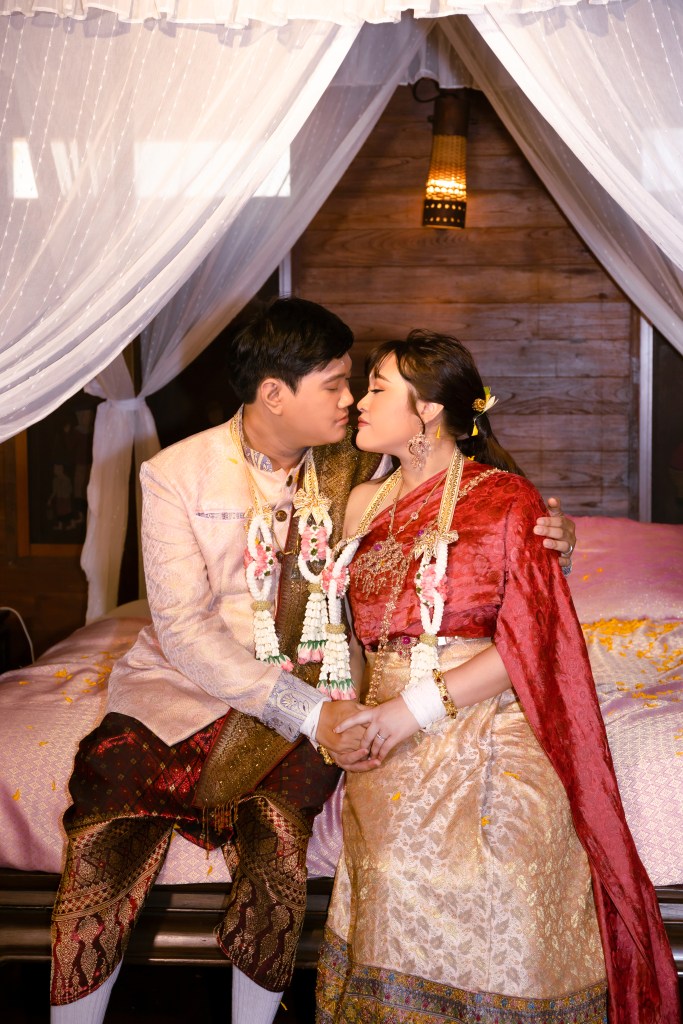
HNY! Long time no see – since there was some difficult situation since Pre-Wedding. My wife’s parents were infected the Covid-19. Then I took the 70-200 f4L is for a repaired. After that, the wedding ceremony began; … Let me take a breath – I’ll show you the photo that was taken by my friend (My gears, ofcourse)
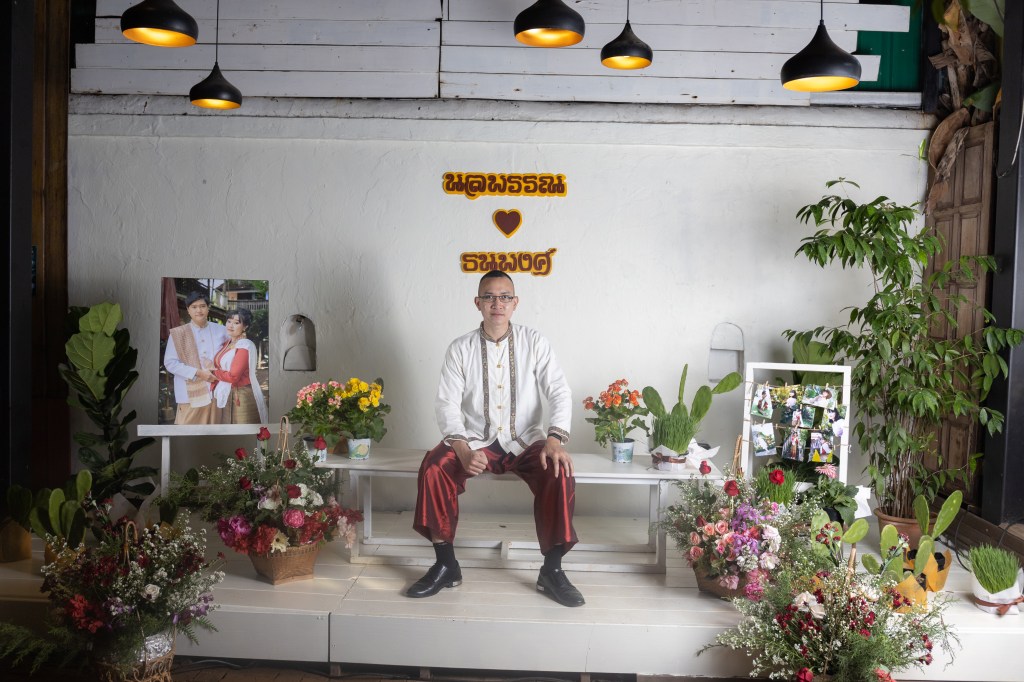
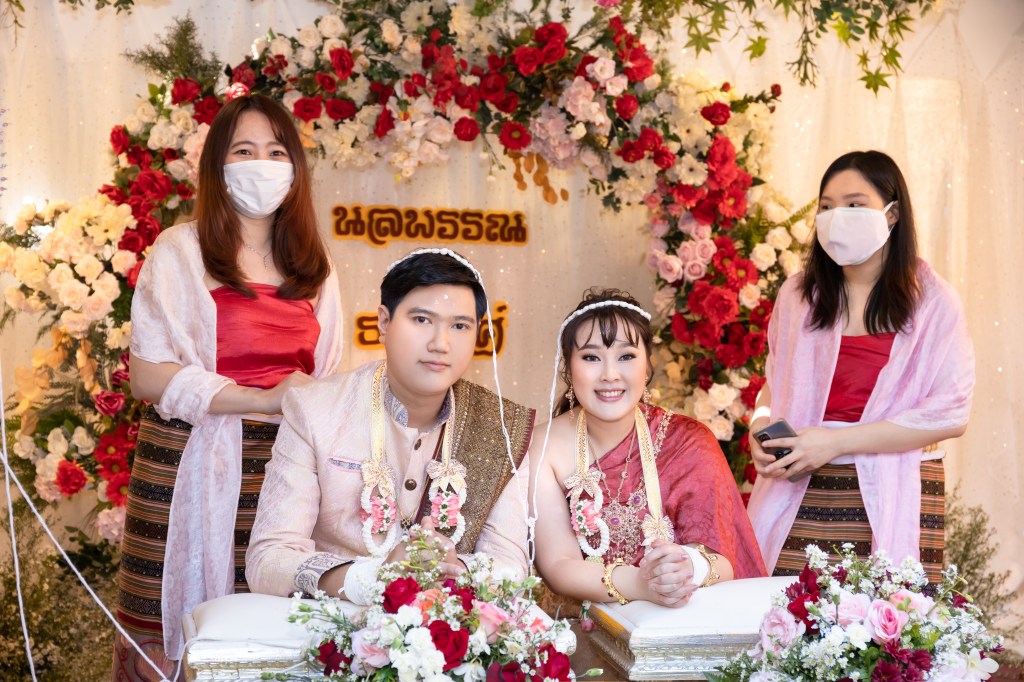
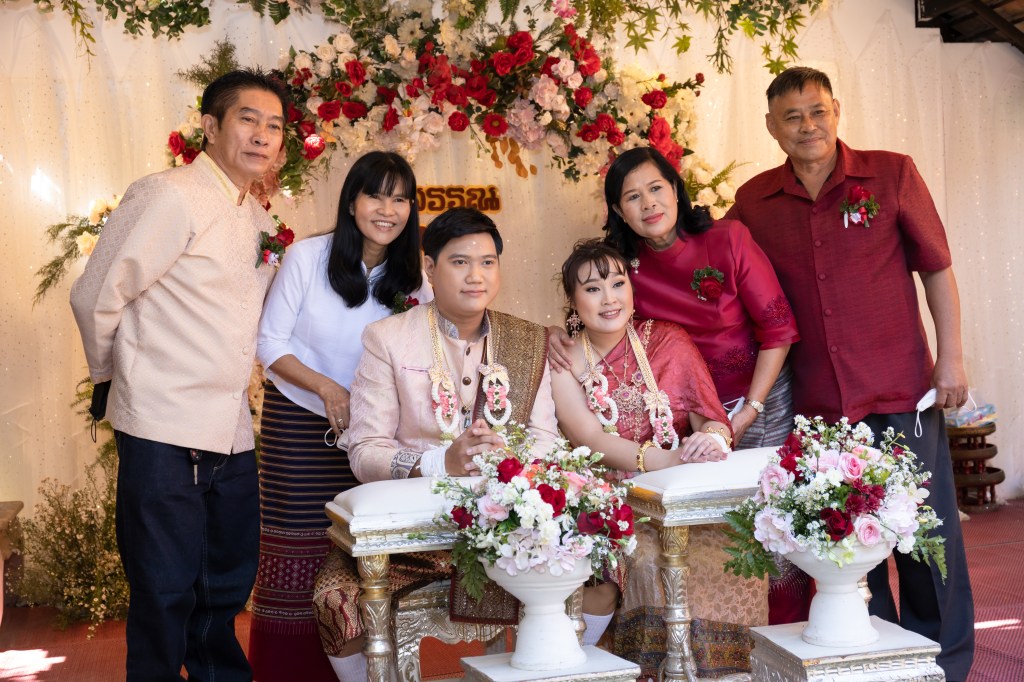
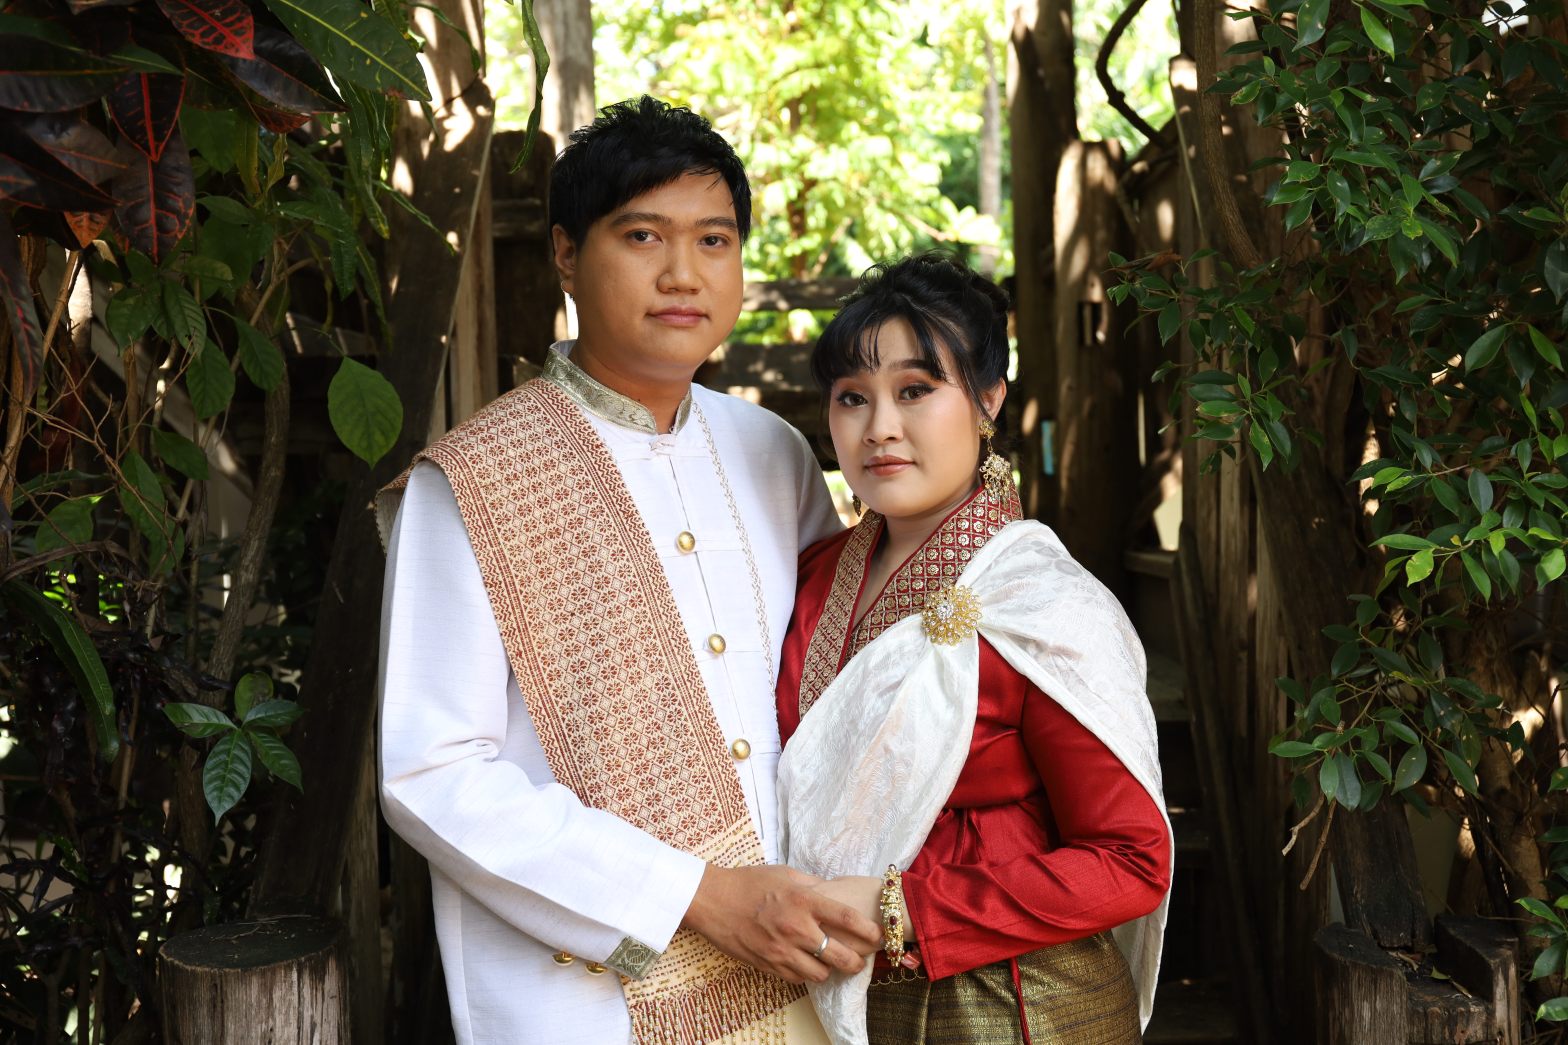
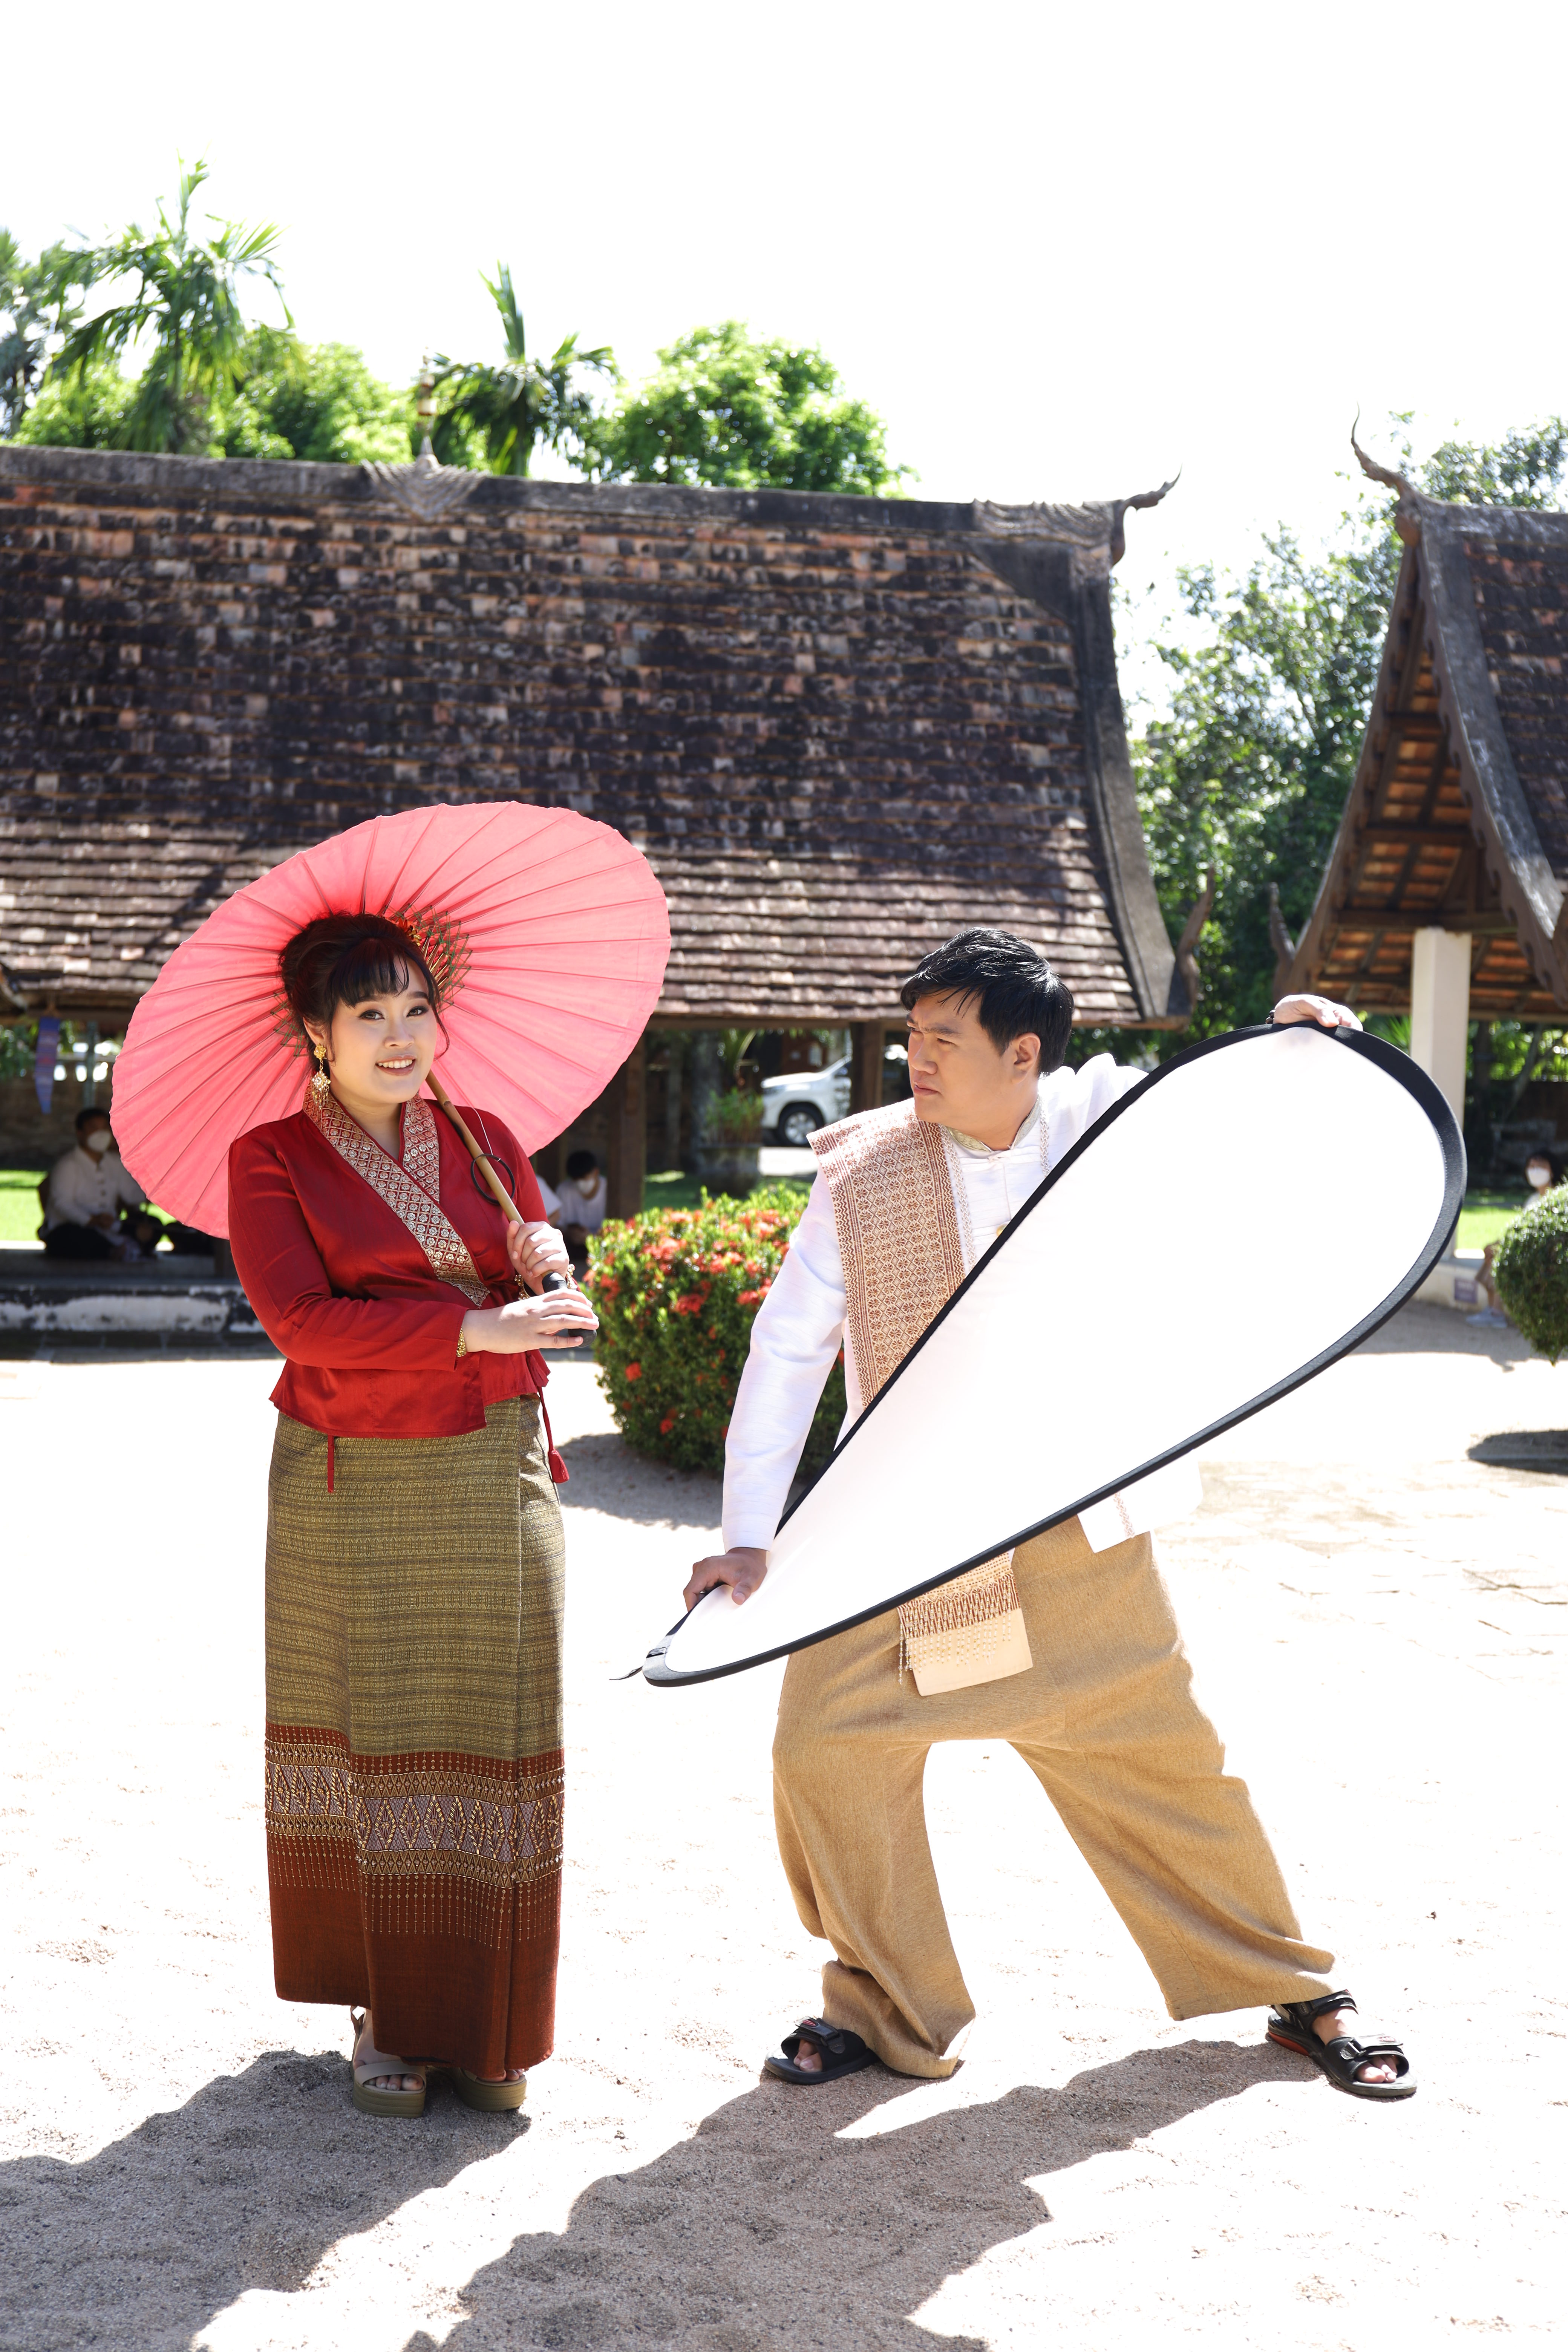
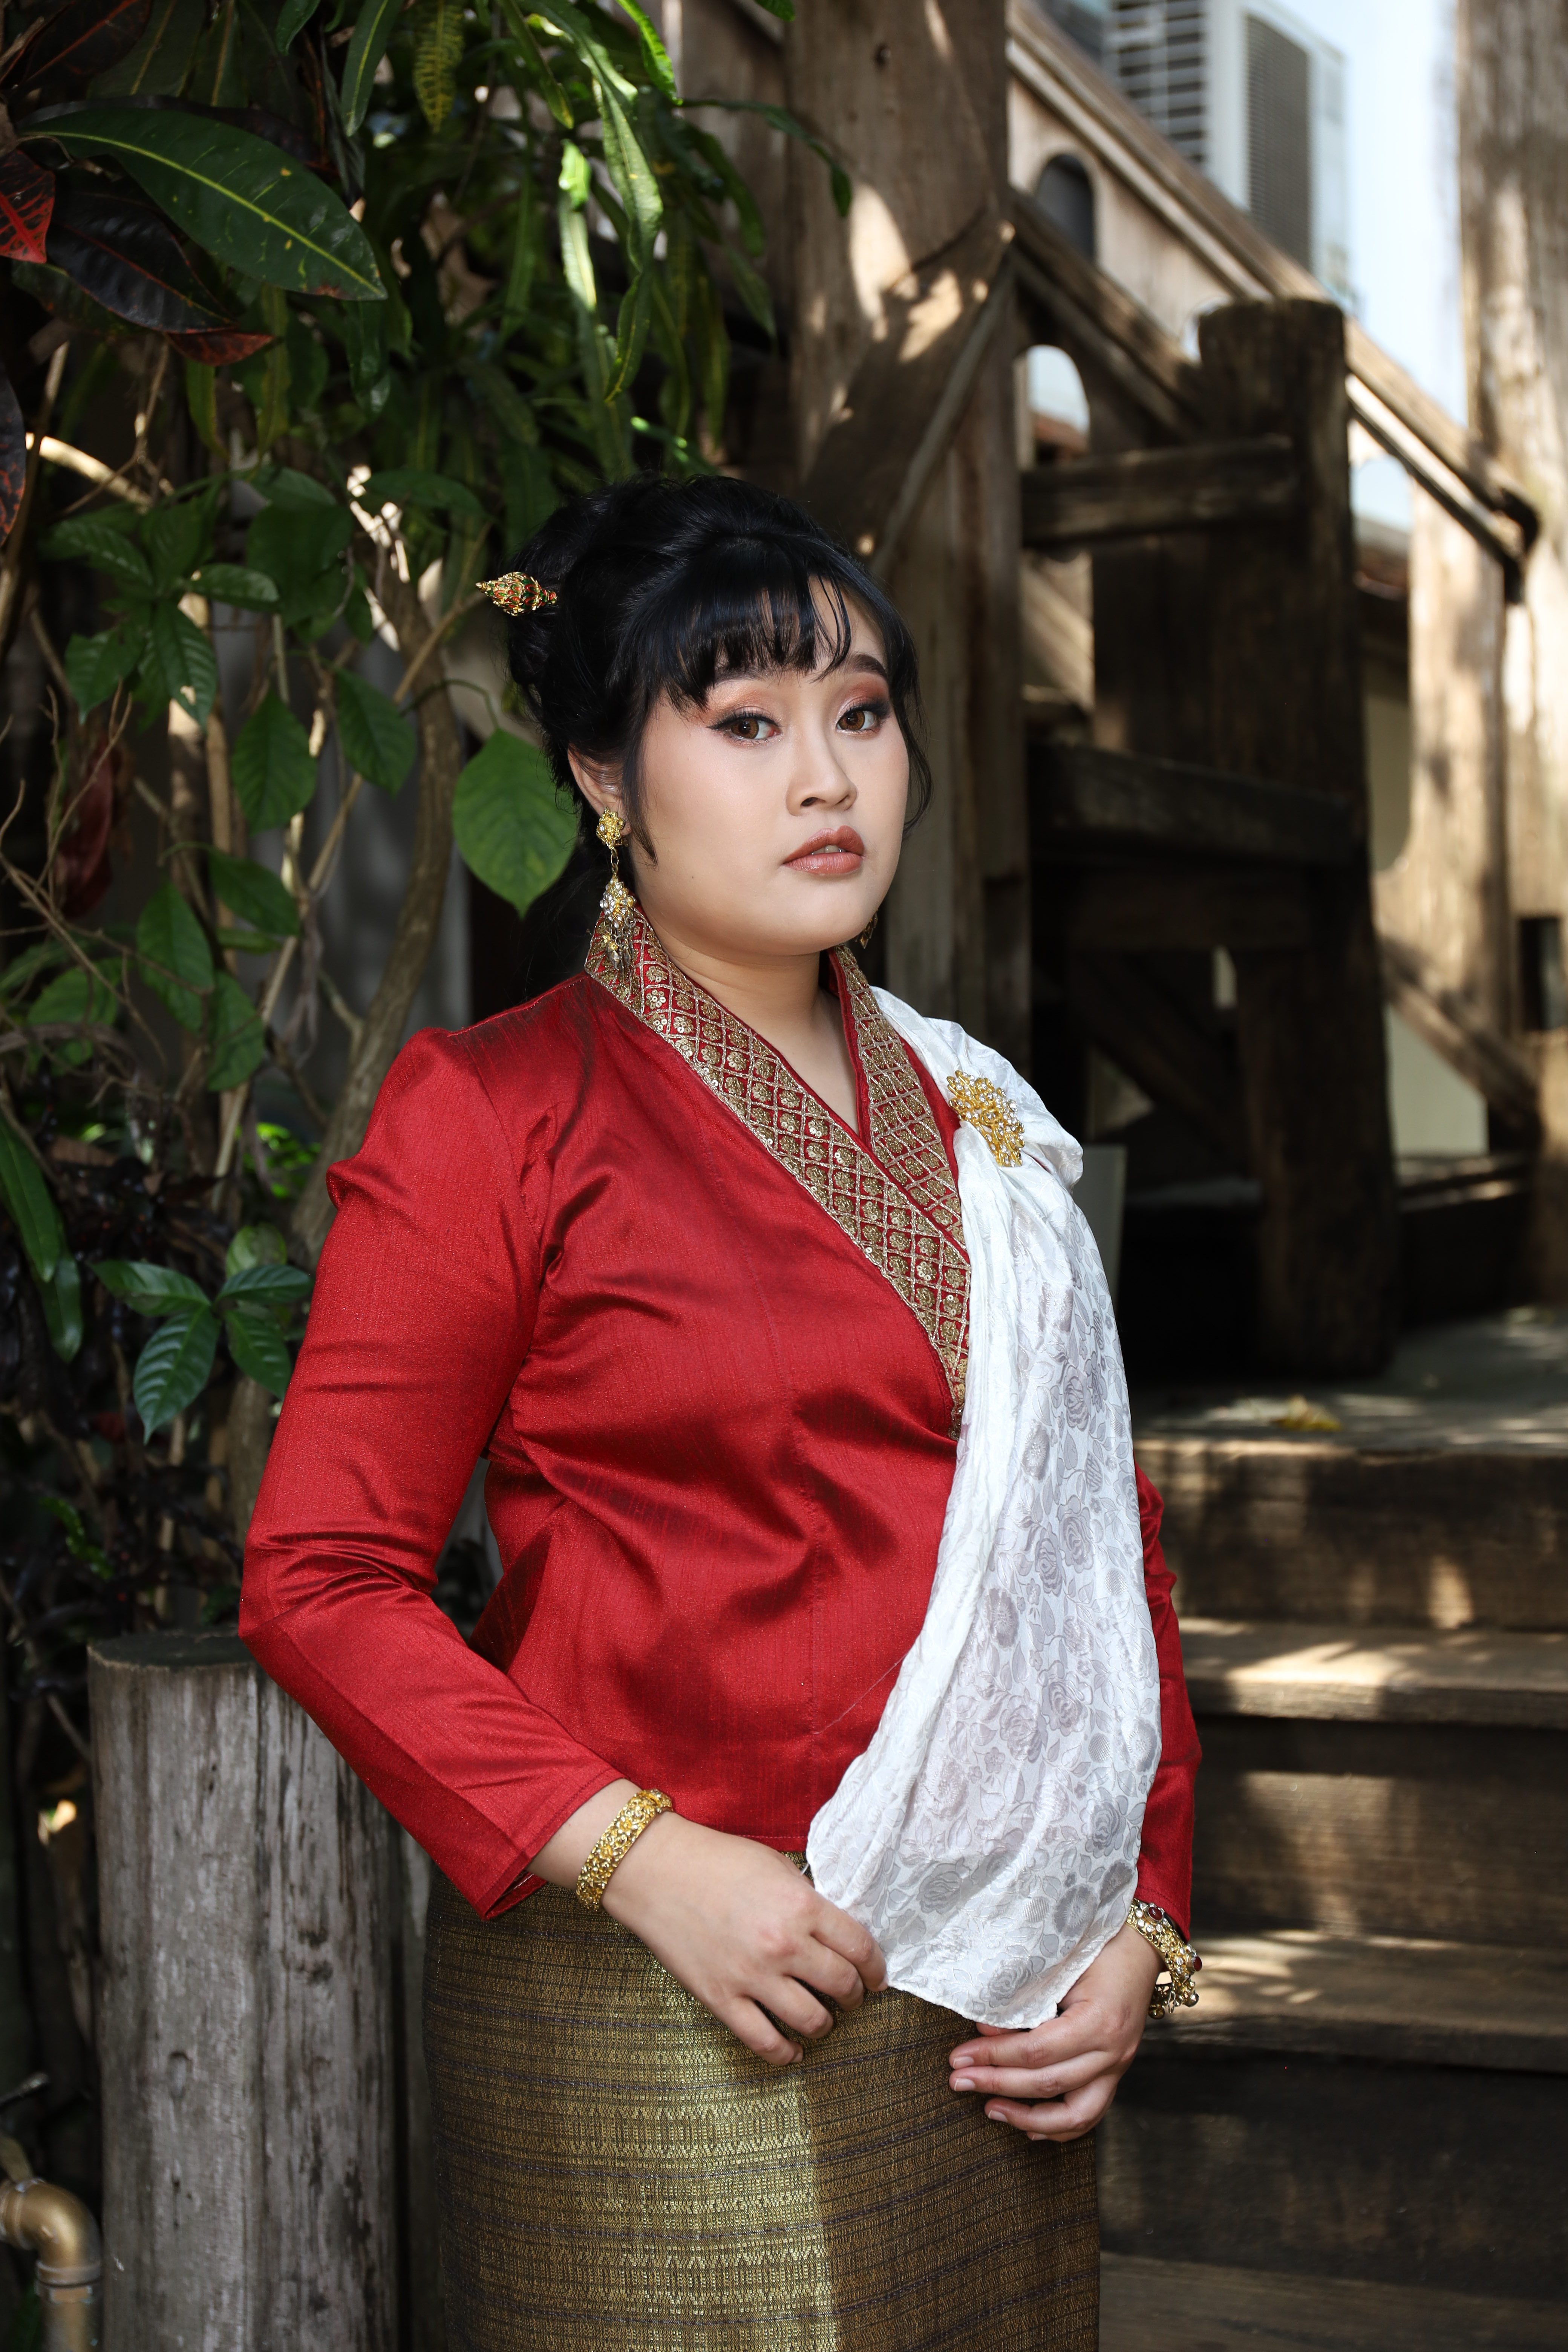
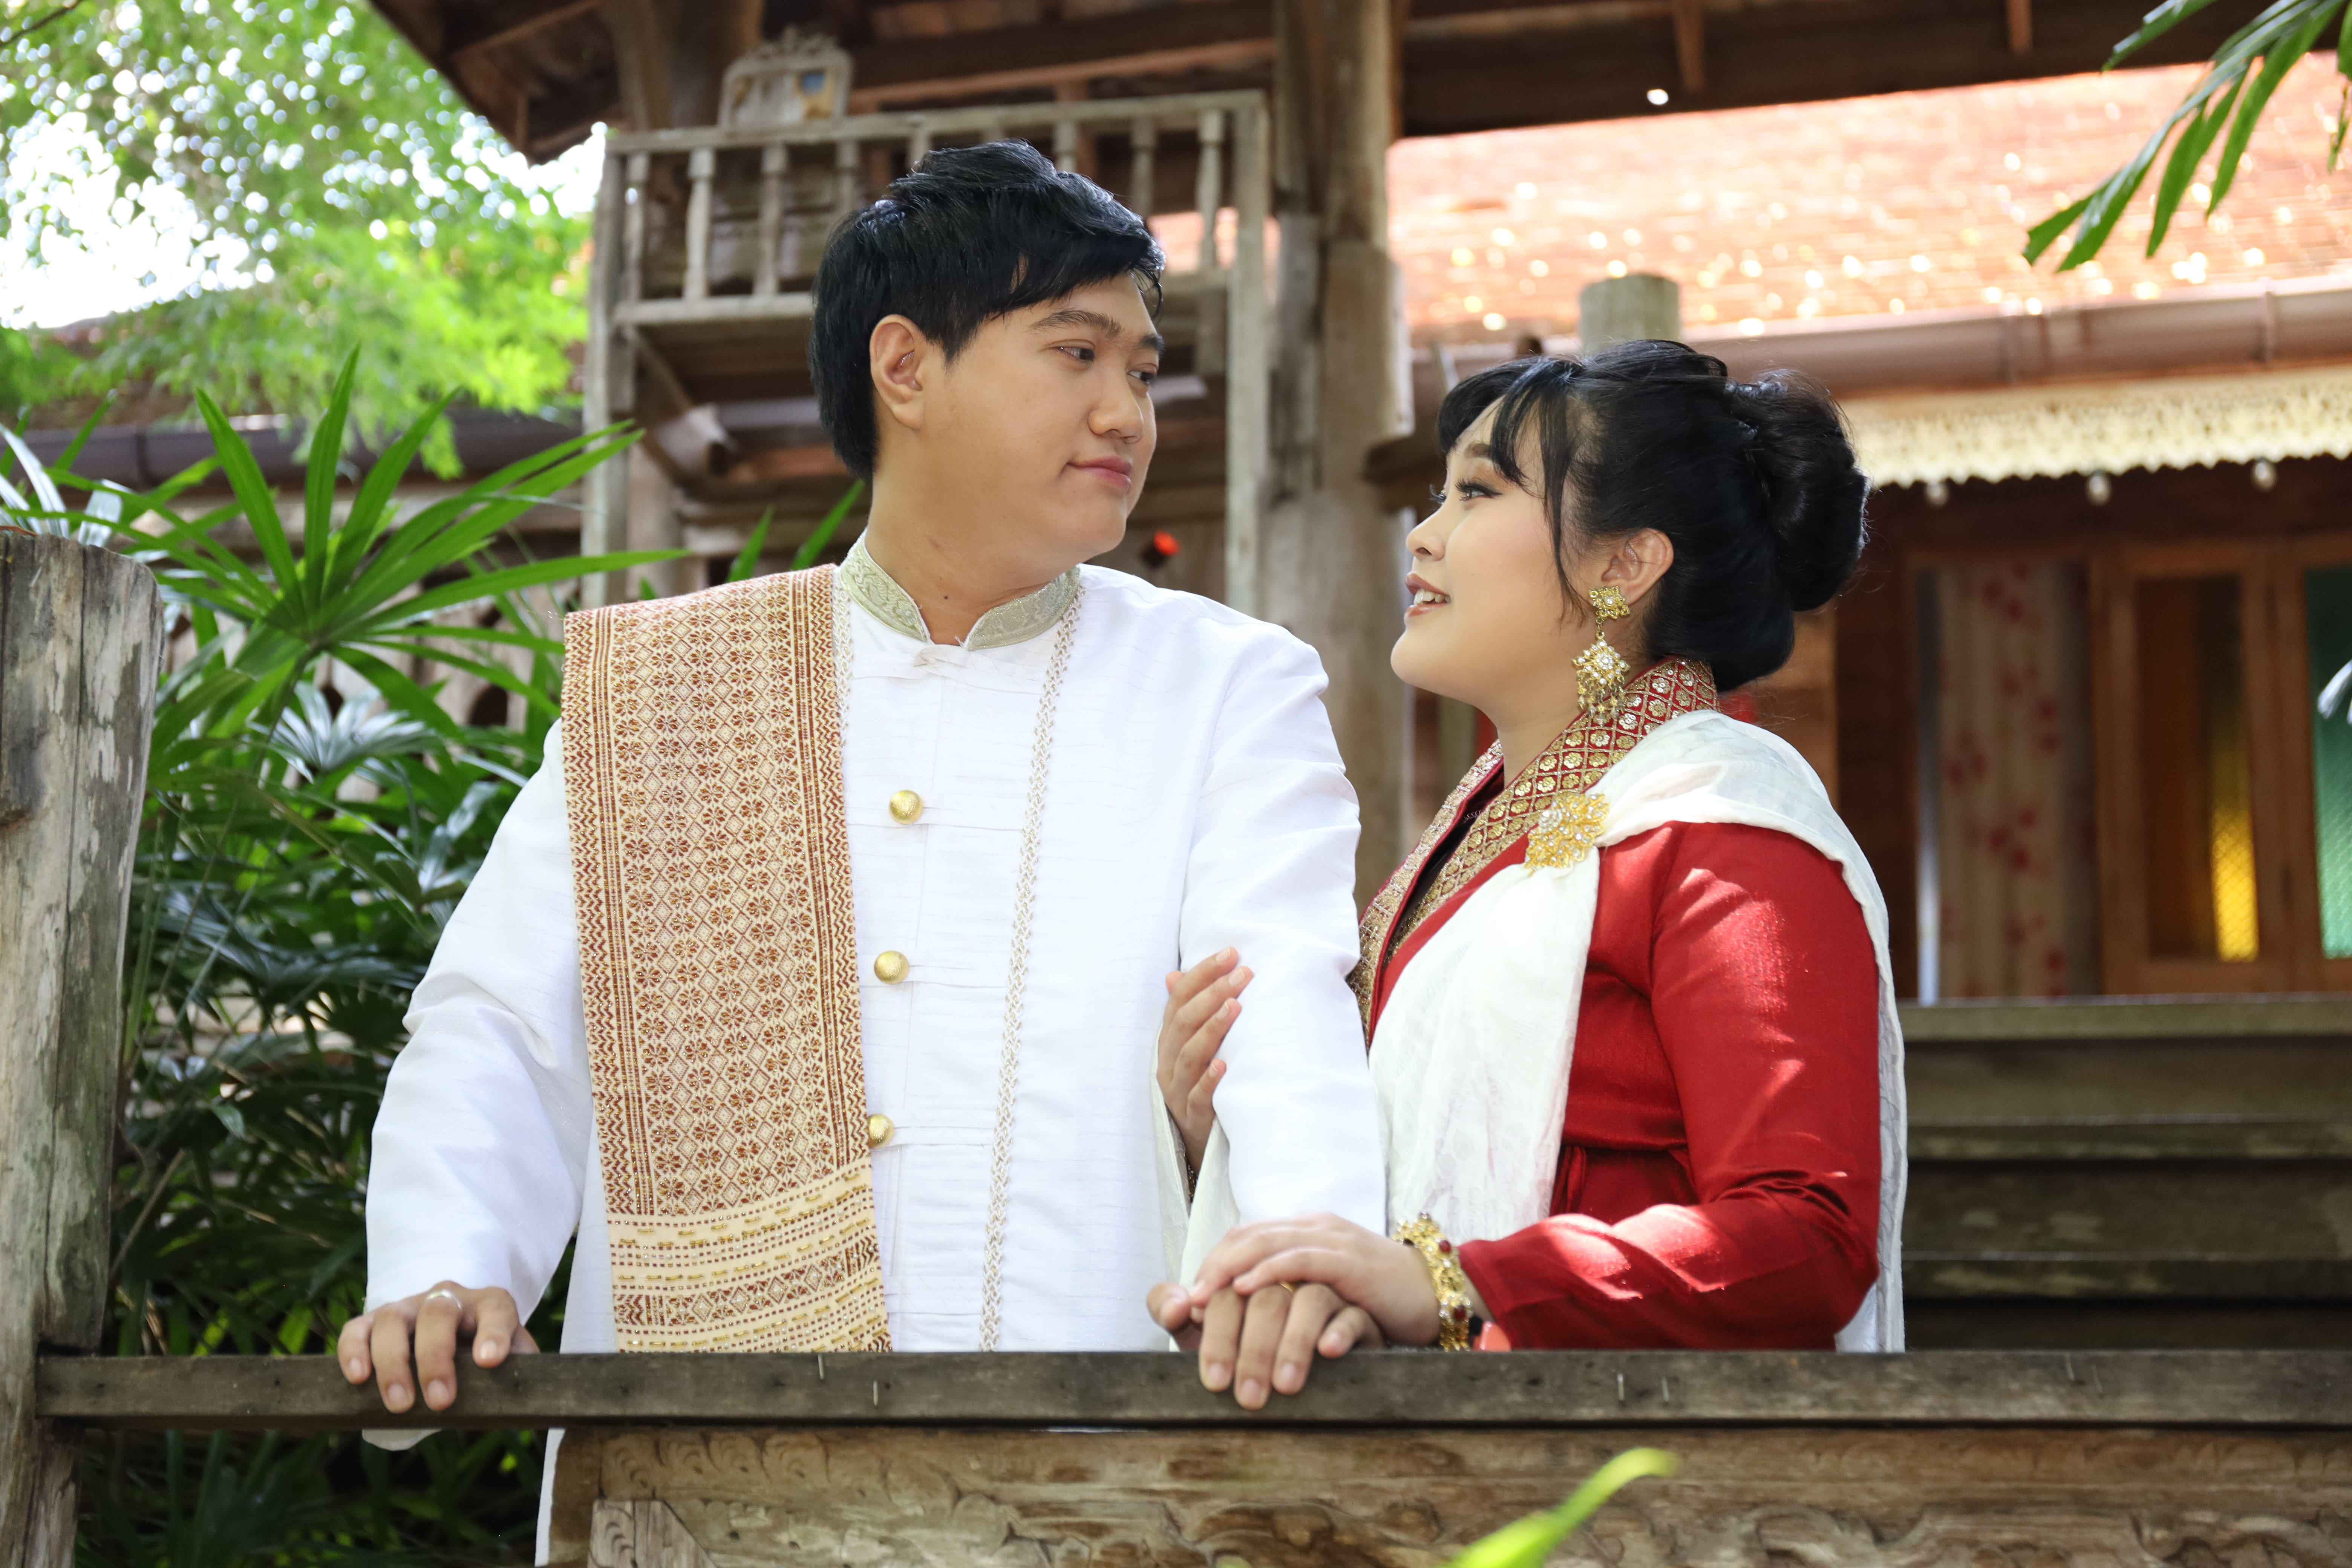
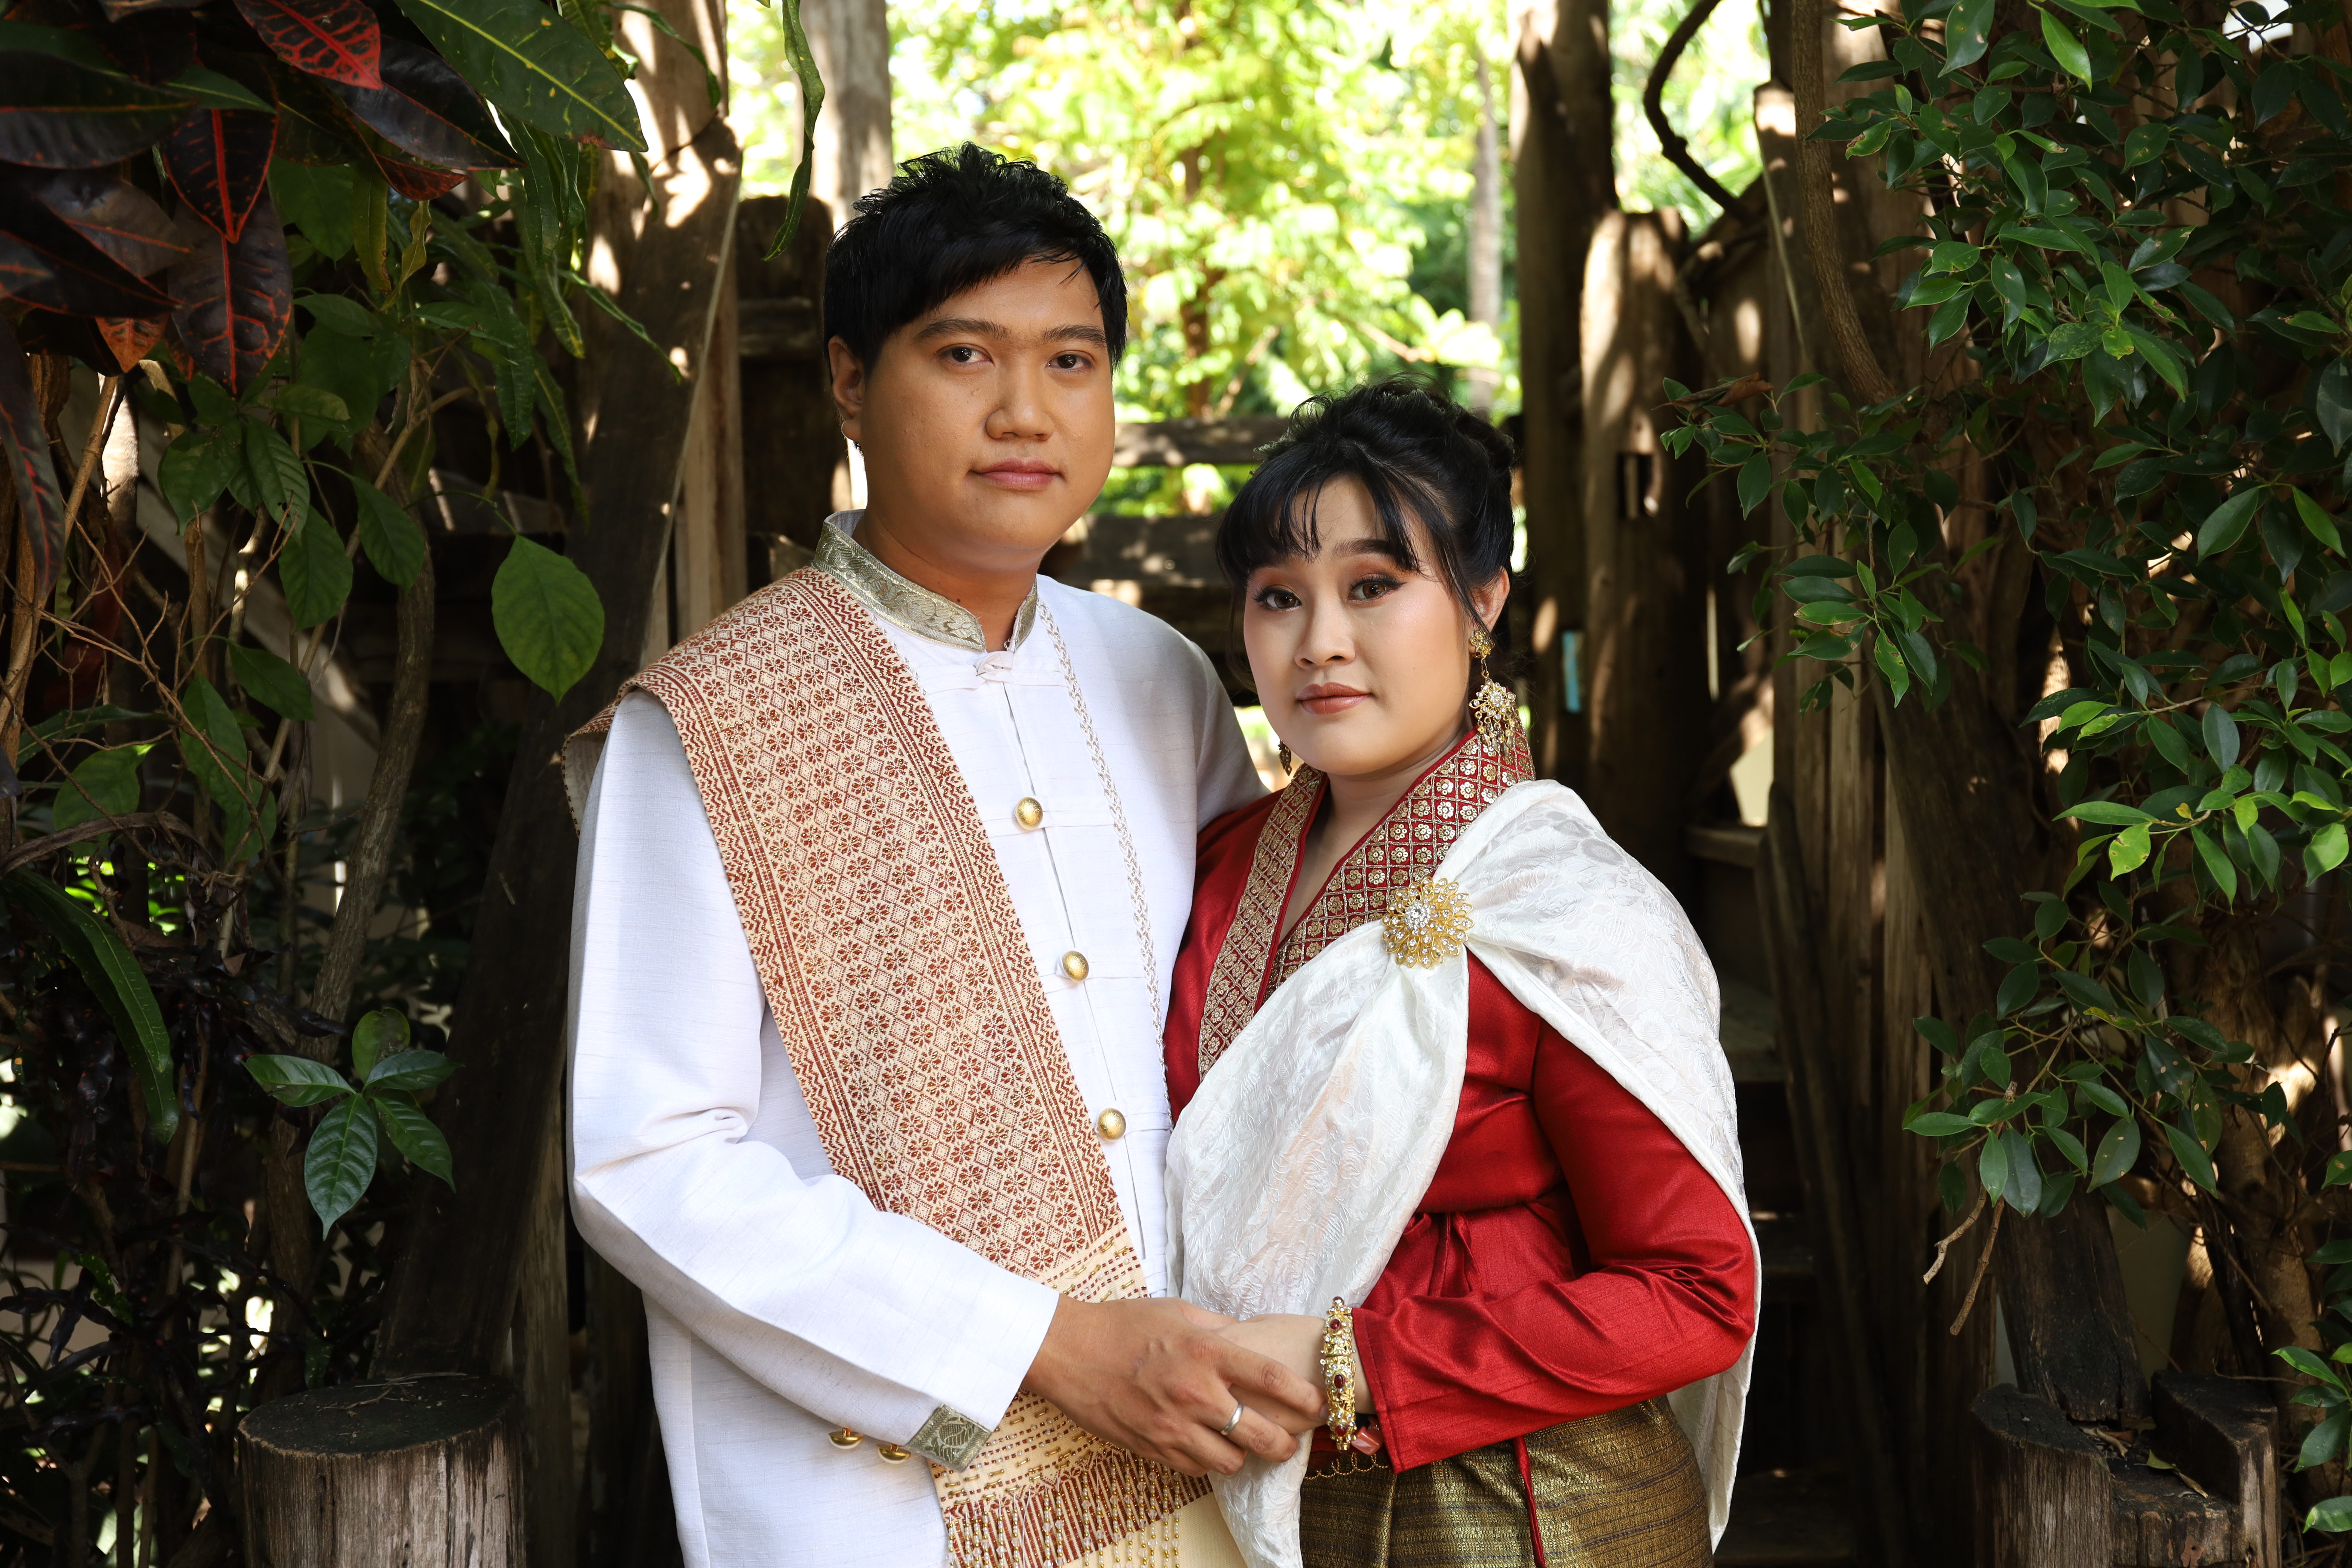
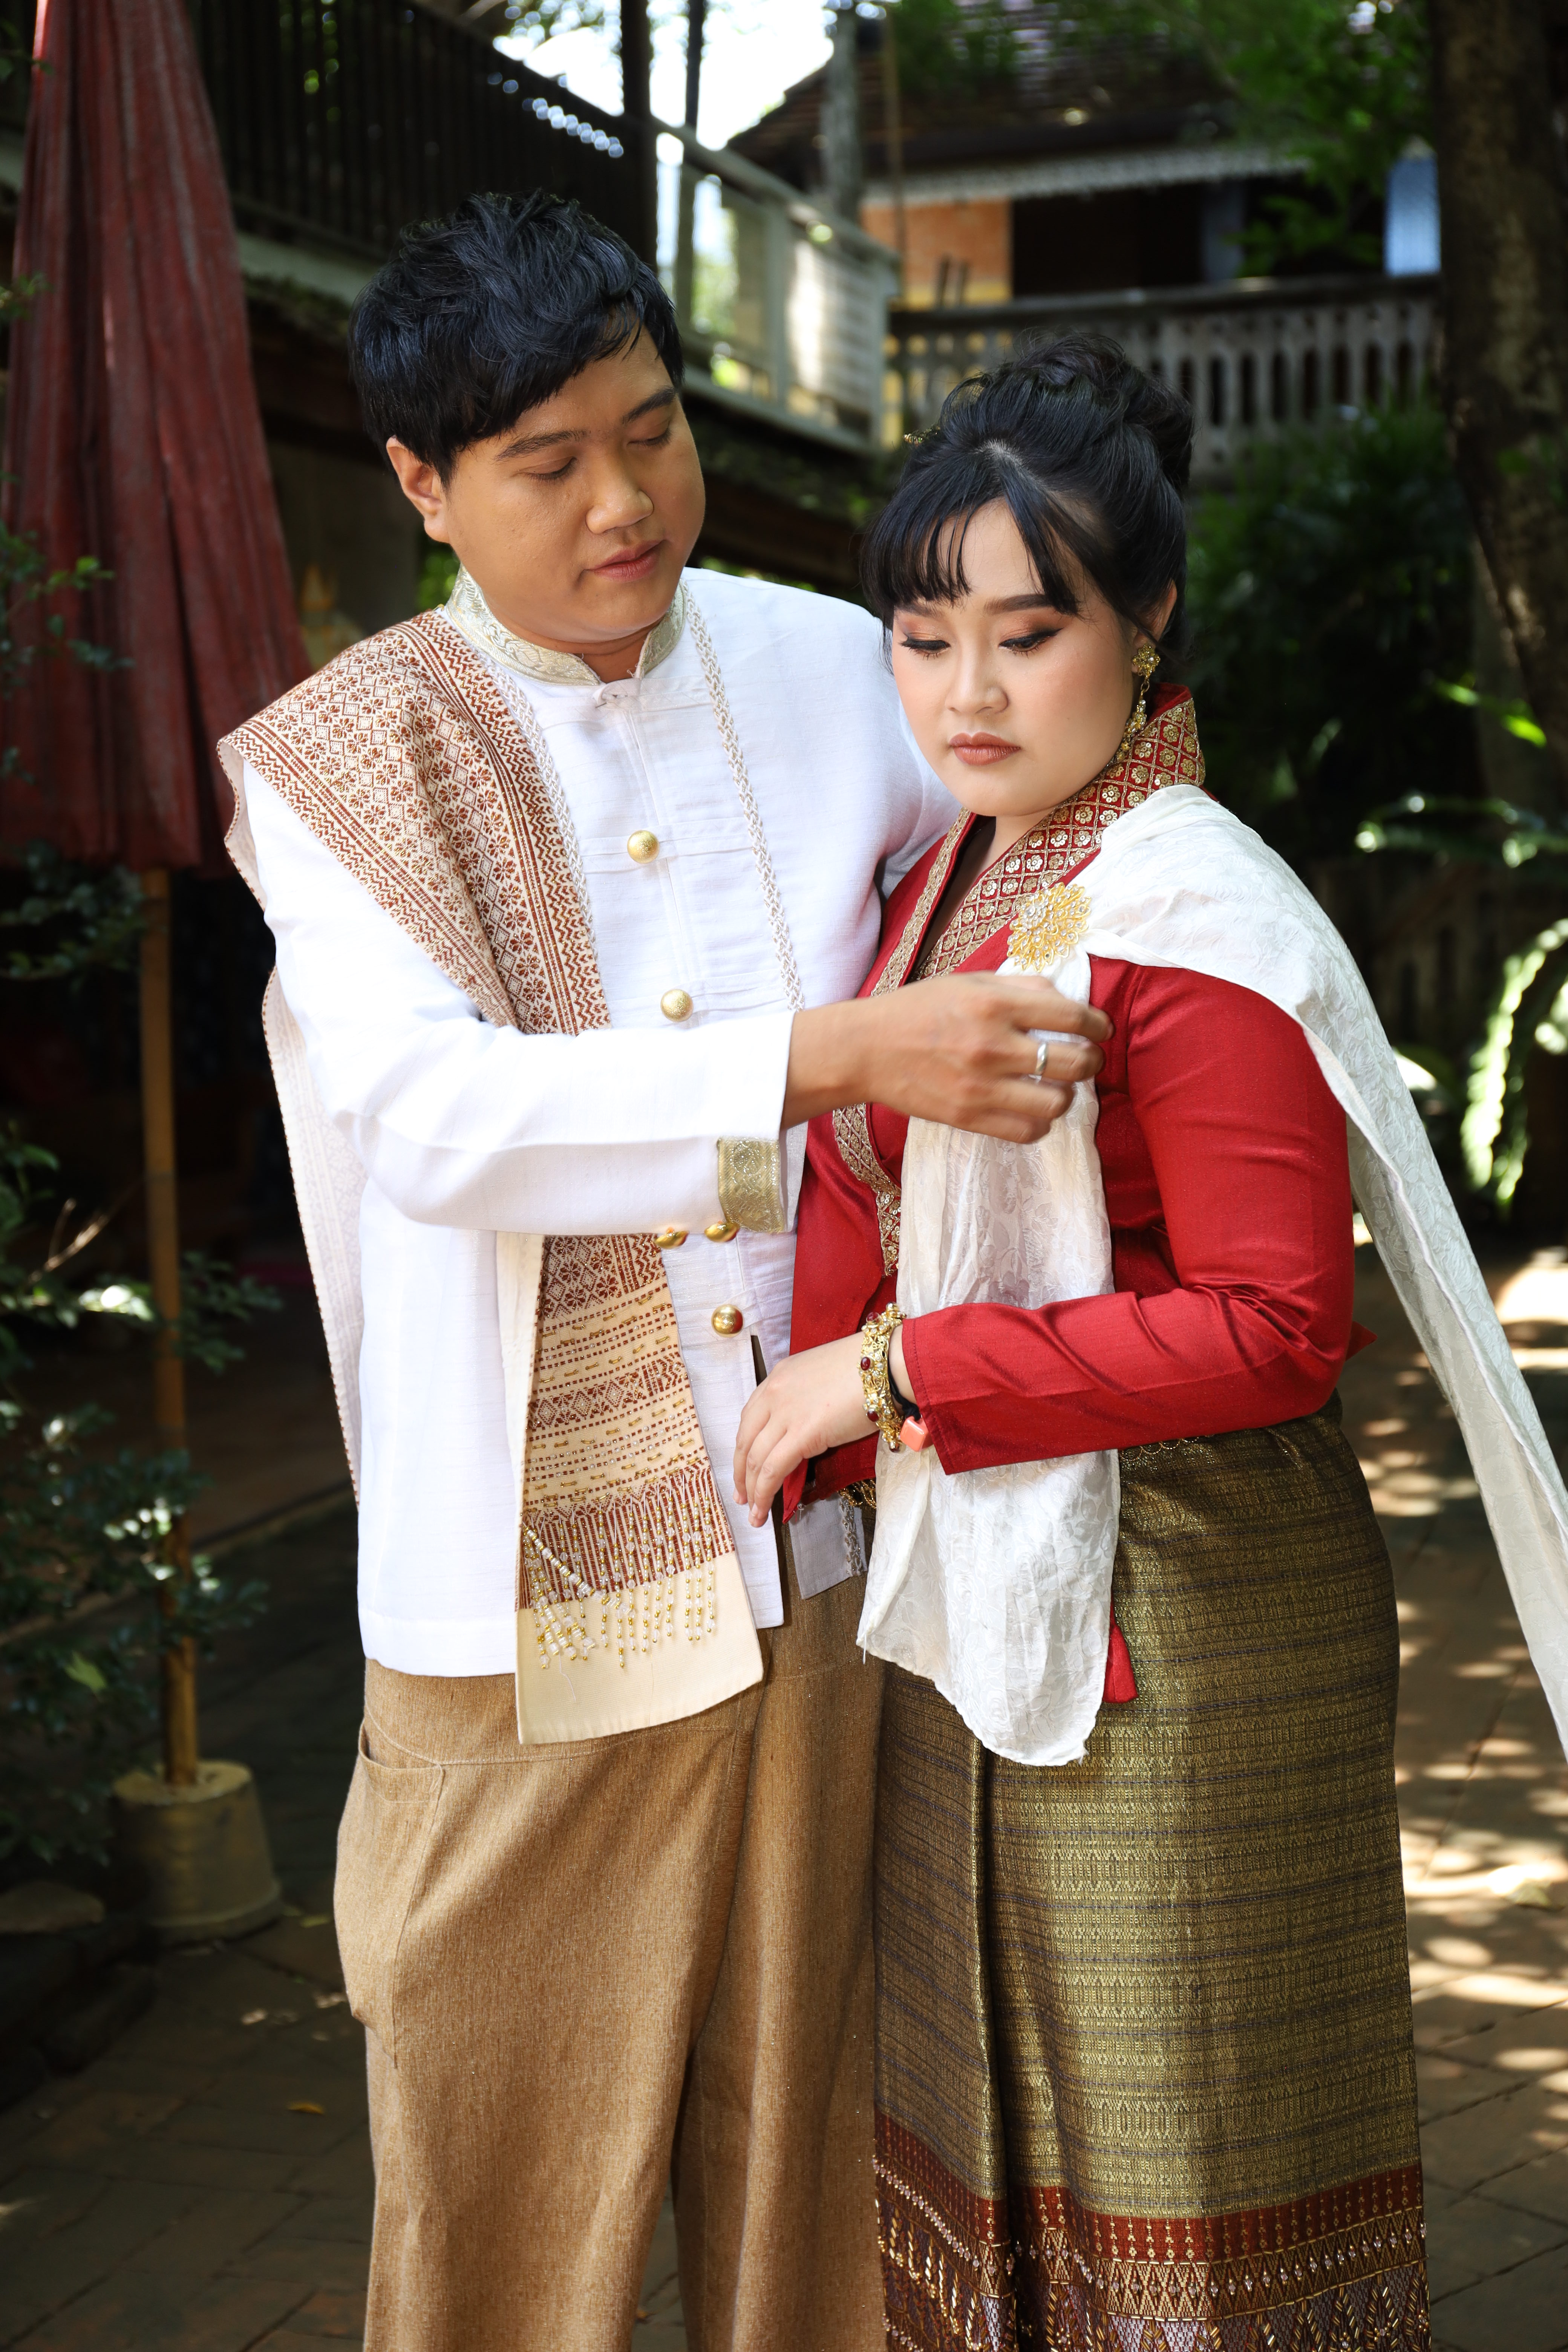
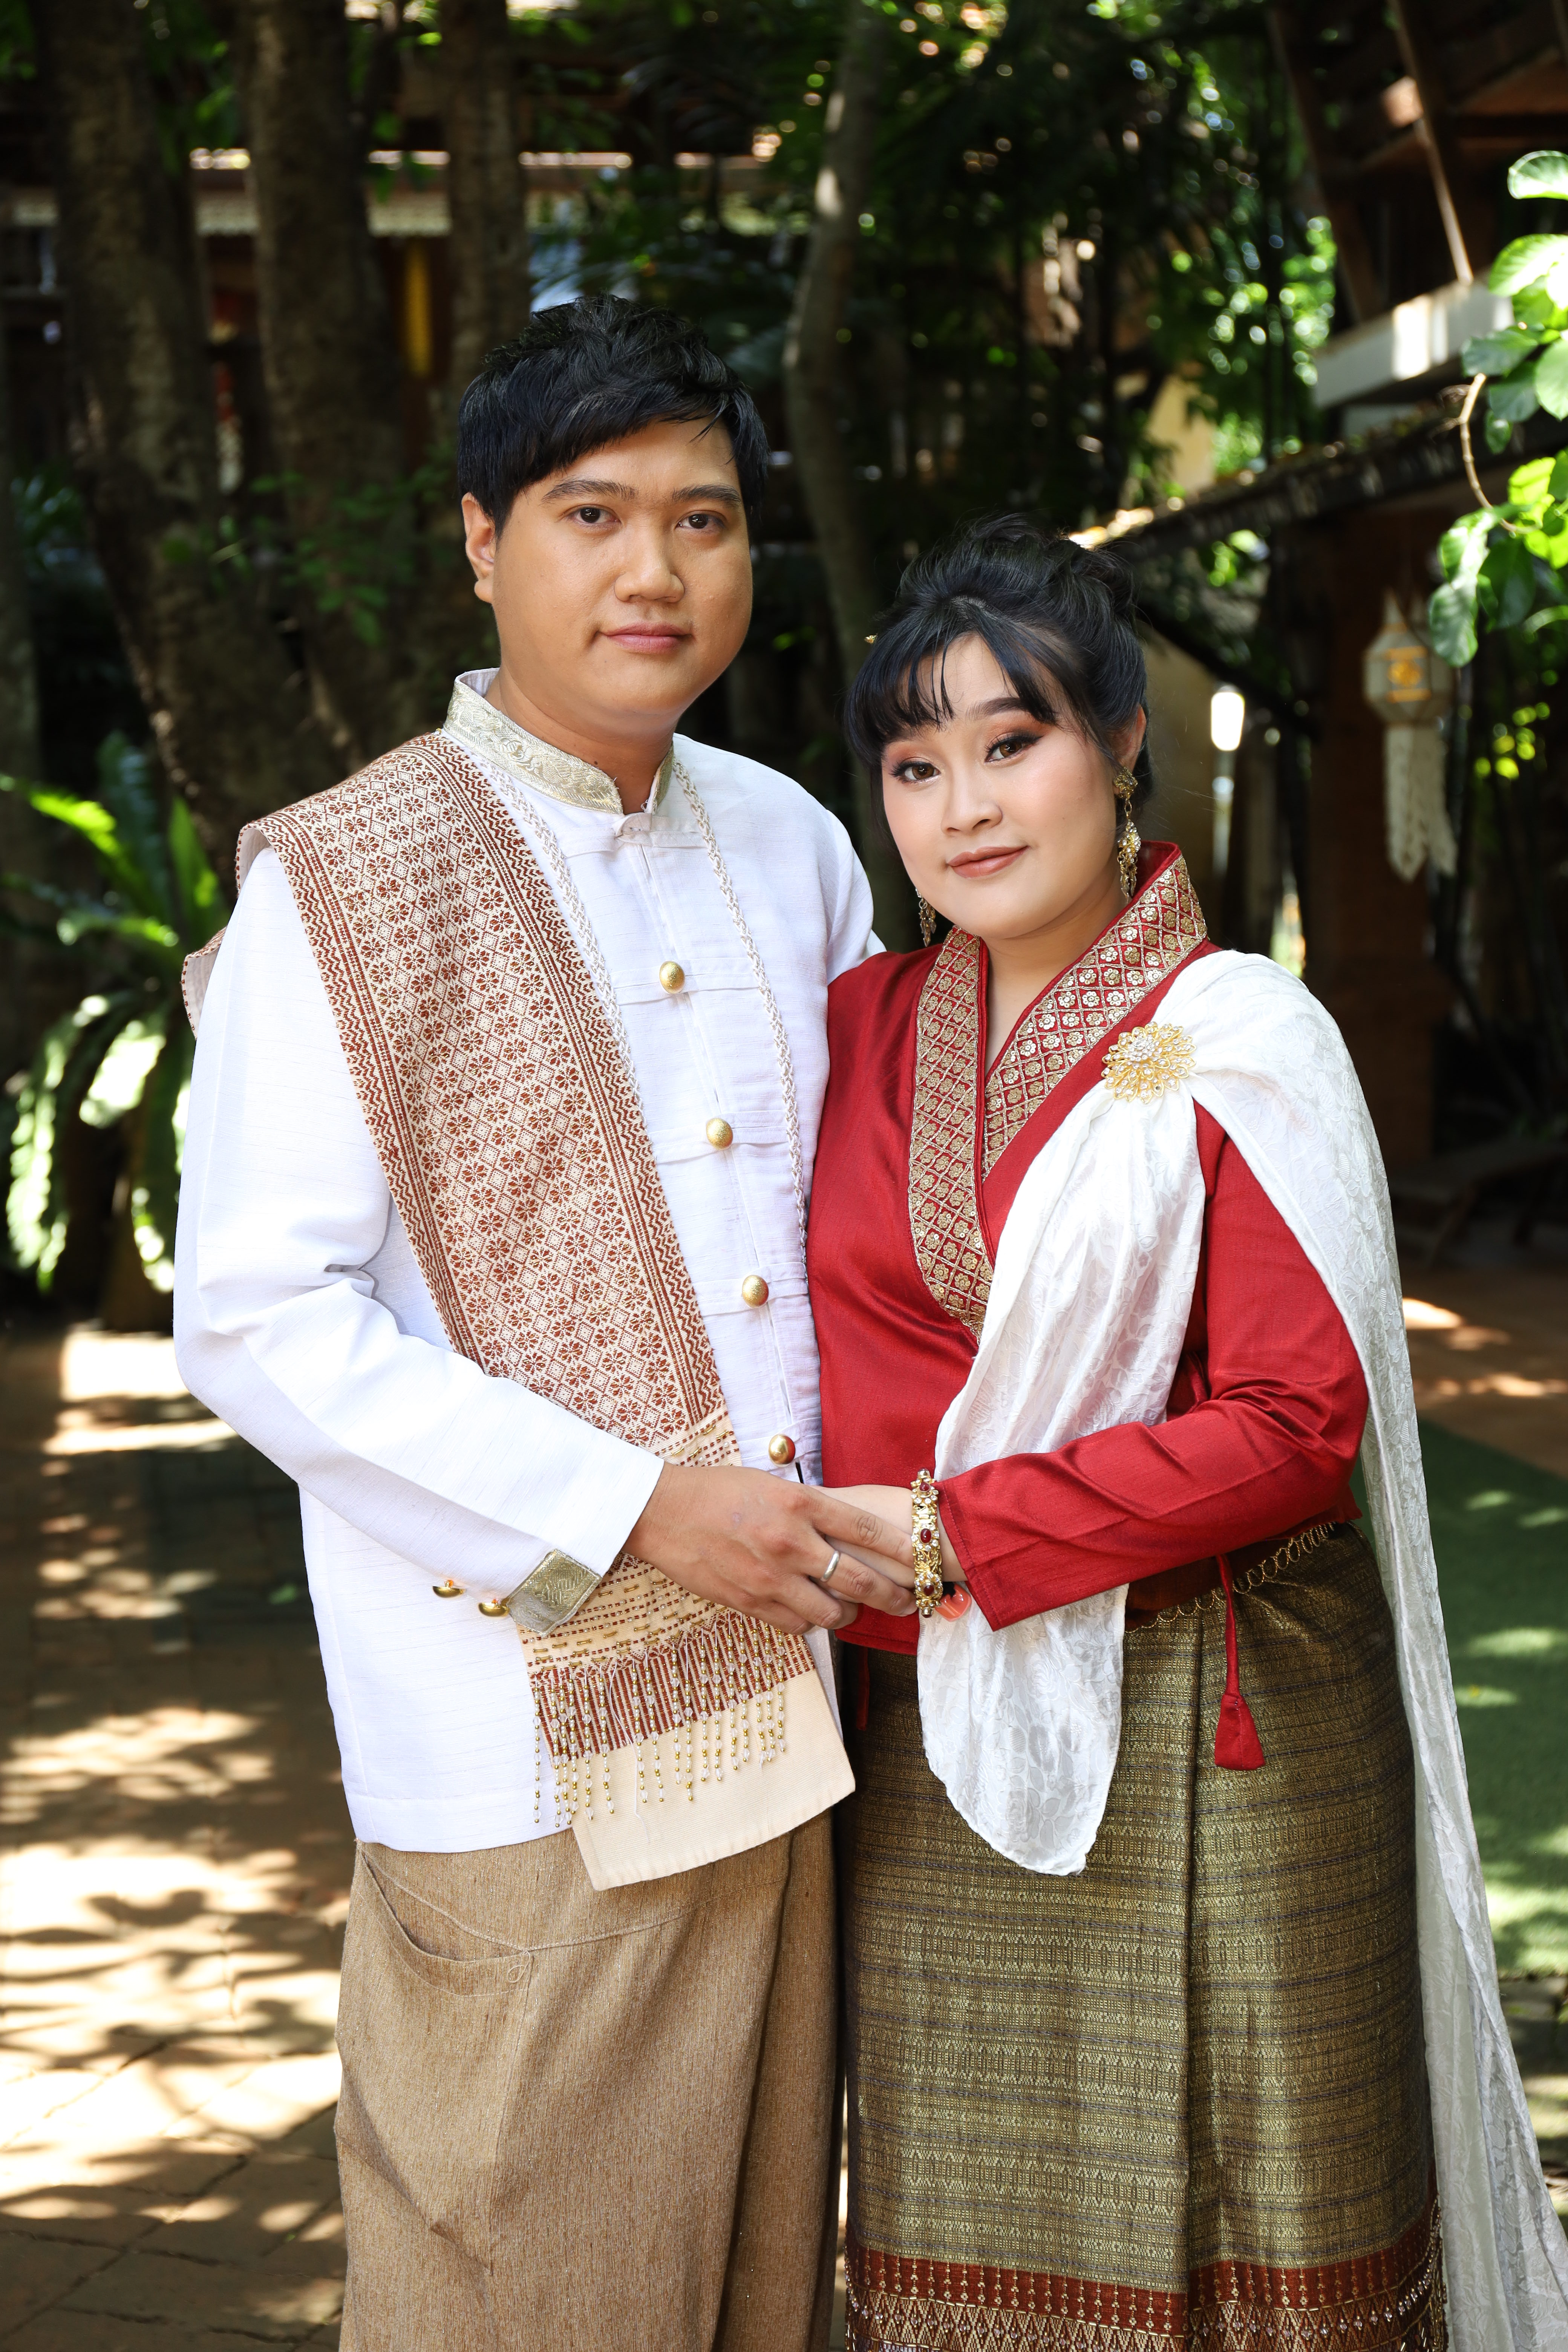
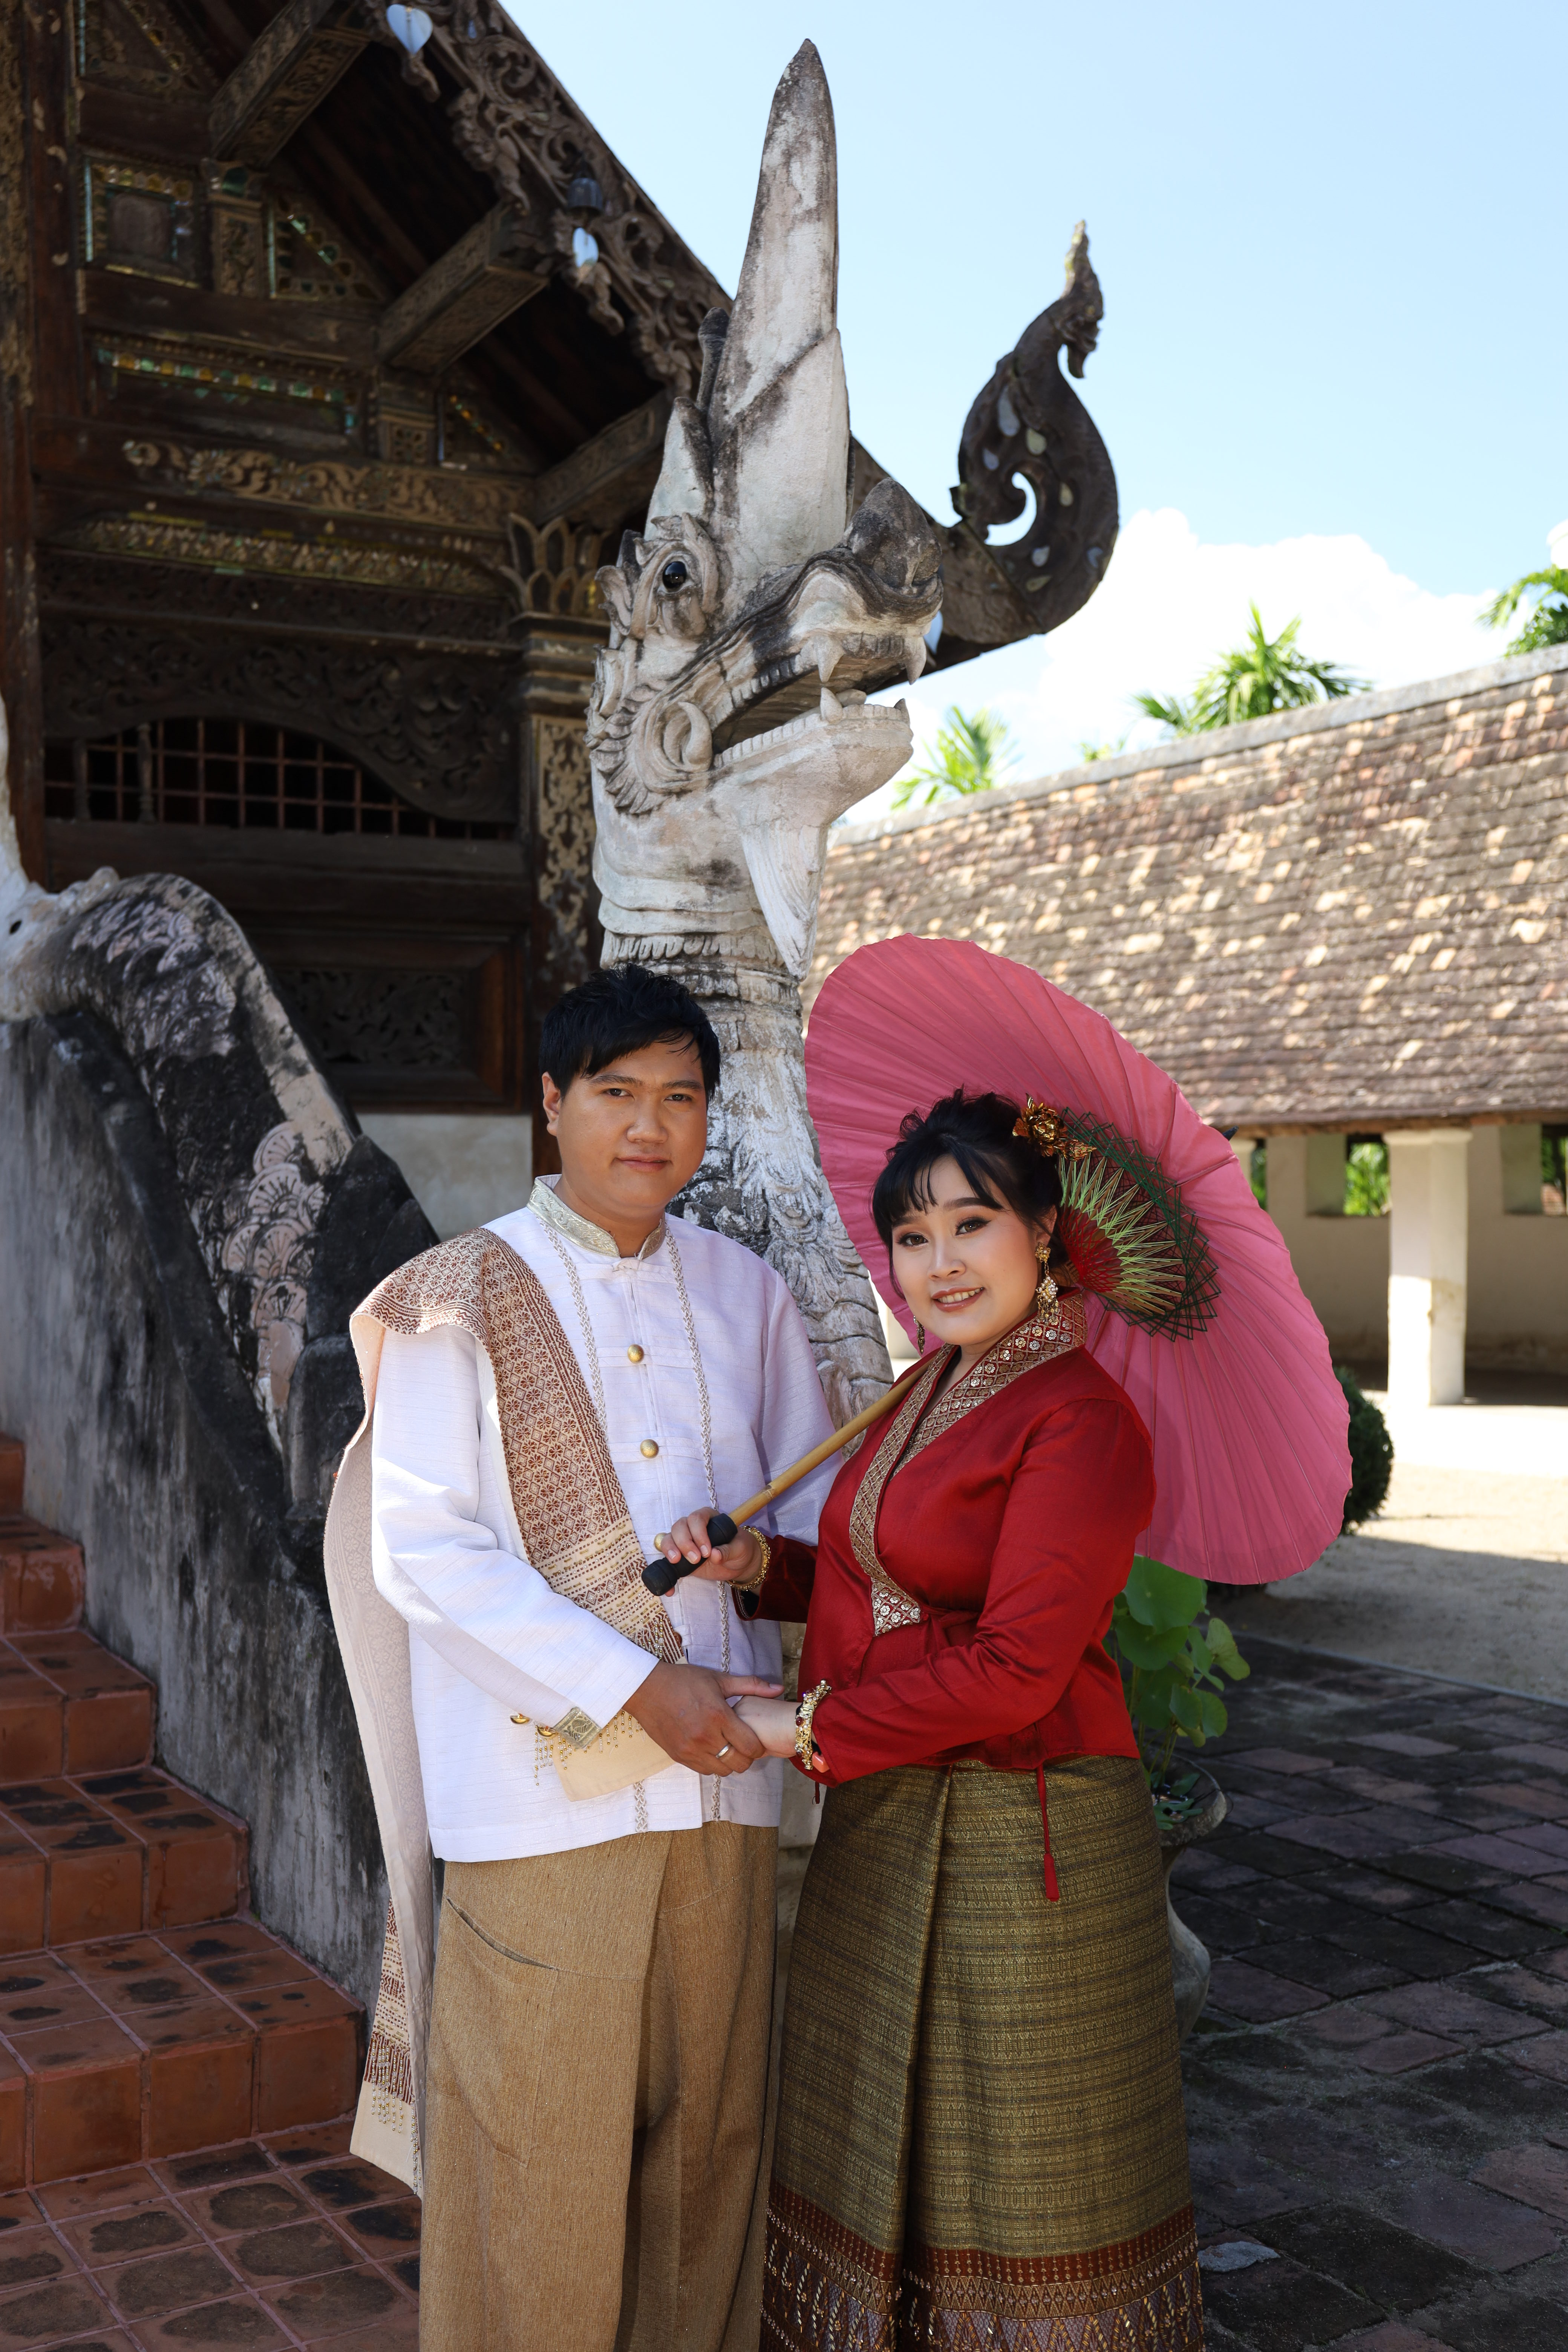
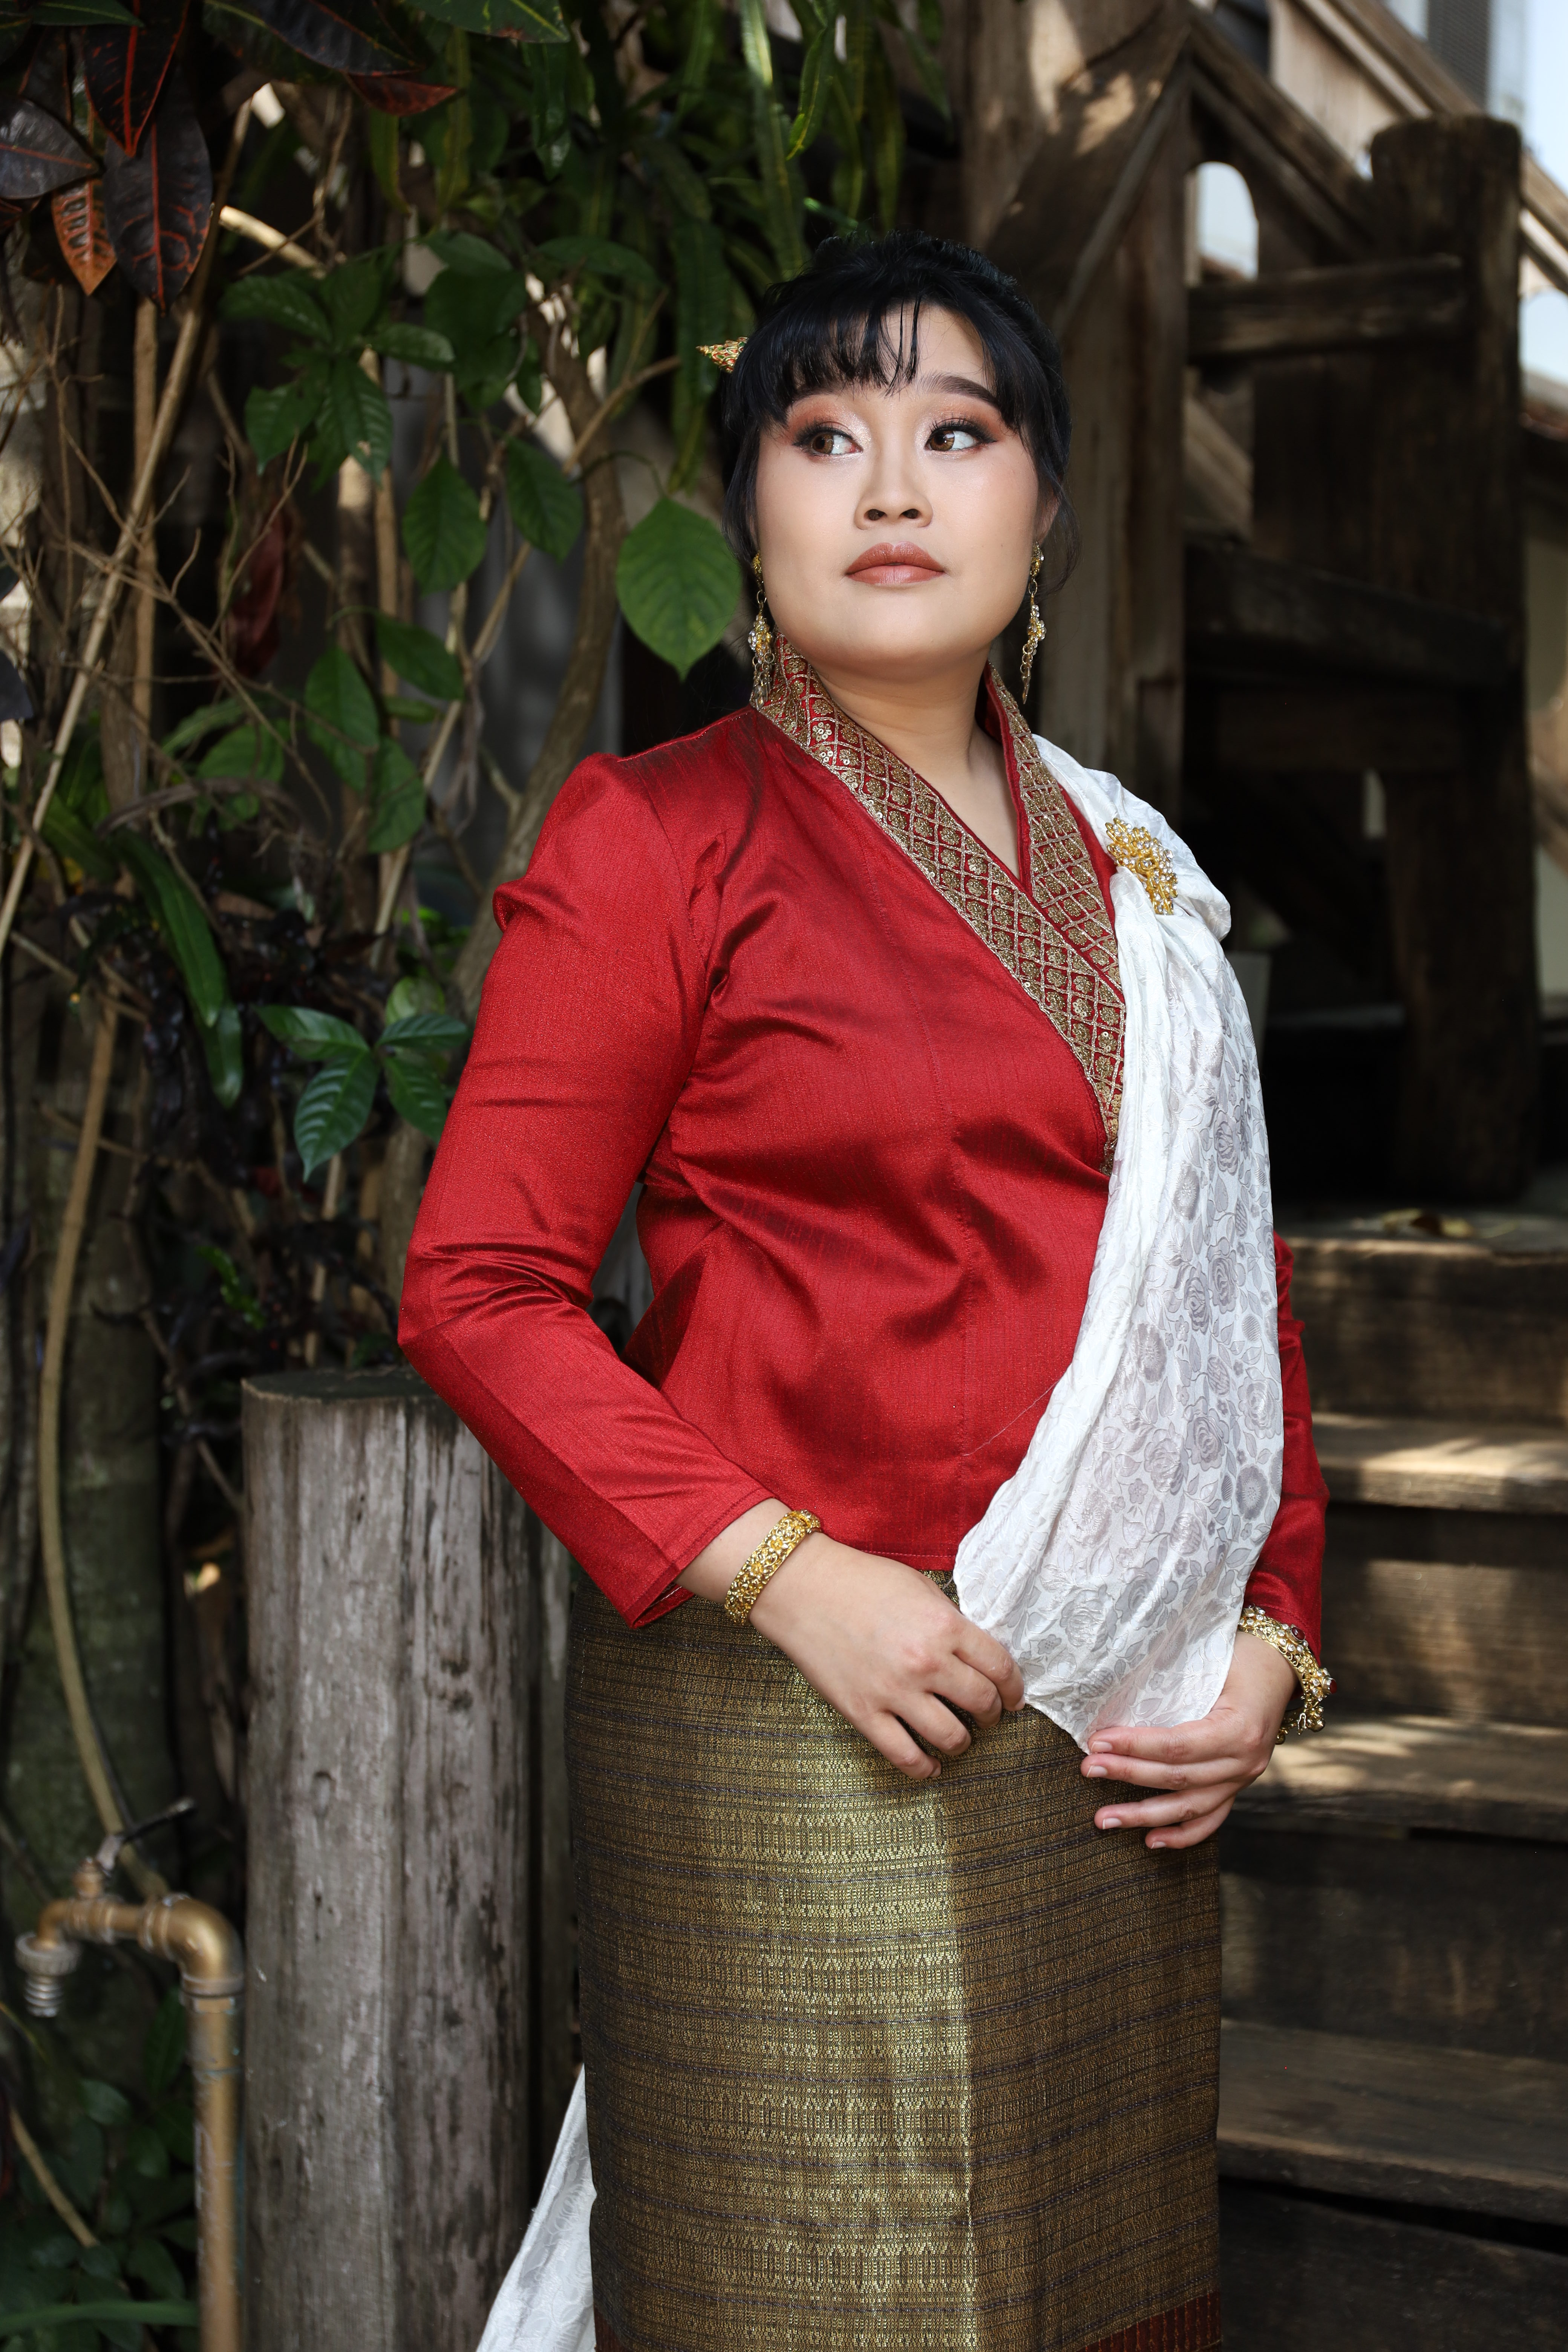
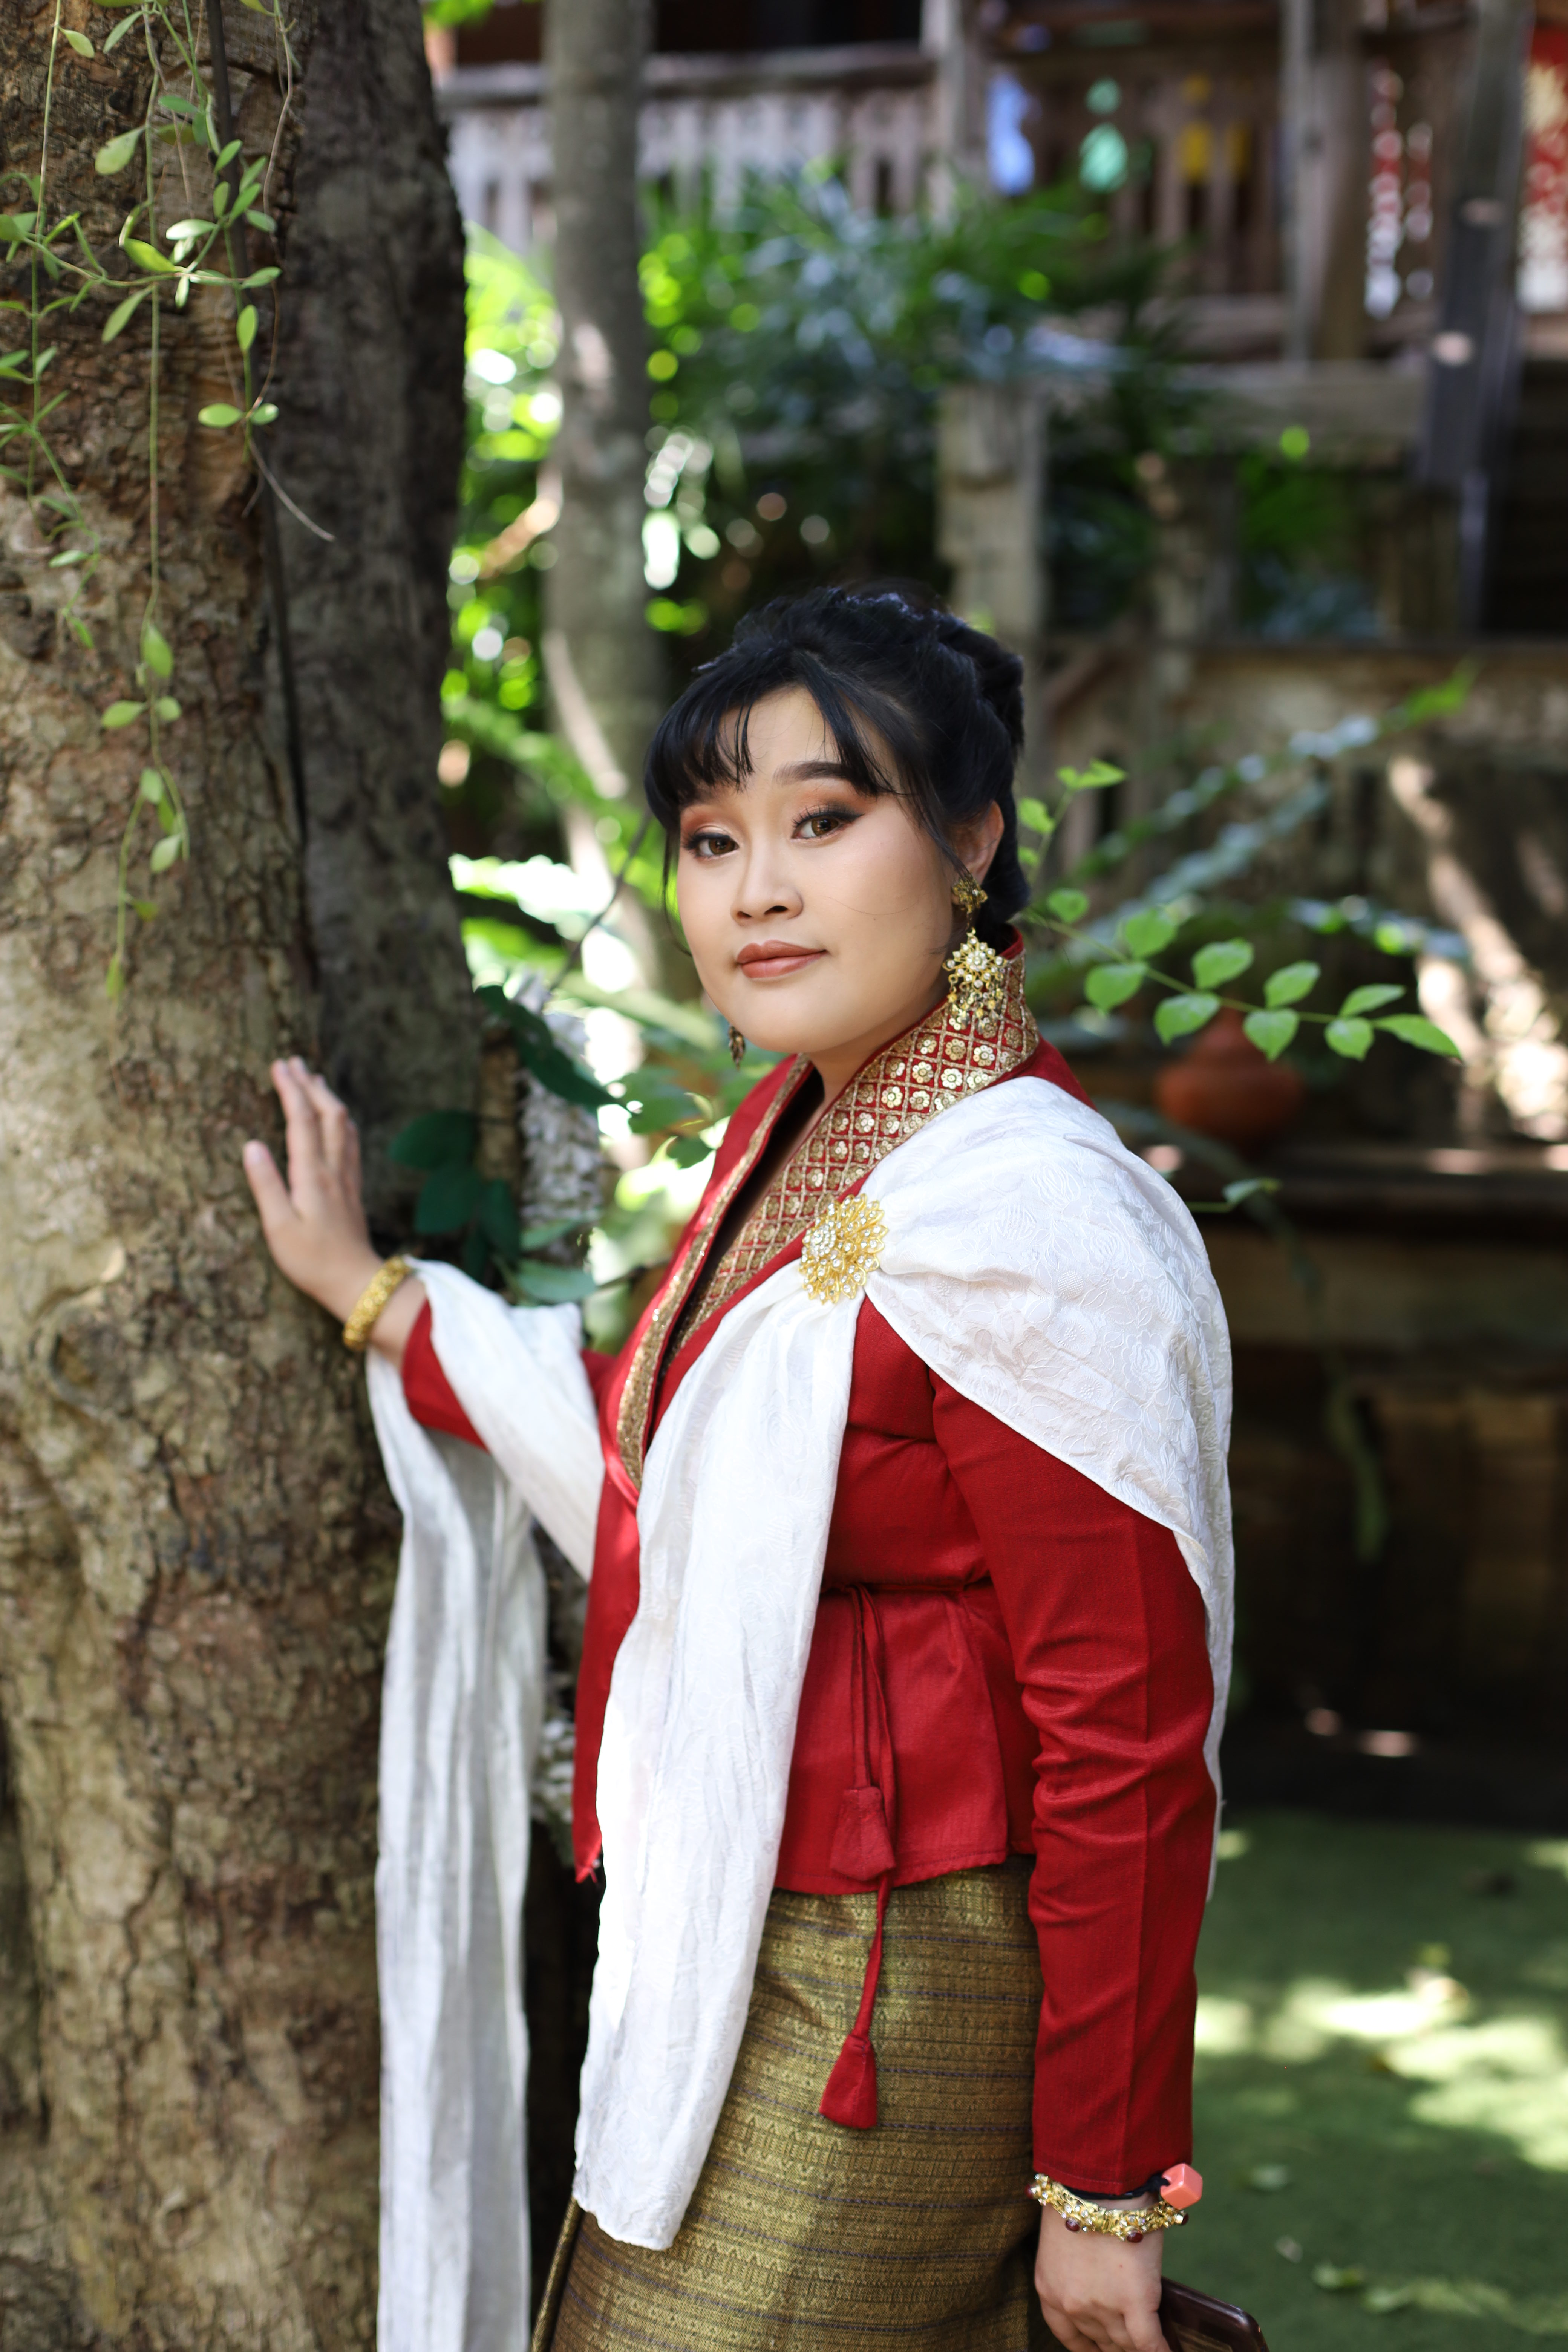
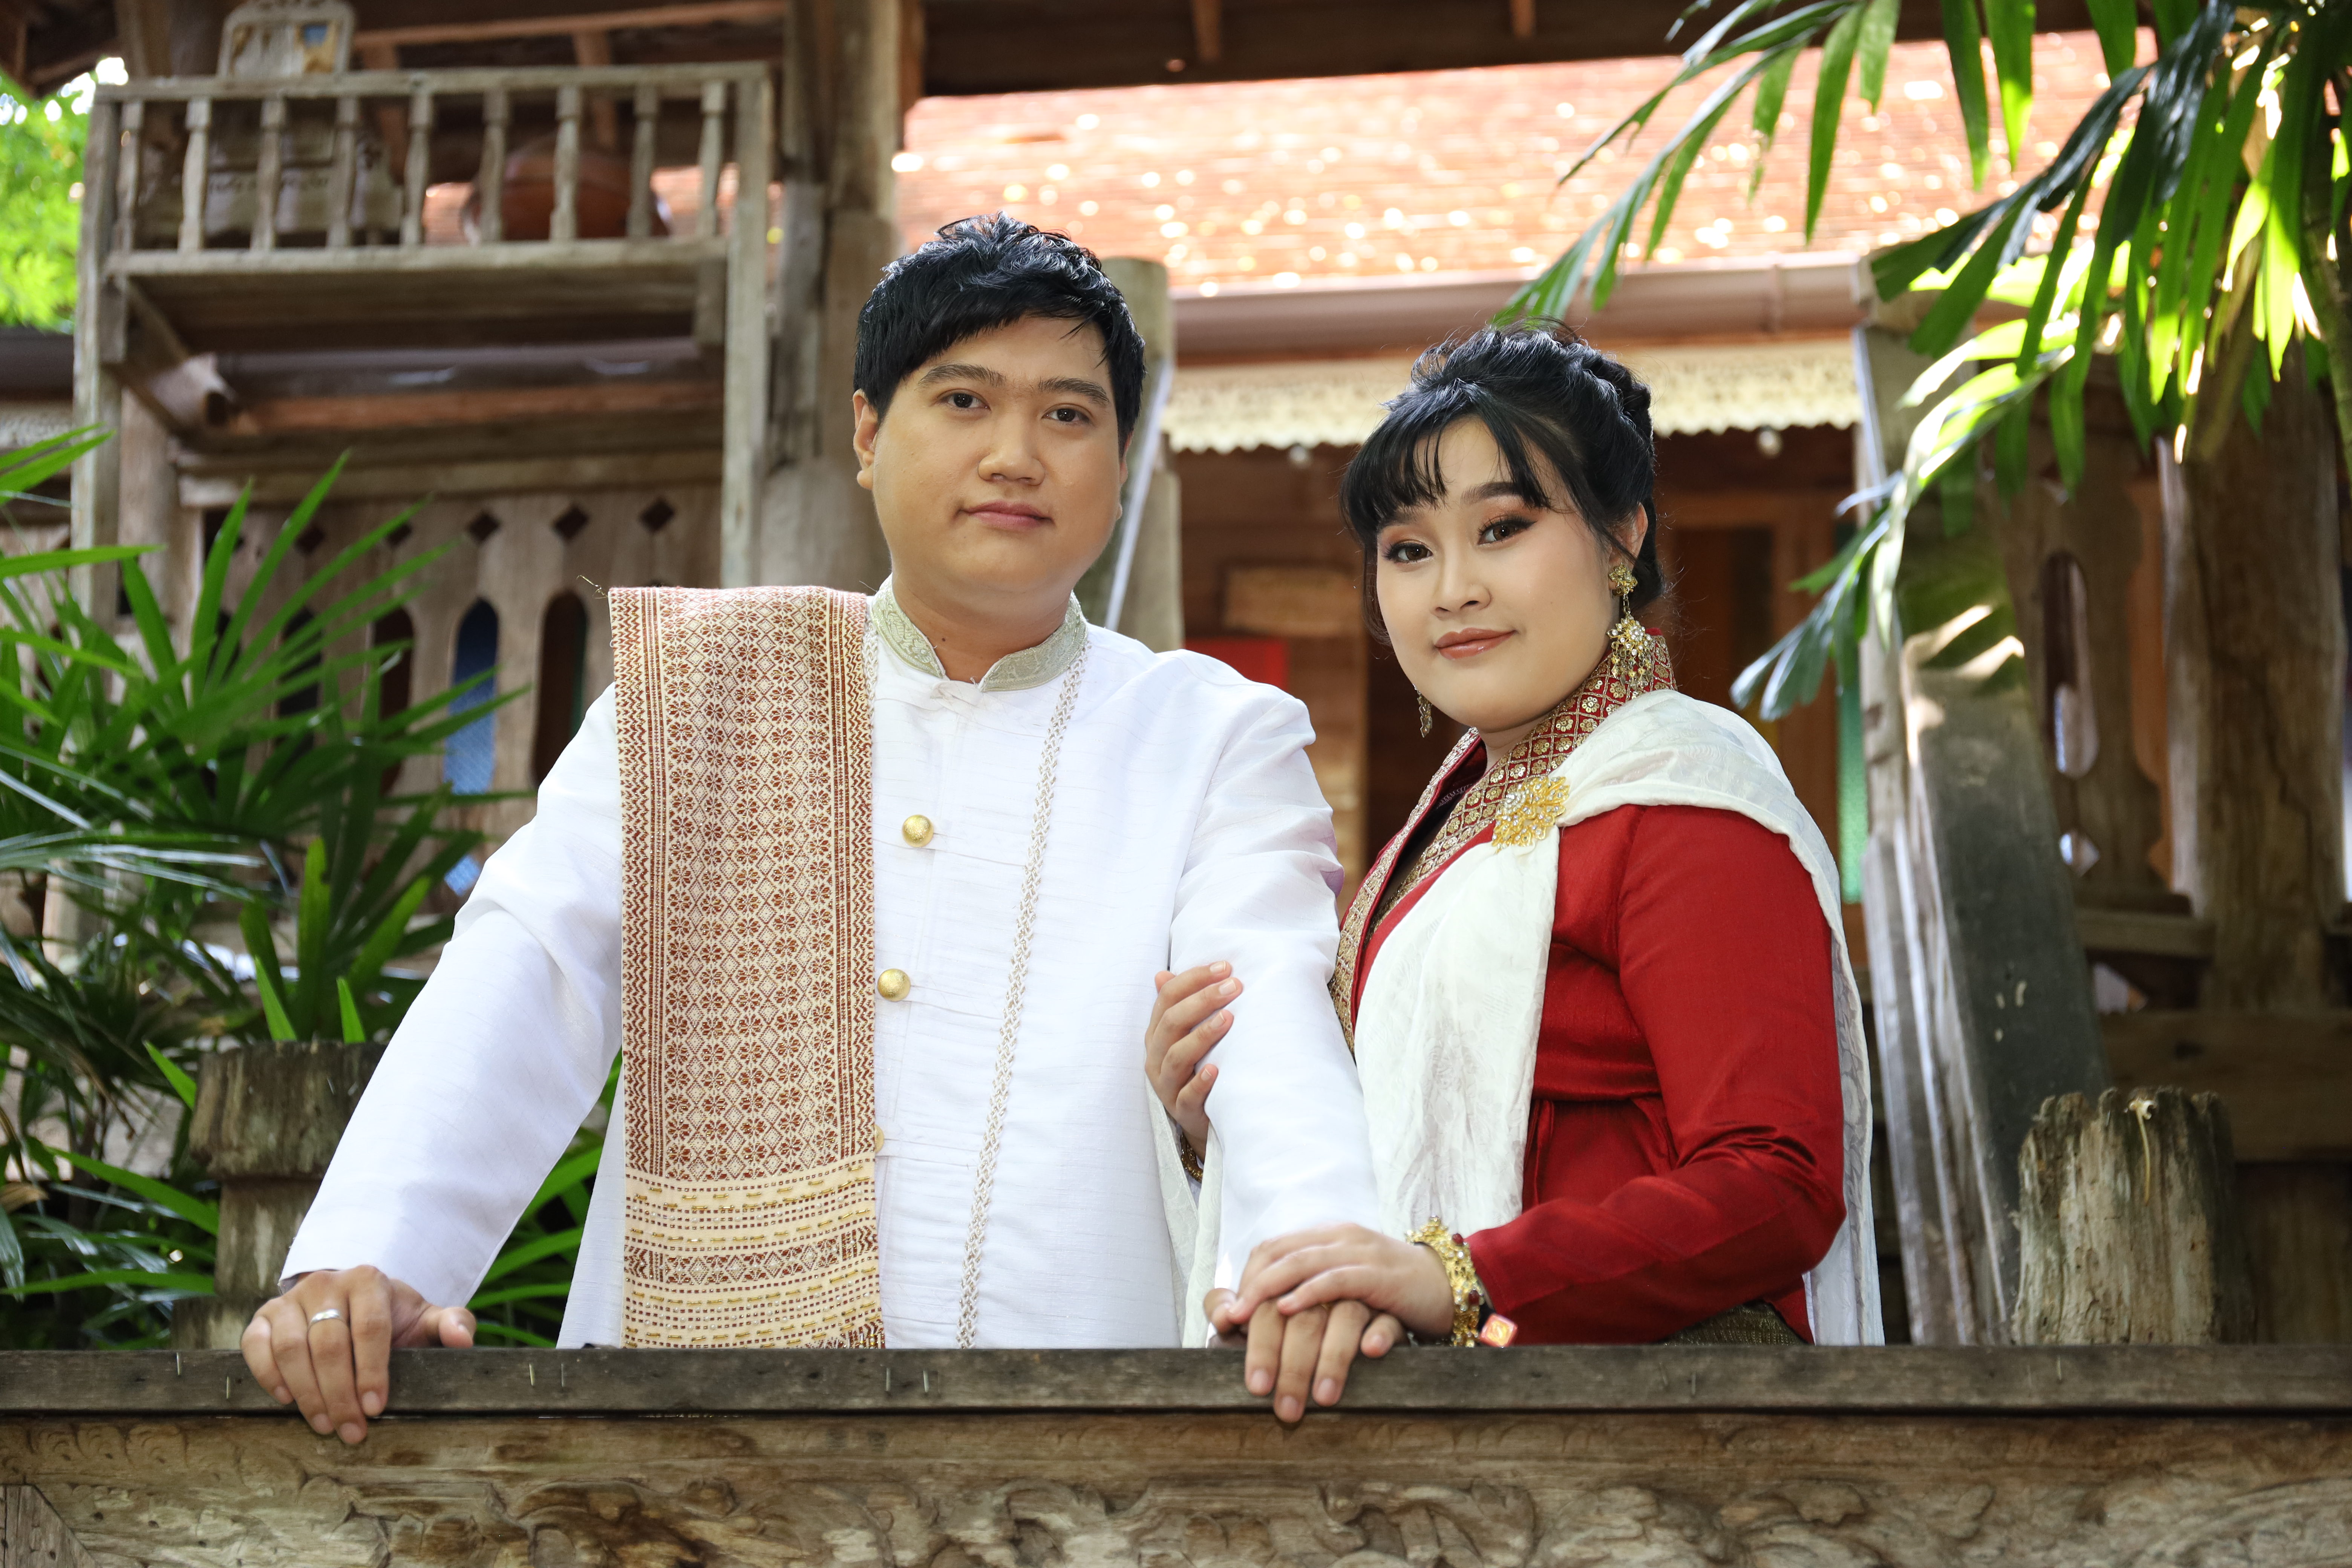
Northern Thai Wedding style.
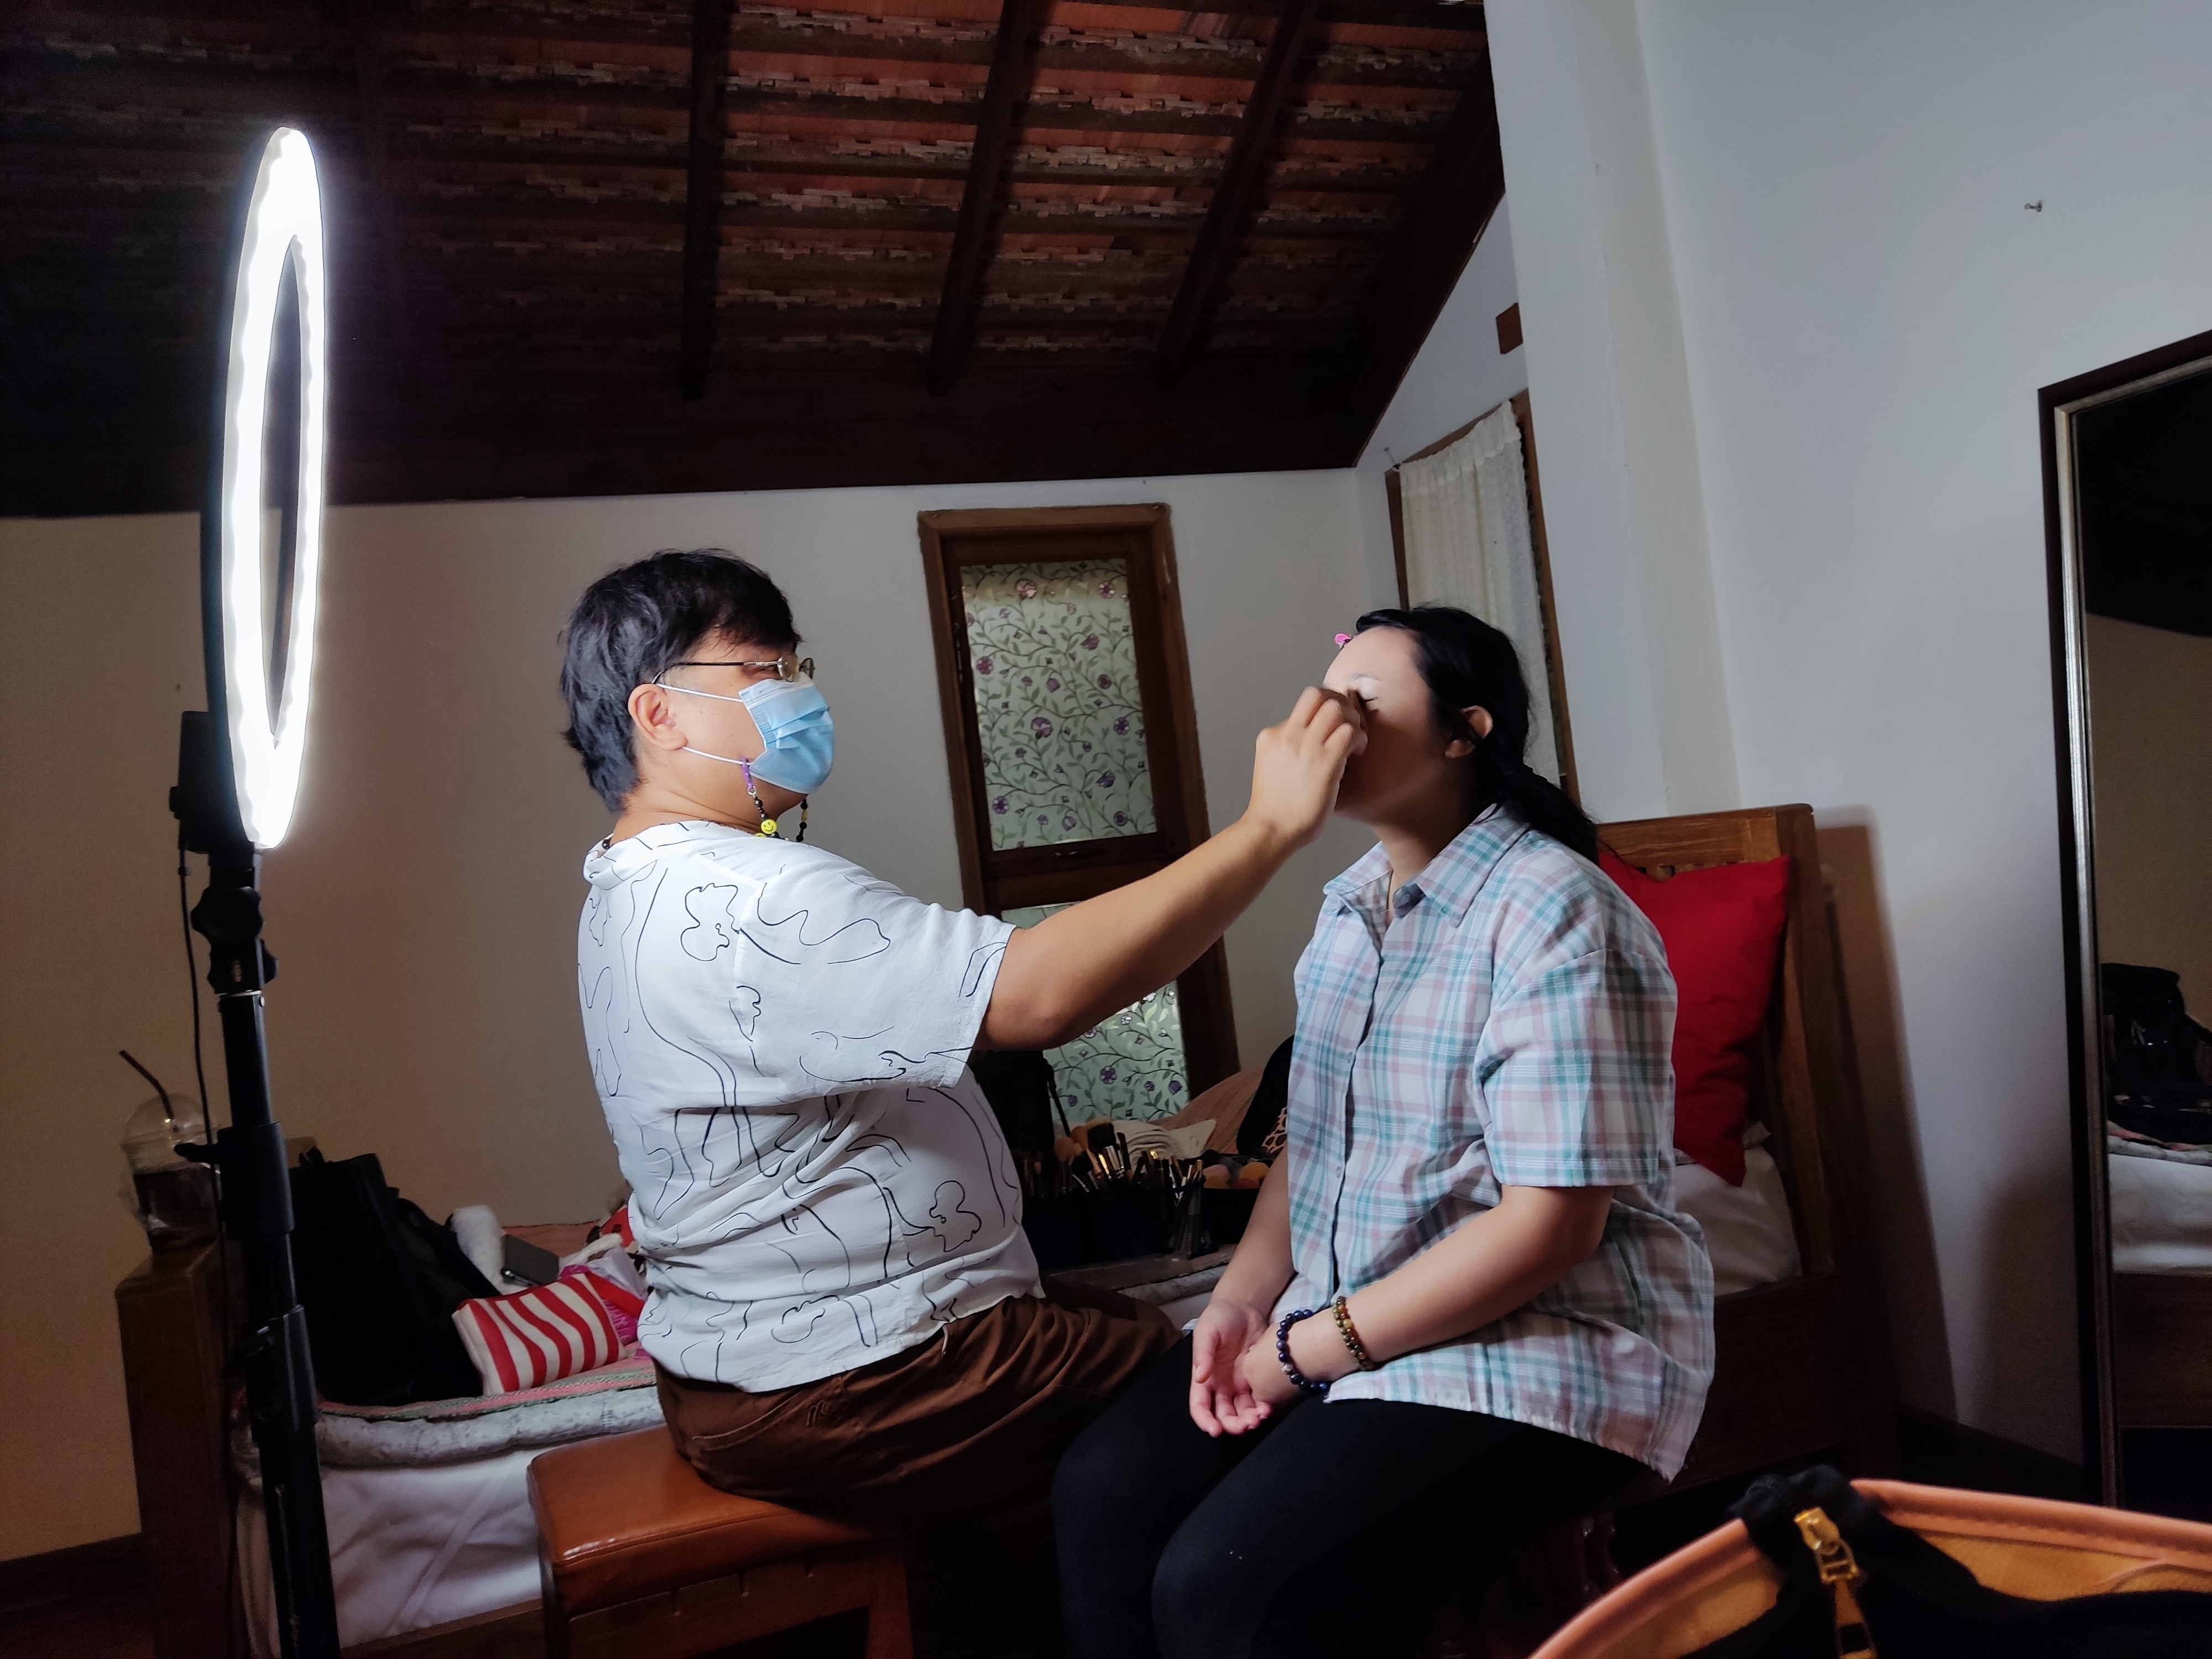
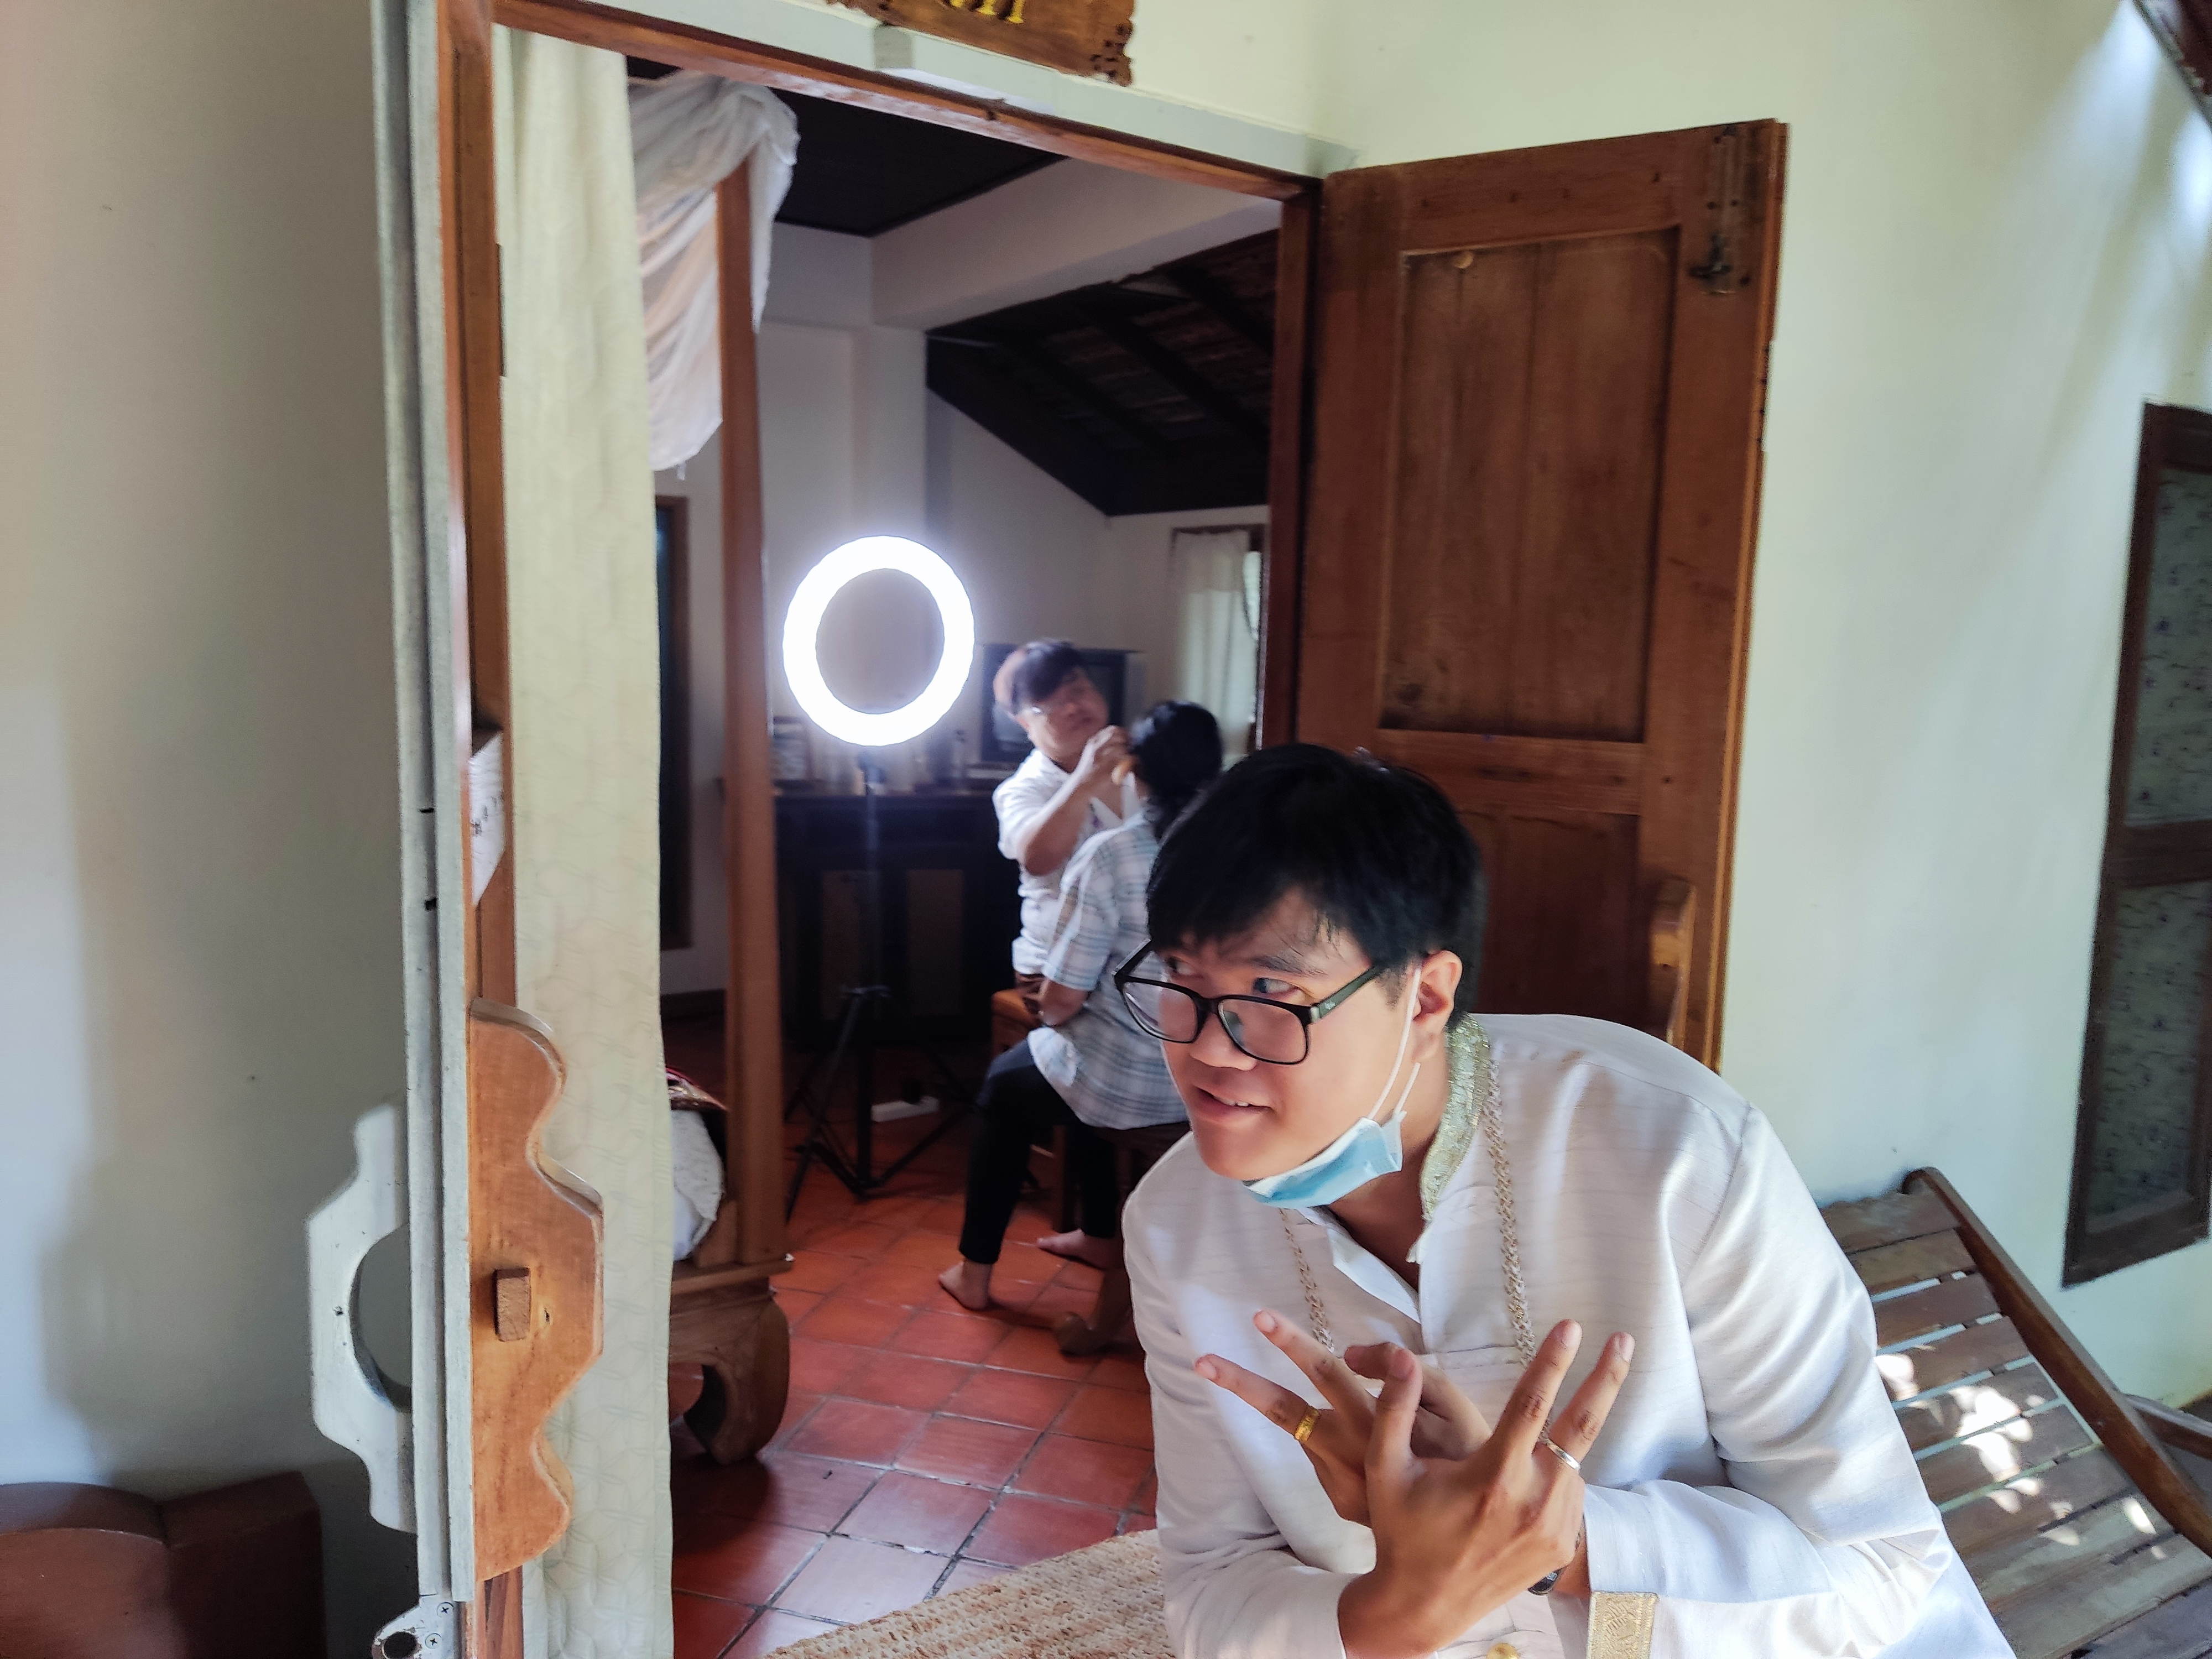
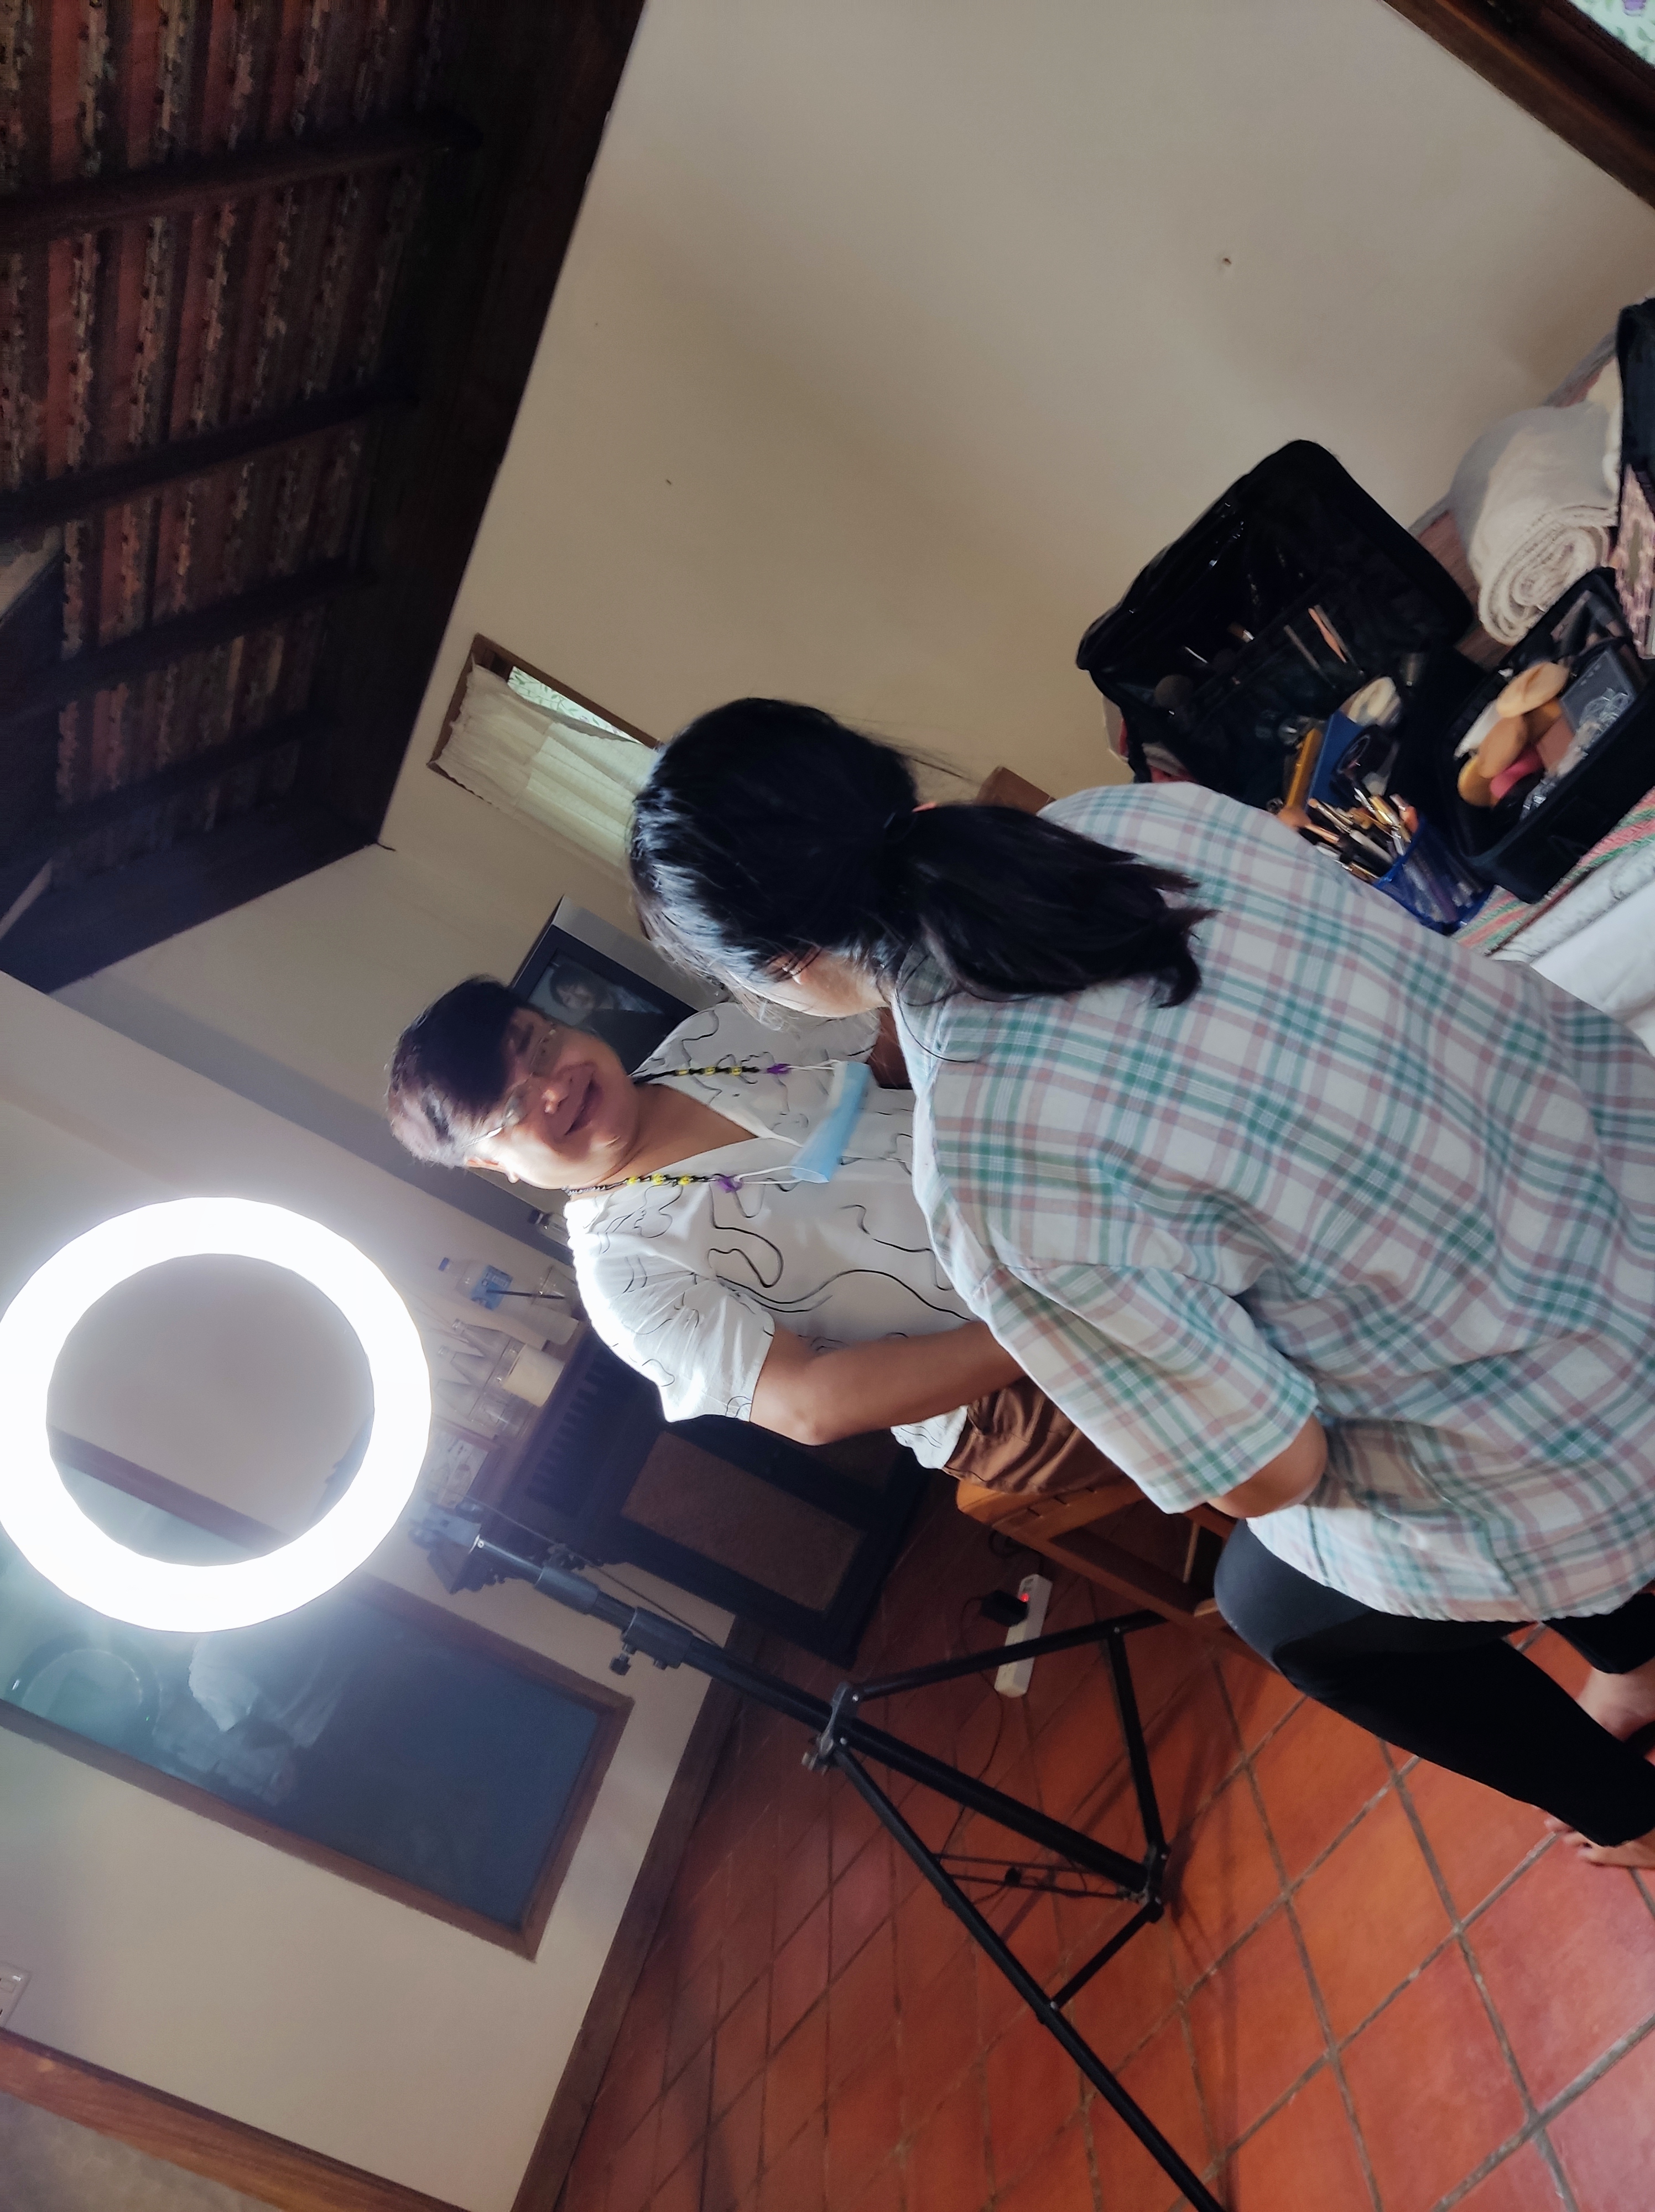
Yep, That was my wedding ceremony. All of the photo were taken from my camera : 80D and RP. The decorated photo also printed from them. There were 3 photographers, 1 was the official photographer that included in the wedding package. 2 were my friends. Was it good ? Not quite! I woke up at 4.00 am, Had some make up and I didn’t wear a glasses. The result was – 3 Photographer faced the difficult situation to have images that my eyes are open! ( WTF! )
Honey moon? Nah, My wife is a nurse – forget about it. LOL Kid? Naaaaah, not now!
Shit happened 🤣 I really going to get married. Northern part of Thailand local dress is ready…. But, There’s something that bothering me – who the hell gonna be my photographer ? Let’s guess 😂
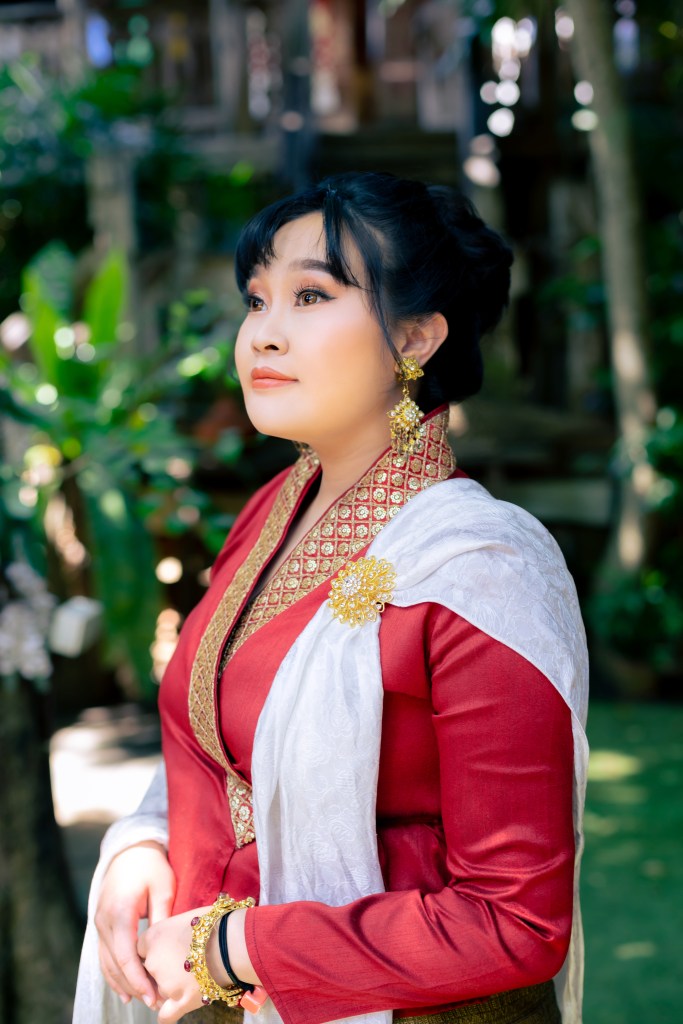
Edited image.
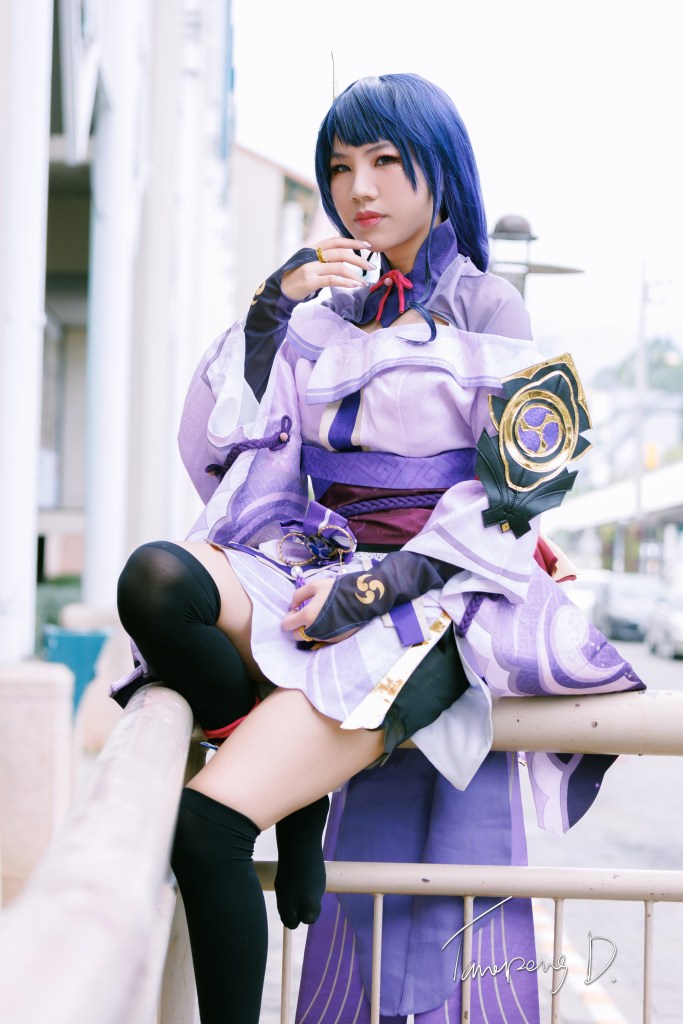
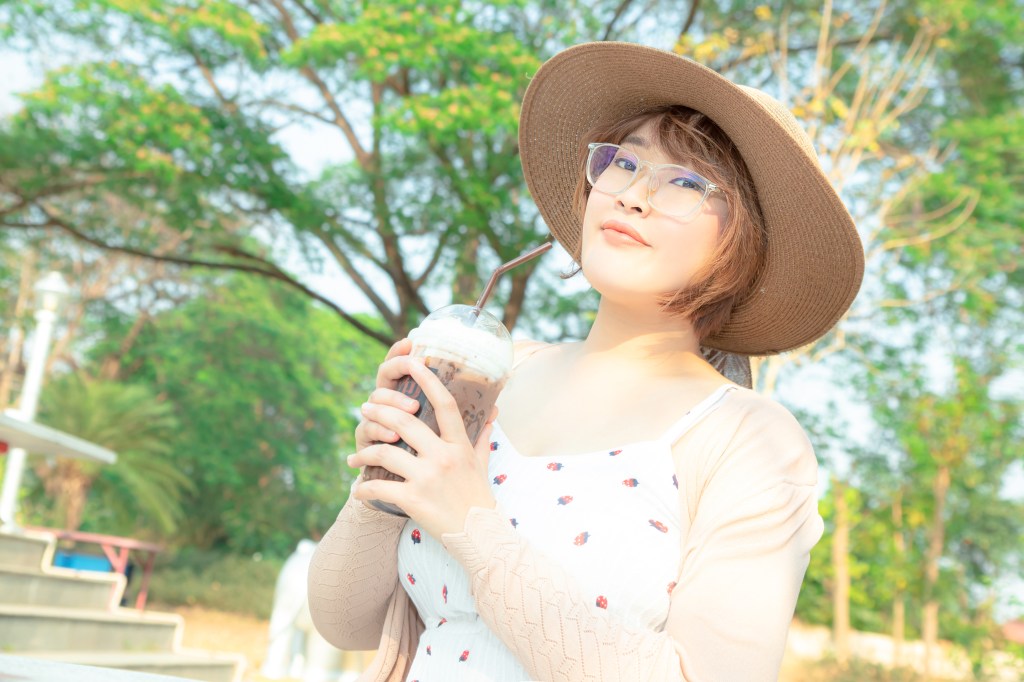
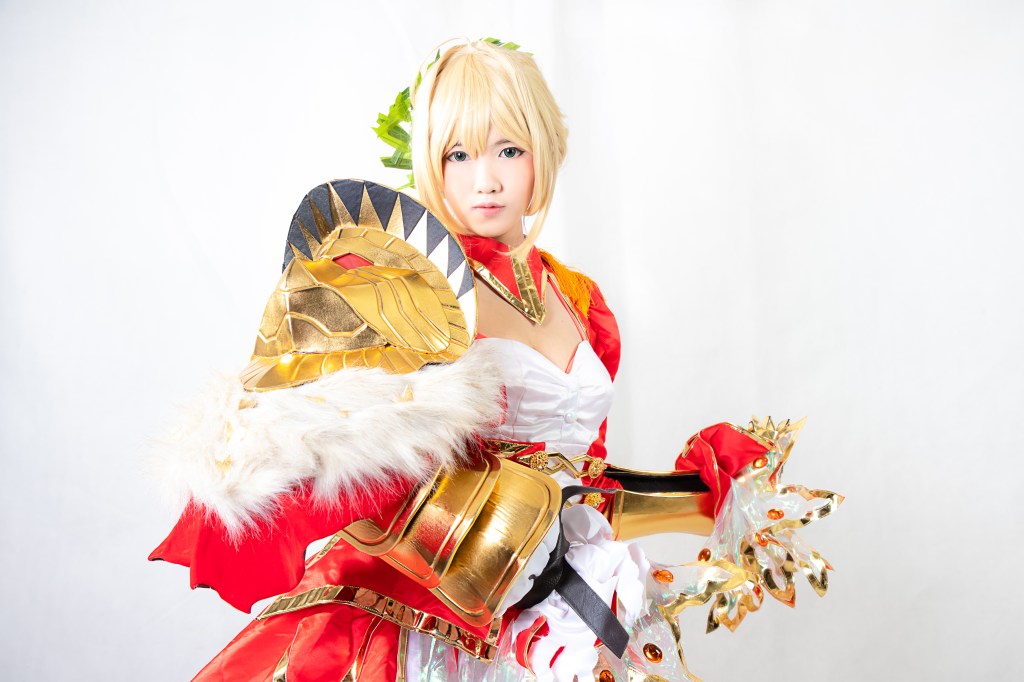
It’s my junior who usually joins my photo session, but there’s something odd – I asked him to uses my gear.
The photos look great ? Yes they are… They are good in term of quality. But, still lacked in Experience.
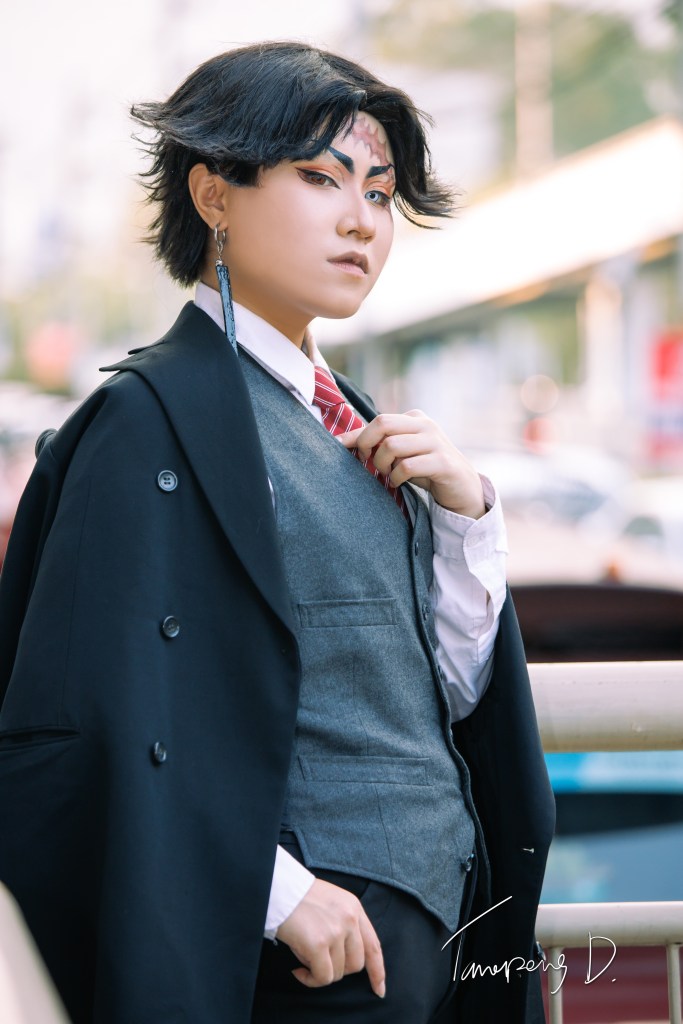
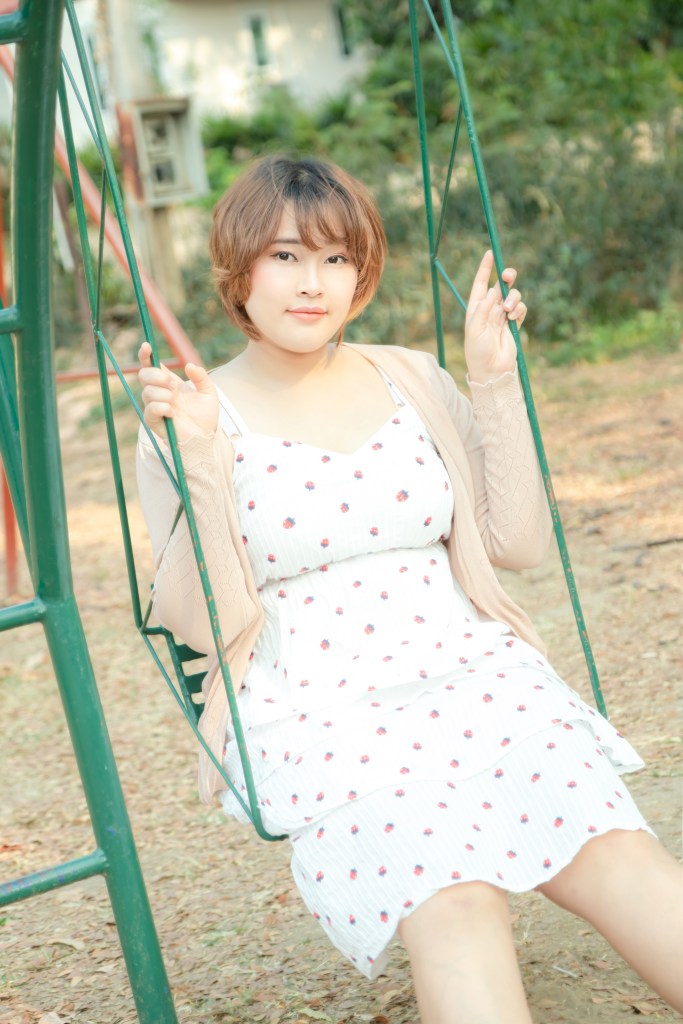
Let’s begin at the image above, he forget that – He changed the lens from 24-70 with IS to a 50 F1.4 And forgot to increase the shutter speed. 🤣🤣😂 If the image is 100% zoom, the eyes will be blurred – 1/125 & hand shaking since he is a newbie, never uses a FF 🤣🤣 – taking a while to fix that, but useable.
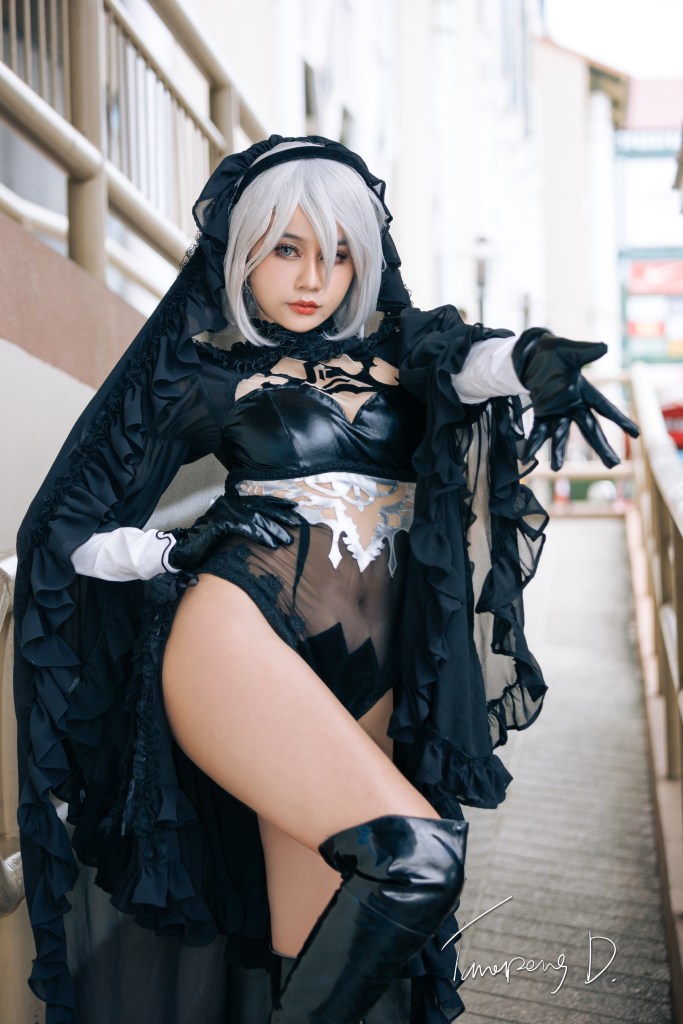
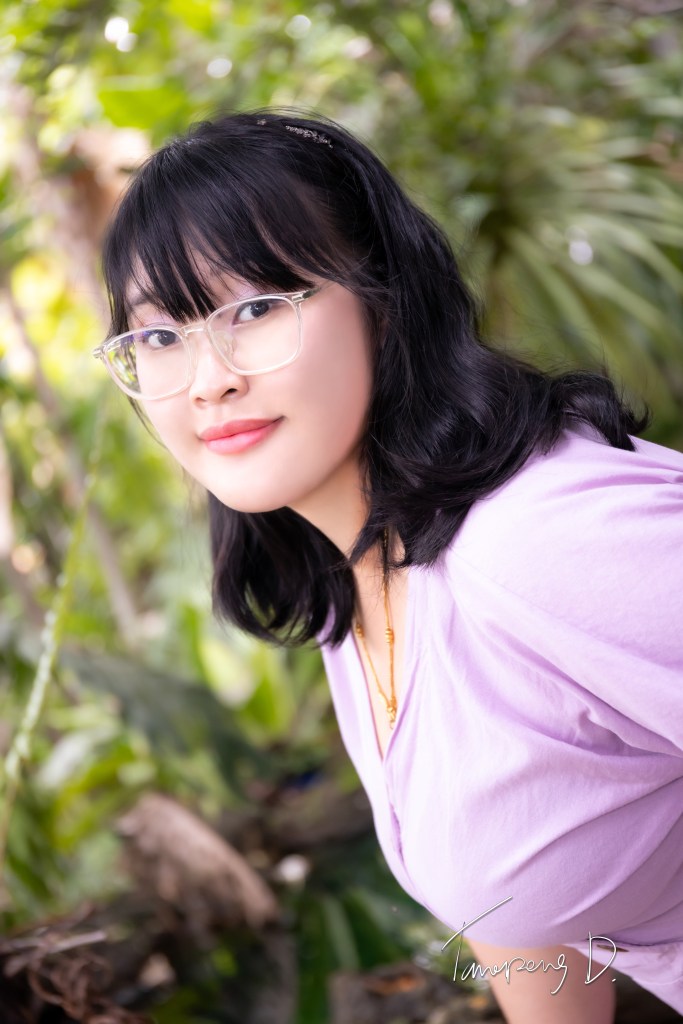
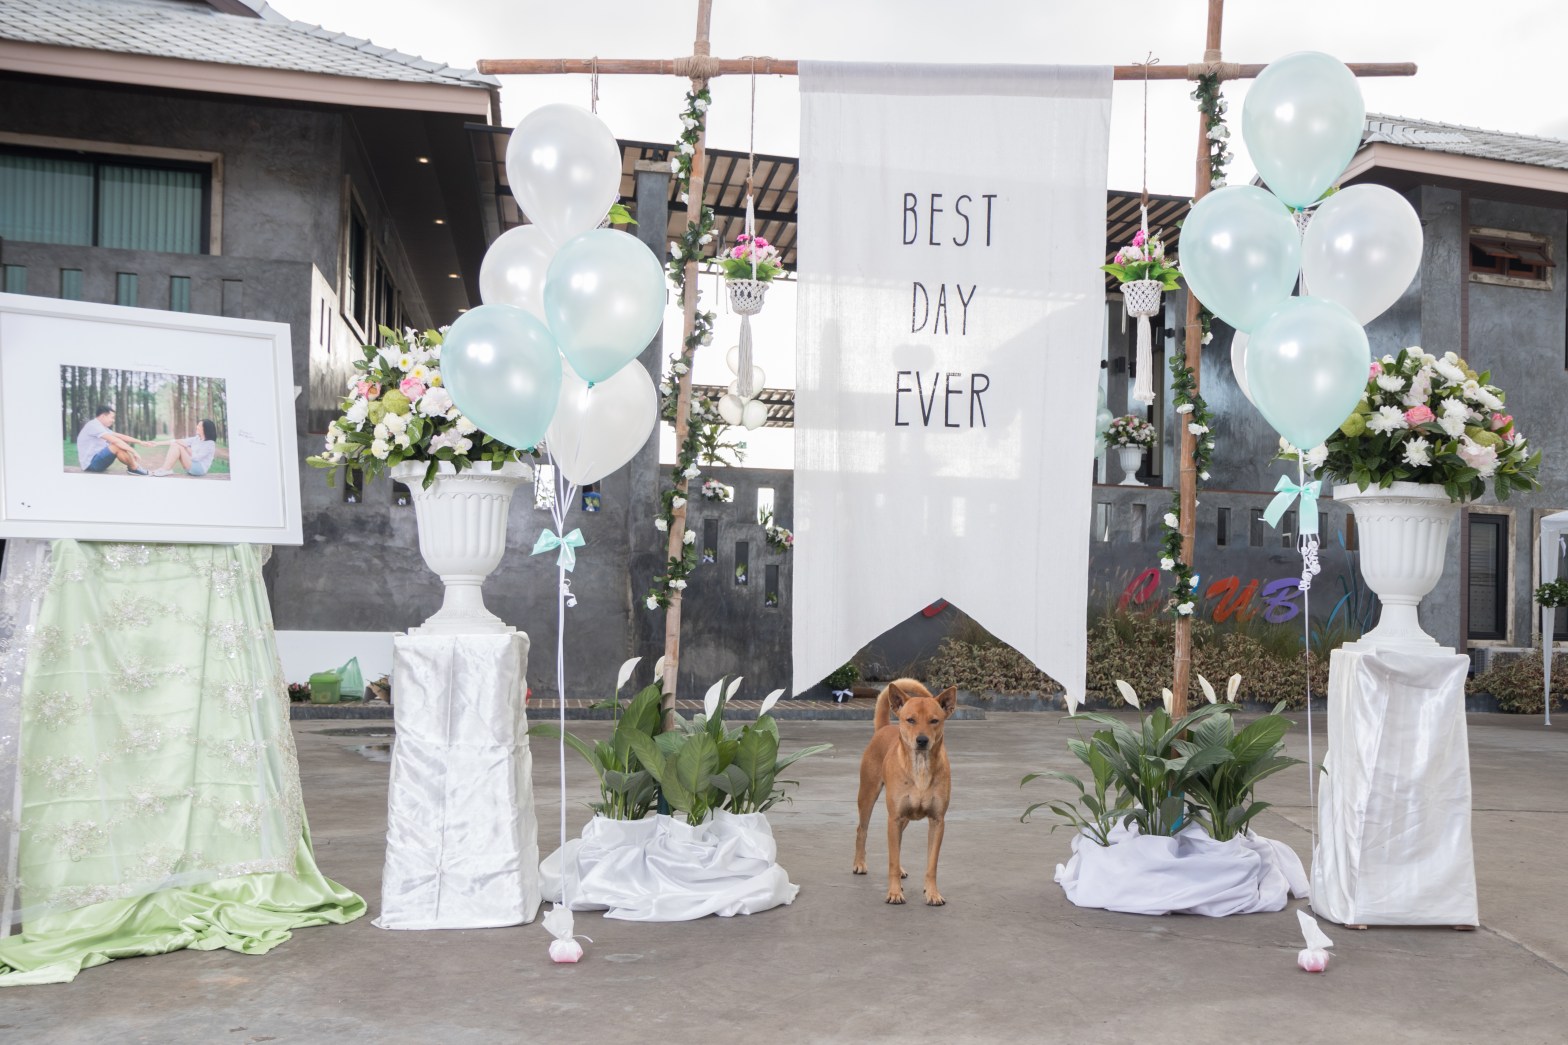
Next, The background… Since he is a newbie there’s something narrowing his eyes – he really try to focus on the objects, but he forgot the background.
Guessing – what did he forget?
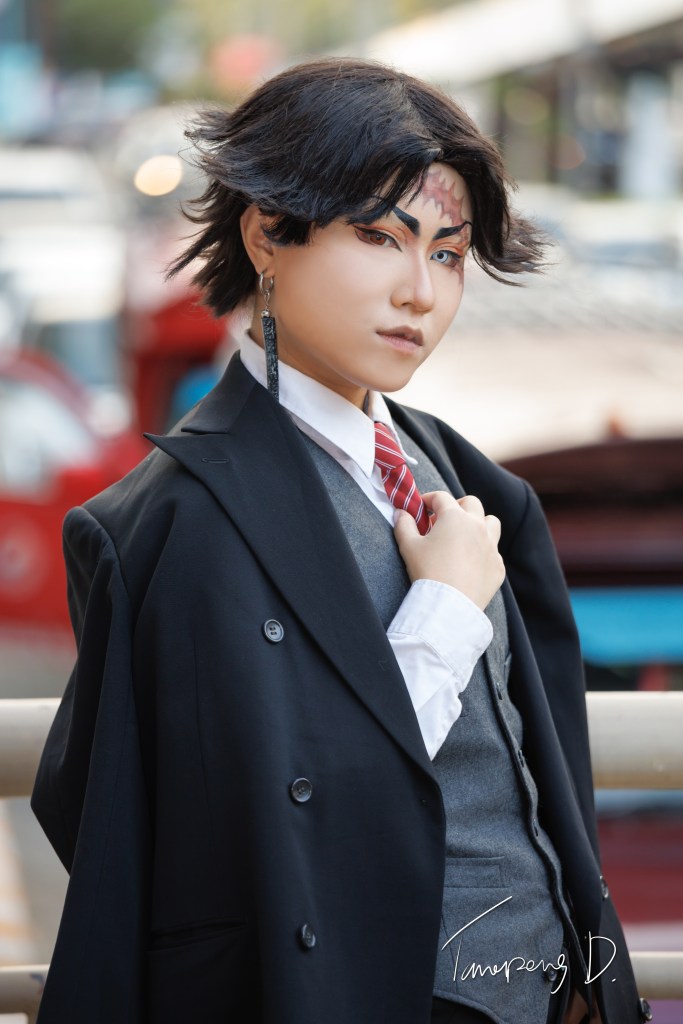
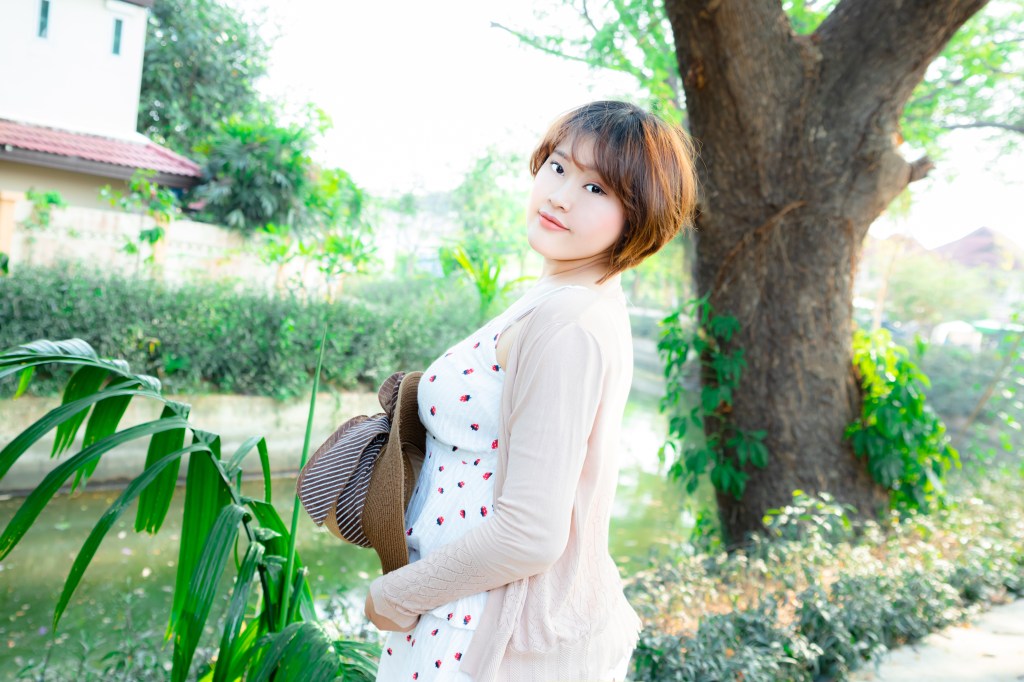
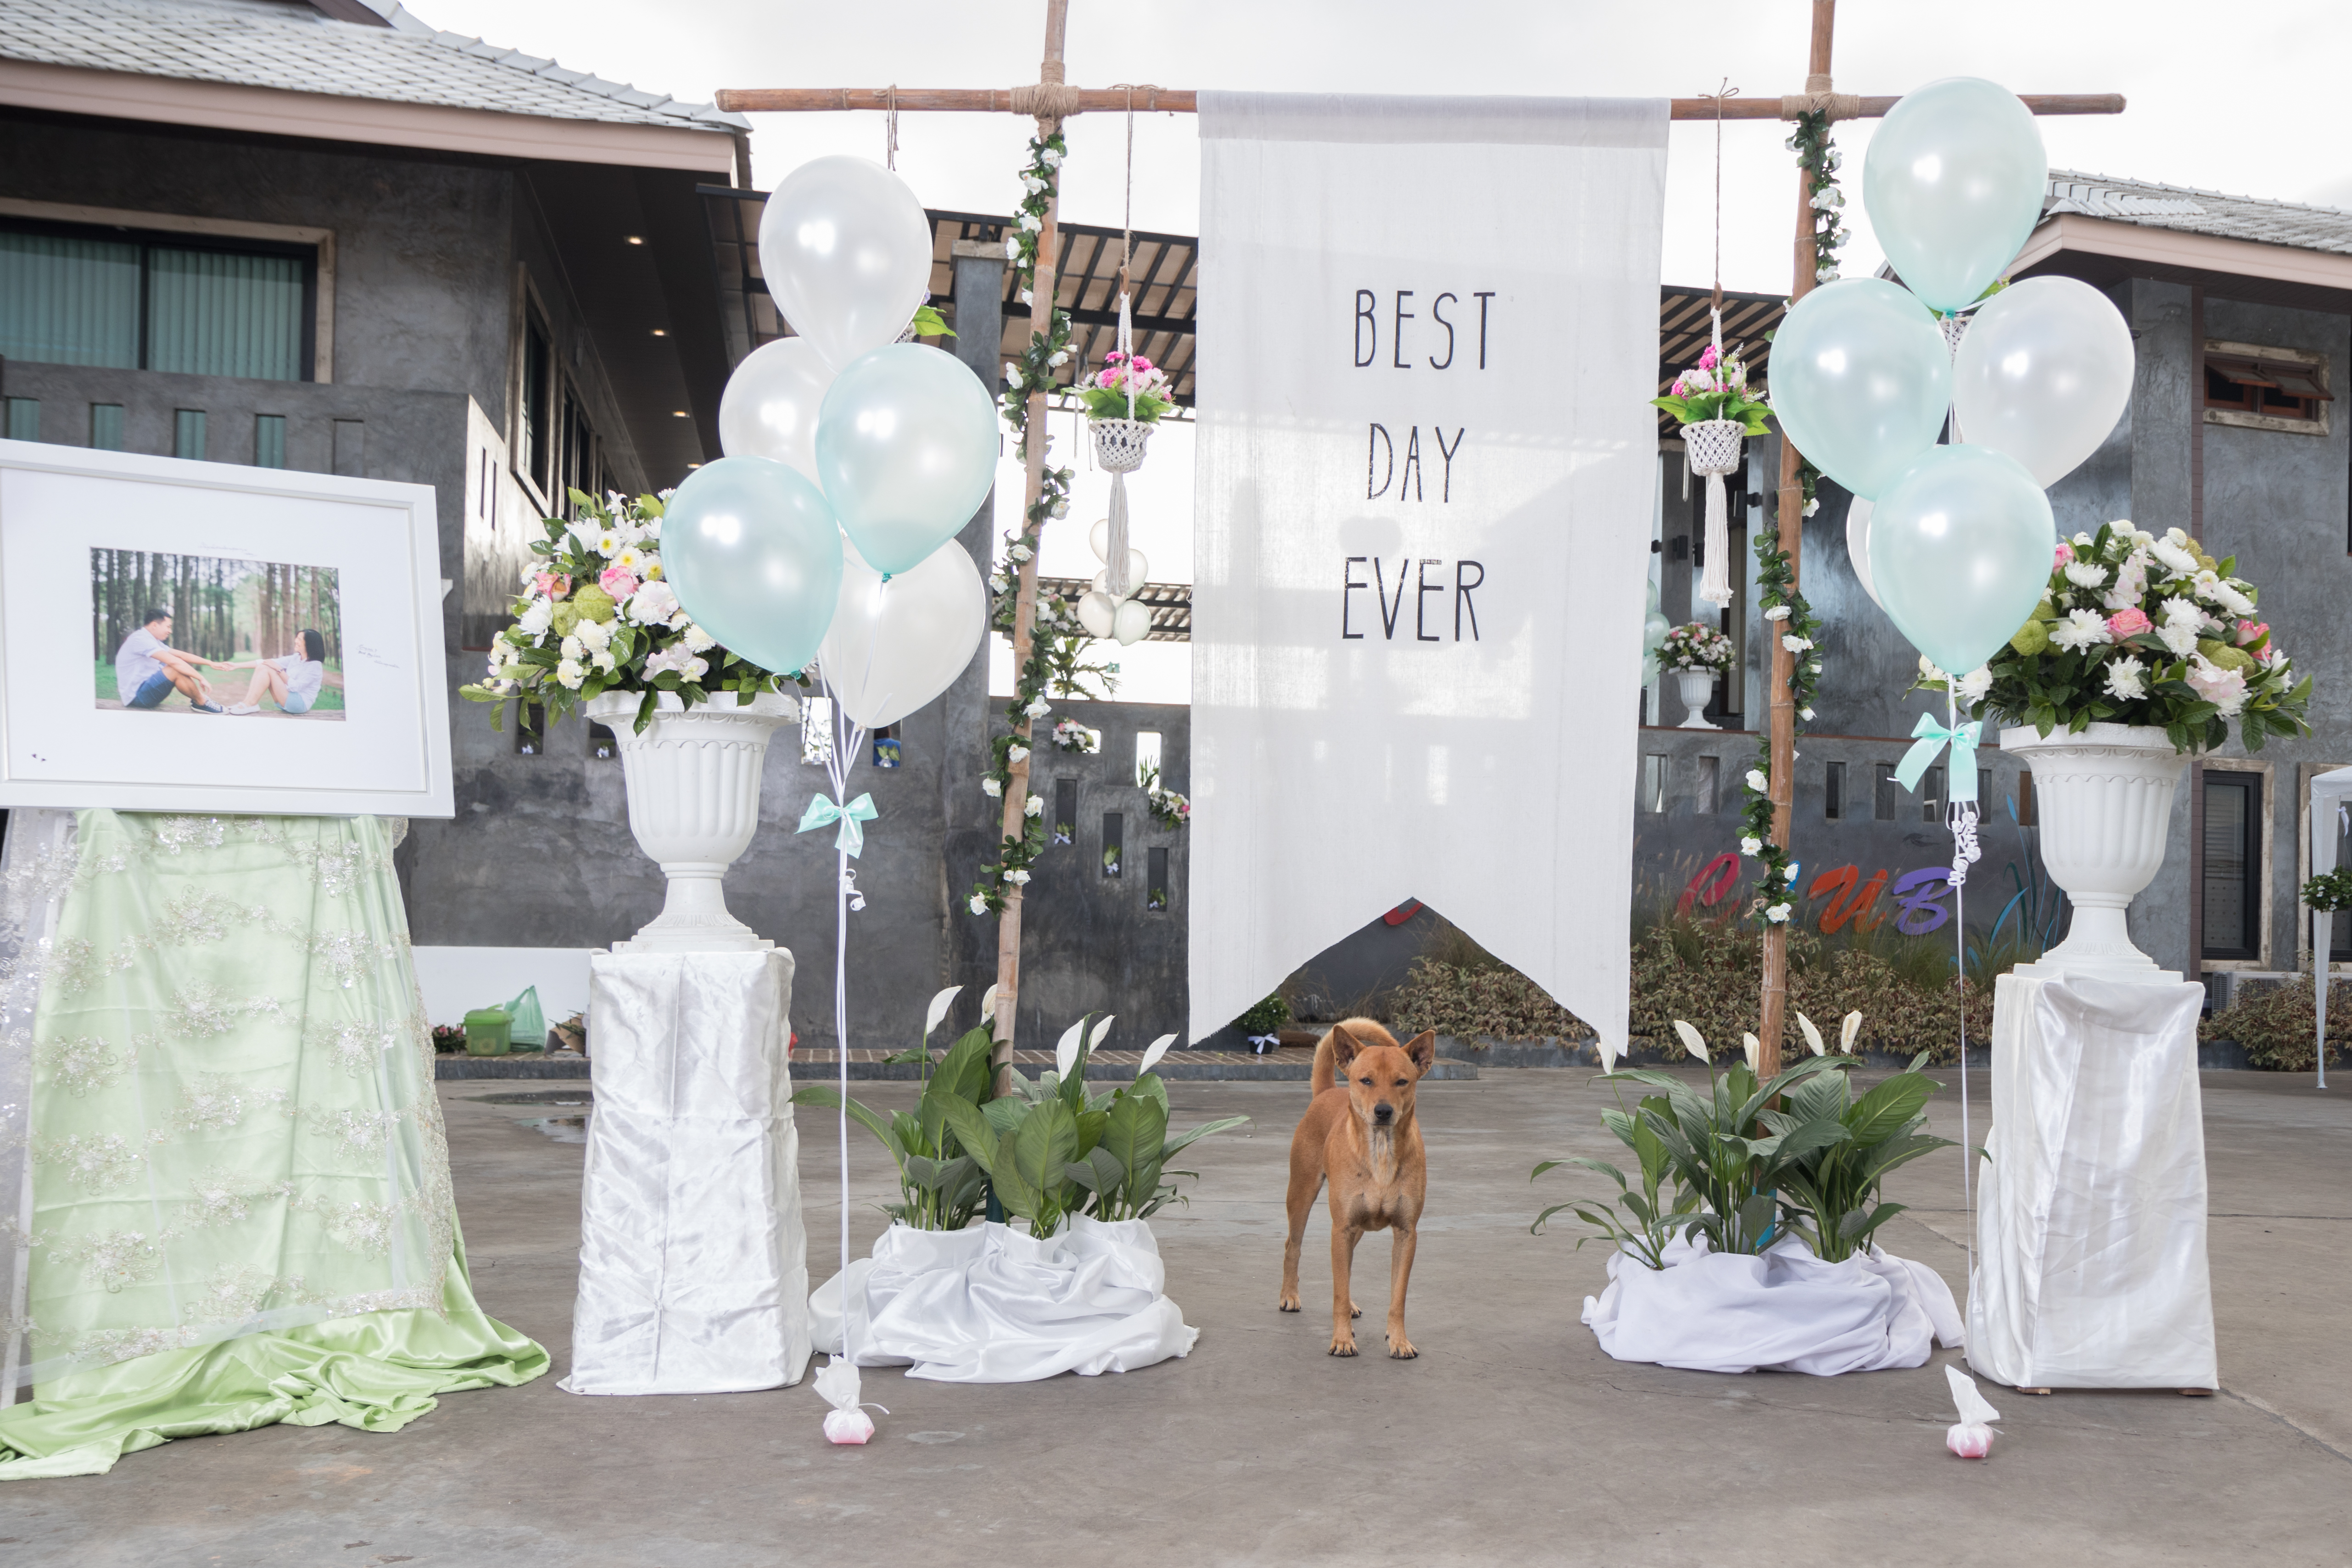
There are persons who walked as the background, this is the image that contains less people as possible. This is one that we shouldn’t miss – respect other’s privacy when taking a photo in the public by waiting them to walk away from the background or kindly asked them to leave ( not gonna be easy in Thailand 🤣🤣 )
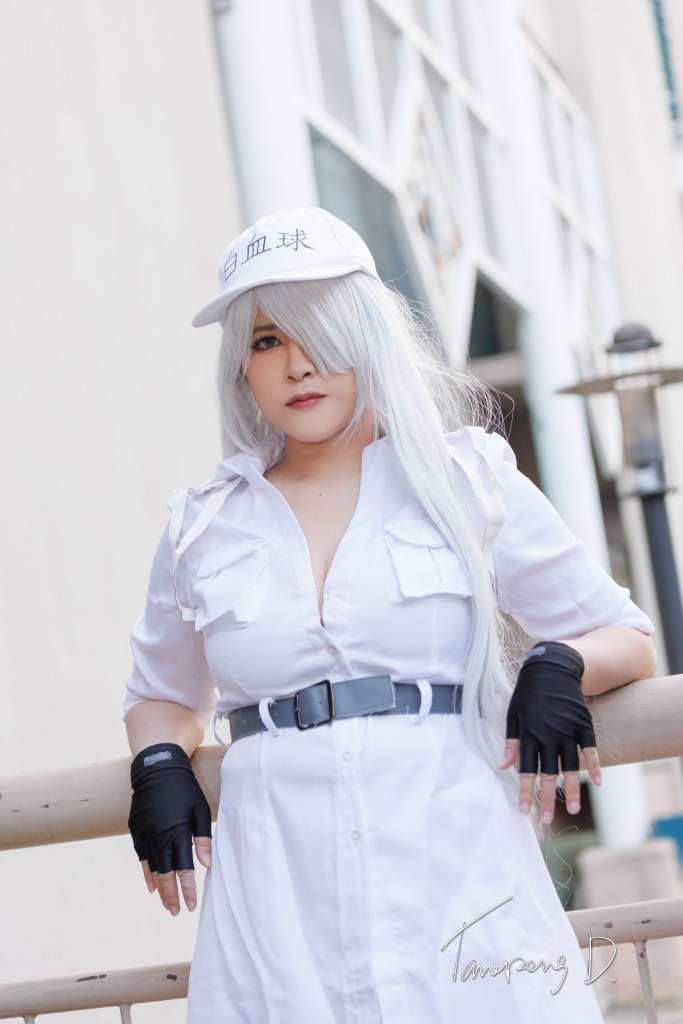
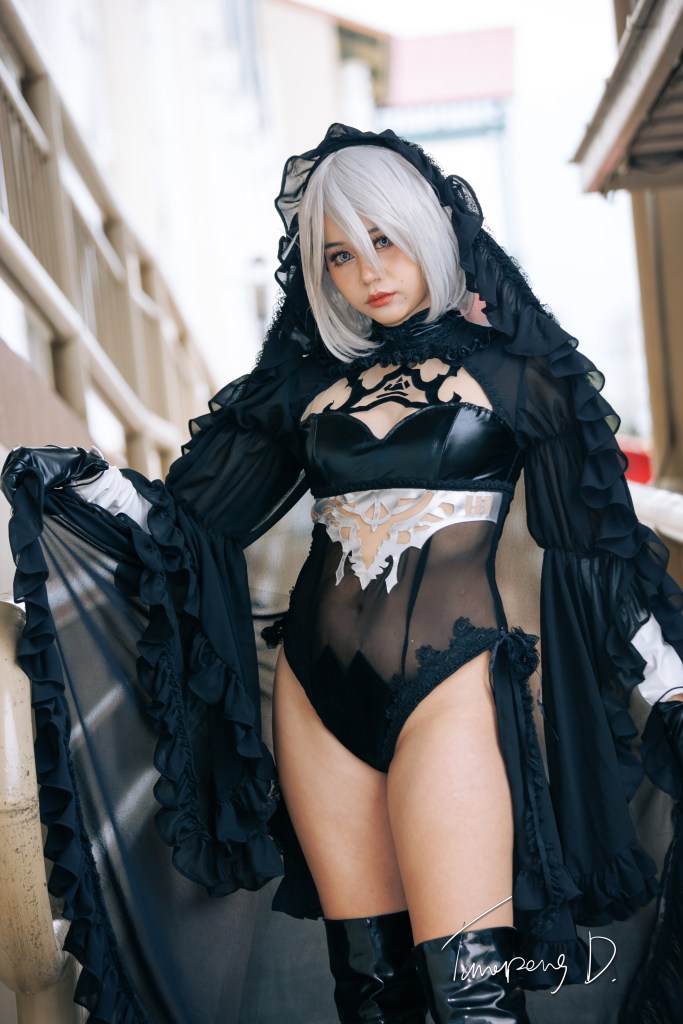
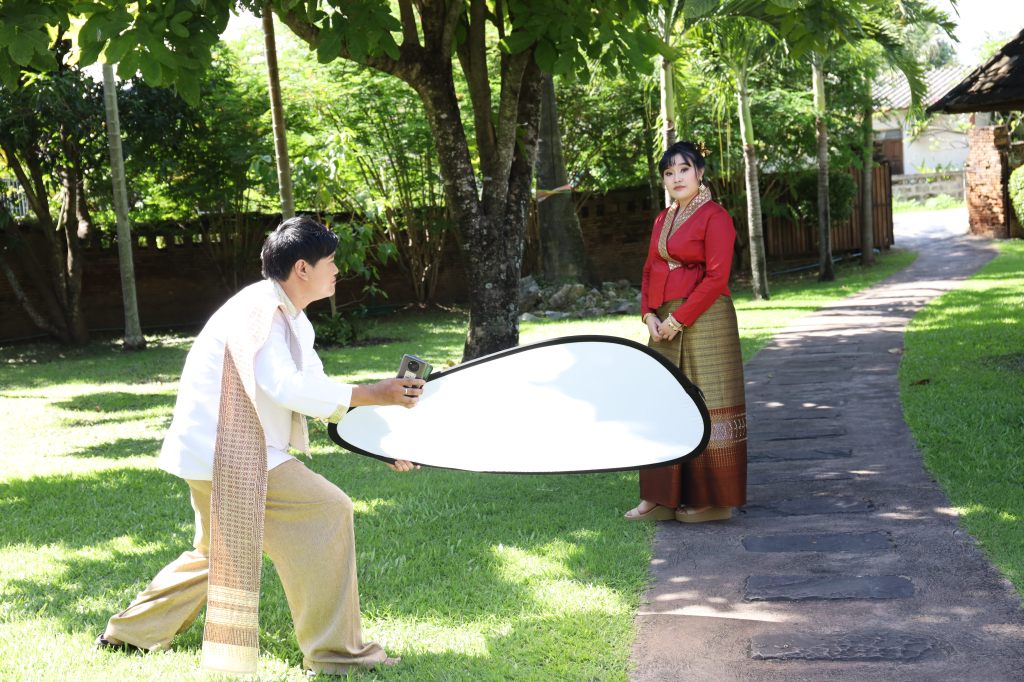
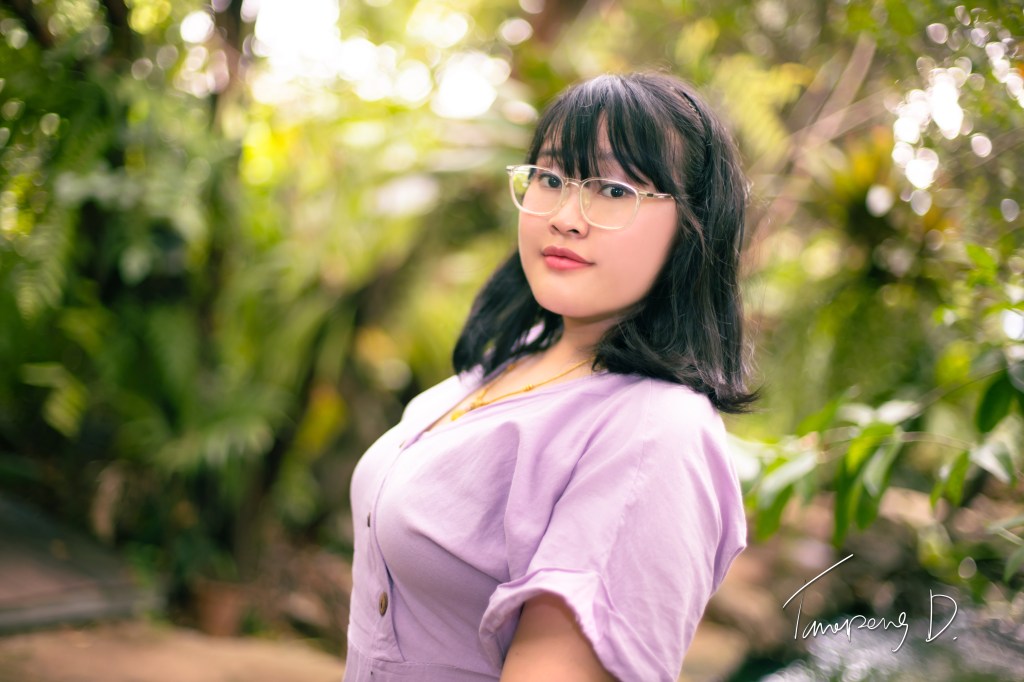
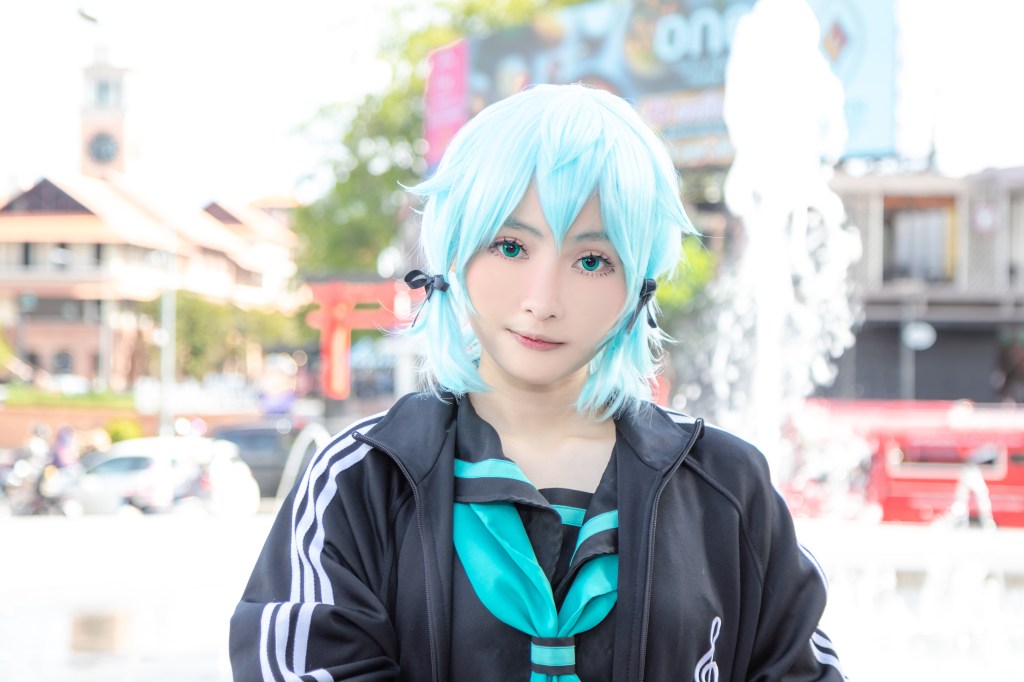
Here’s what he did, impressive.
Yeah, forget about his nervous of using my gears. He is very talented. He can read and understanding the compose and setting of the reference images. Yet, he knew how to get the photo like the references. Hope that he could fix the mistake from above, soon. – just be more patient 💪💪
Next time, I will show you. How to edited images that were taken by my junior ( but, using my Rp). See you, soon 😂😂😃
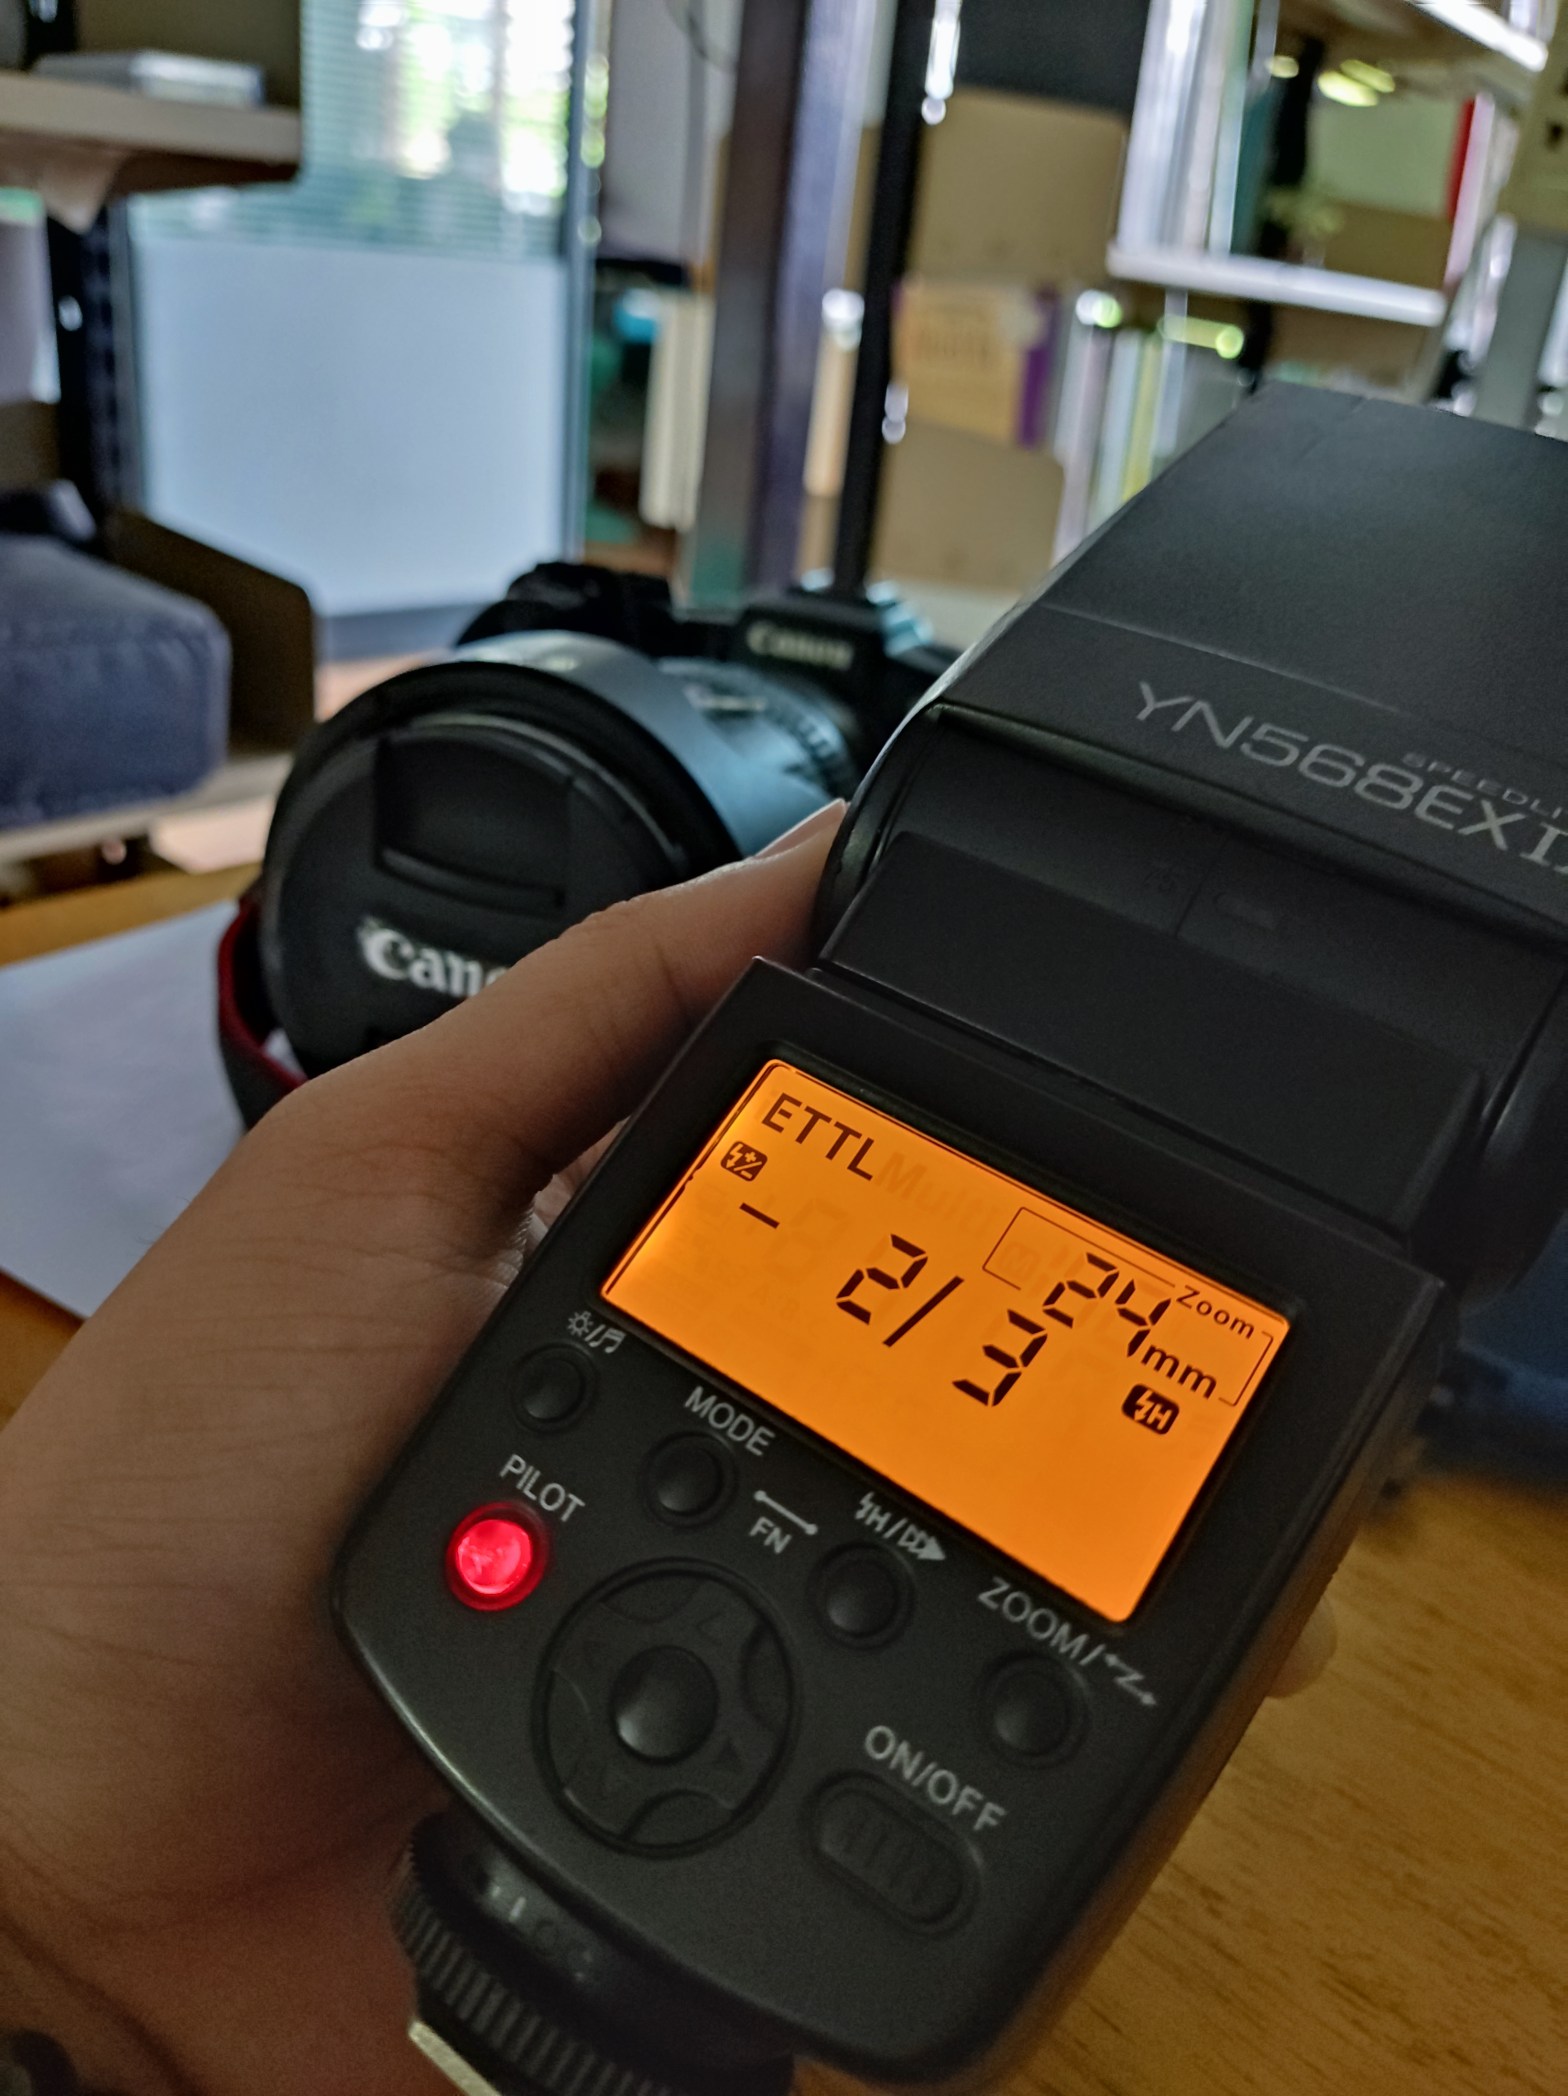
October has come ! finally it’s time for October fest or Halloween! Wait! There is still a time for a flash. For those who interested in a flash might already know about this – but here is a quick explanation. Any brand and model of flash has its own GN (Guide number) There is a formula to calculate the rage of Guide number = f-stop × distance (While ISO = 100) , blah…. blah… blah… Okay, skip it to the main part – I’ll called it as “Firepower” Every type of flash and model is what I said before, the GN should be on the box when you buy it. Anyways, I recommend you to have one and if you really want me to suggest a flash for you… I recommend you to try it by yourself at the shop. (Price and Quality – the one who pay should be the one who makes decision) Let me summarize it later.
For me? A Yongnuo, 3rd party brand should be enough. My wife saw it on the discounted shelf of the shop and gave it to me XD. Amazingly work, since 700D to 80D, then RP. Holy sh*t, I want a new one so bad, but it’s still working even I dropped many times. Let’s see what we can learn from this.
Mode – There are 3 of them that I have.. 1. Manual – Fully adjust – range of the lens and firepower. 2. ETTL – is an auto range adjustment, still allowed you manage the firepower 3. Multi – While your camera shutter is open, the flash will flashes many time depends on what you set in Hz ( flashing/sec) – good for a long shutter speed. (Rarely use)
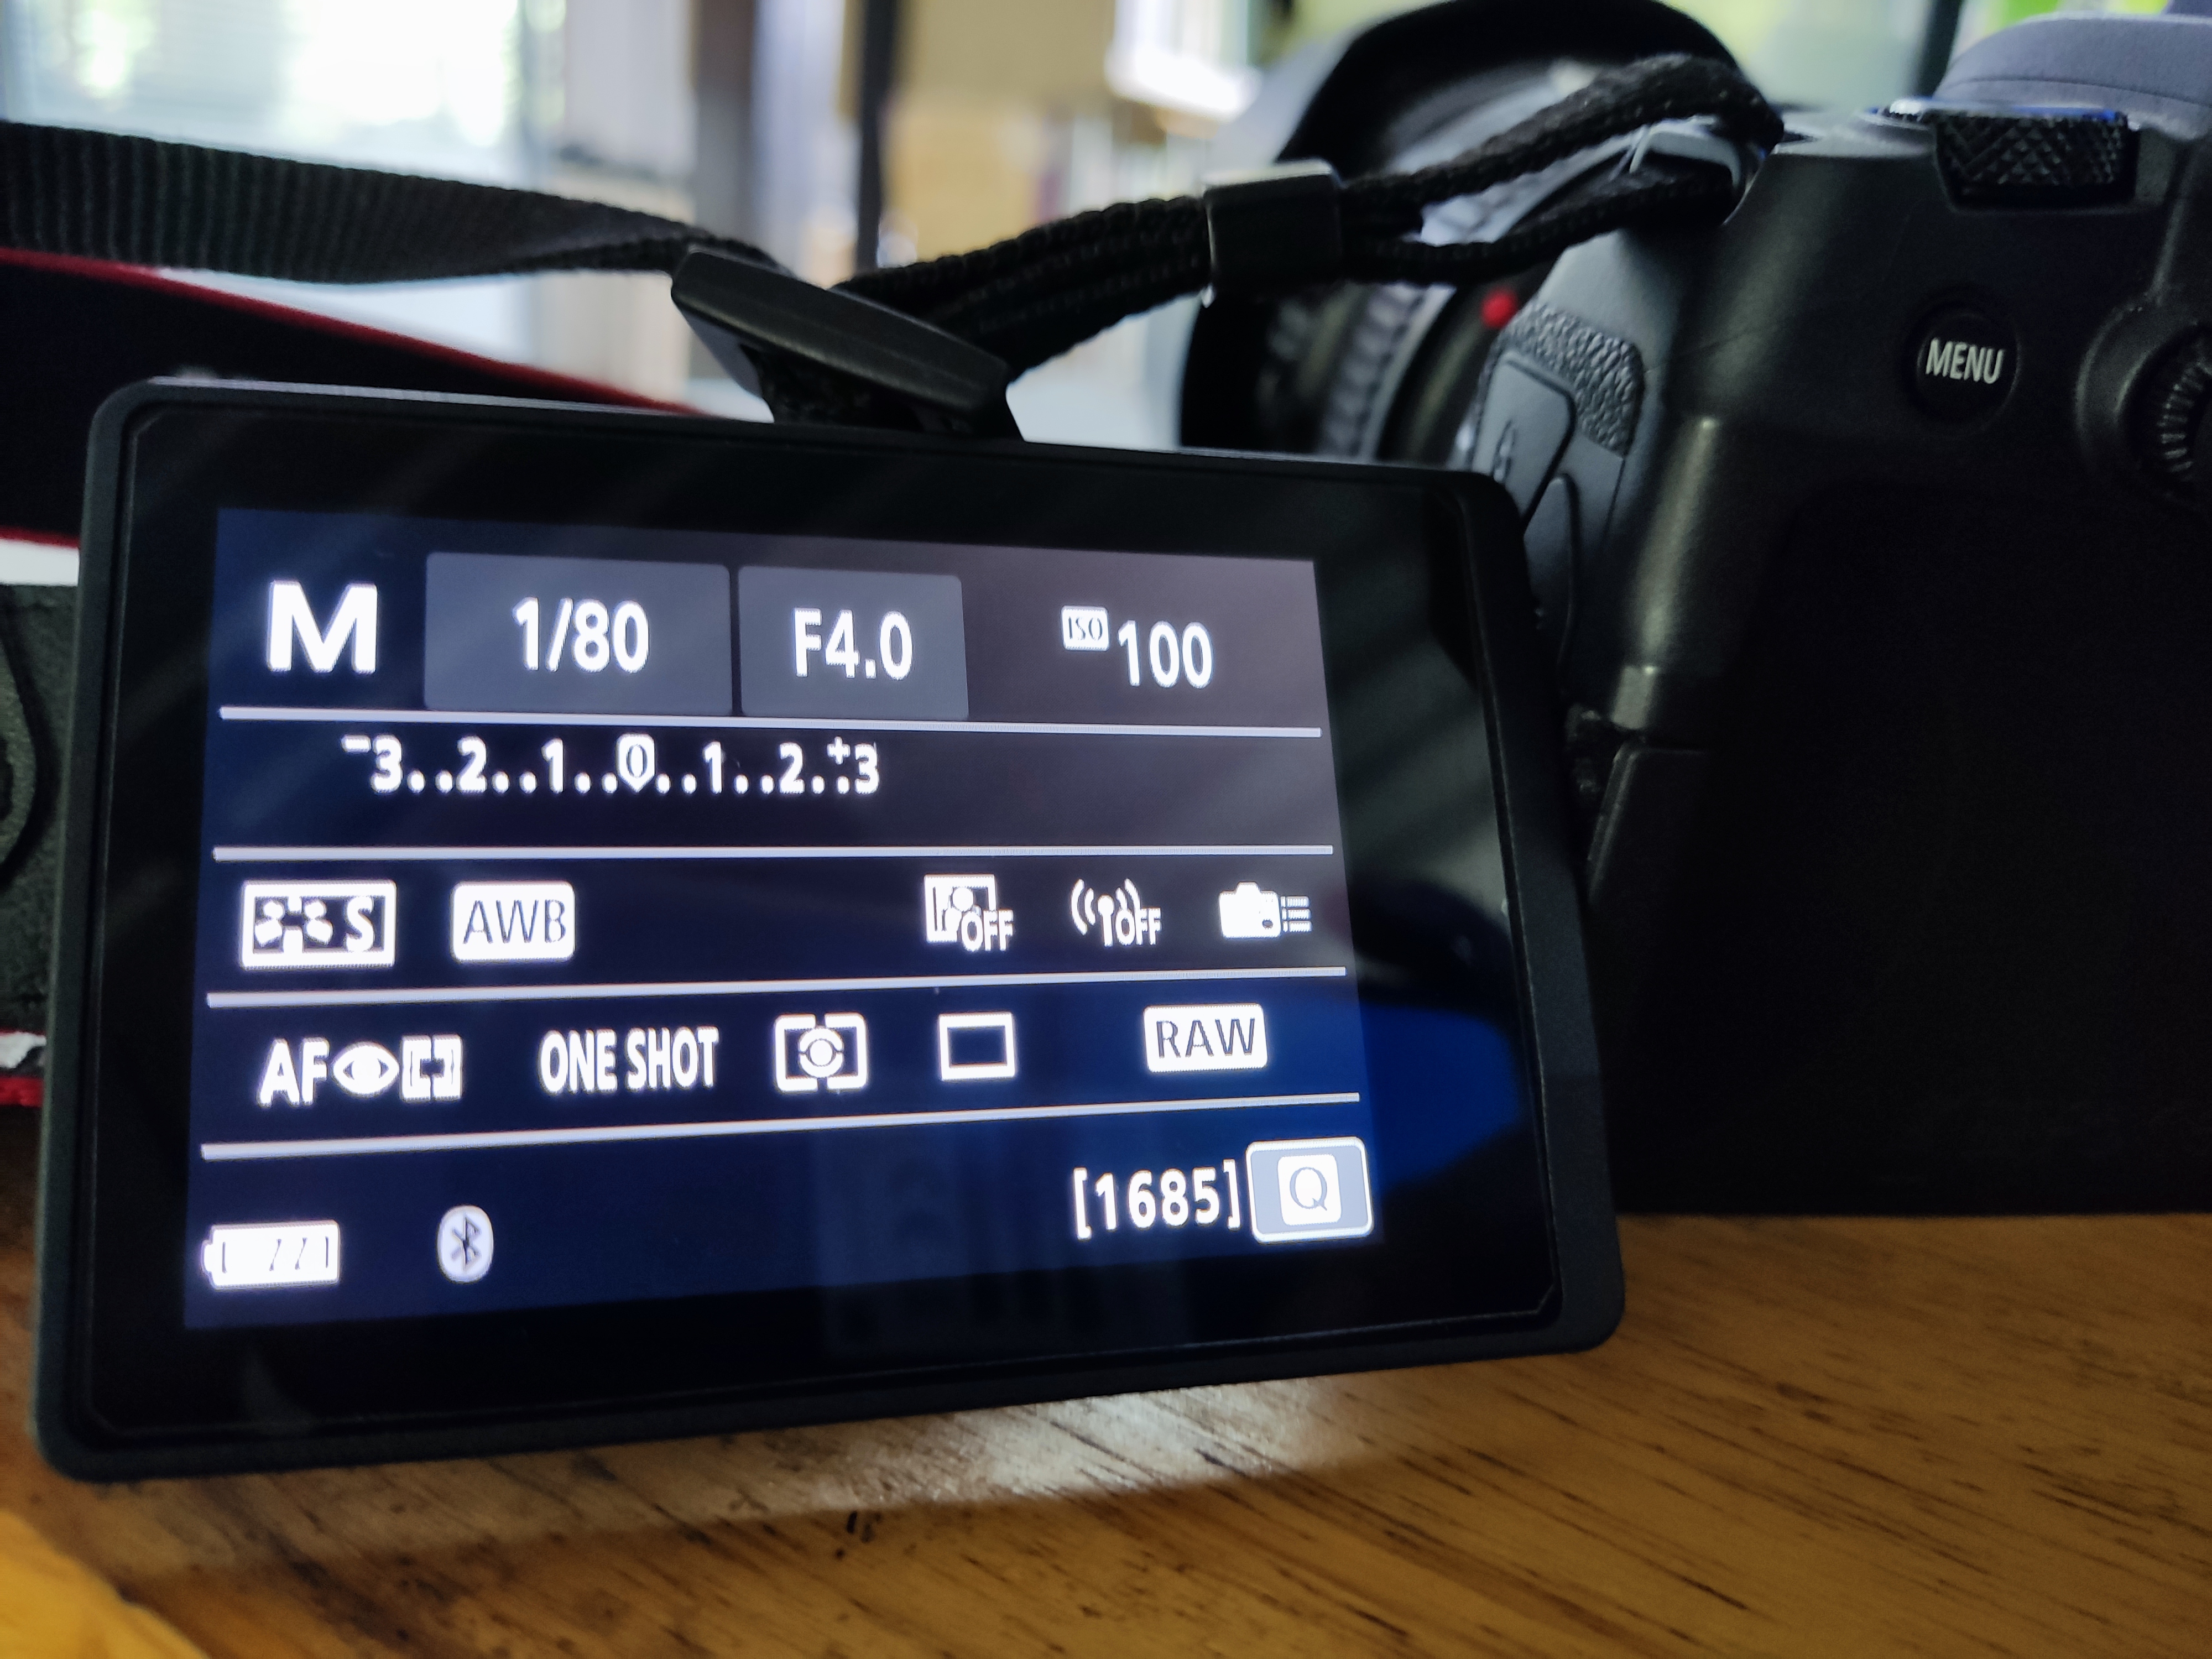
Jump to the manual mode. The basic start from here, since the cover image has a number of -2/3 it’s seem very familiar to you, right? if you read the older post of EV, That’s the same! what you need to know is how strong of flash will be – a firepower of it. You need to try it by yourself. Next, the length of the flash (In a box “Zoom”) is the calculation of firepower.
“Again?” ,firepower, firepower – What is that? – The flash NEEDS RECHARGE its circuit – recycle time or a cool-down for a gamer word. Good flash has short recycle time with high GN. (Also, must cheap lol) Recycle time usually appears in the manual or the box. How does it work? – If the recycle time or the power on the charging circuits still enough, you can take Many photo till it out. If your model is posing in the perfect timing – your flash is on recycle = you f**cked up.
High speed sync (HSS) – This is a must for a late camera model, allows you to take a photo with flash in high shutter speed (faster than 1/200). If you don’t have – The photo will be half darken or fully darken. It means that the flash is release slower that your camera shutter.
Don’t worry that much if it is over exposure if you don’t have HSS – all you need is stay under 1/200, but you can increase the f-stop, the aperture. 🙂
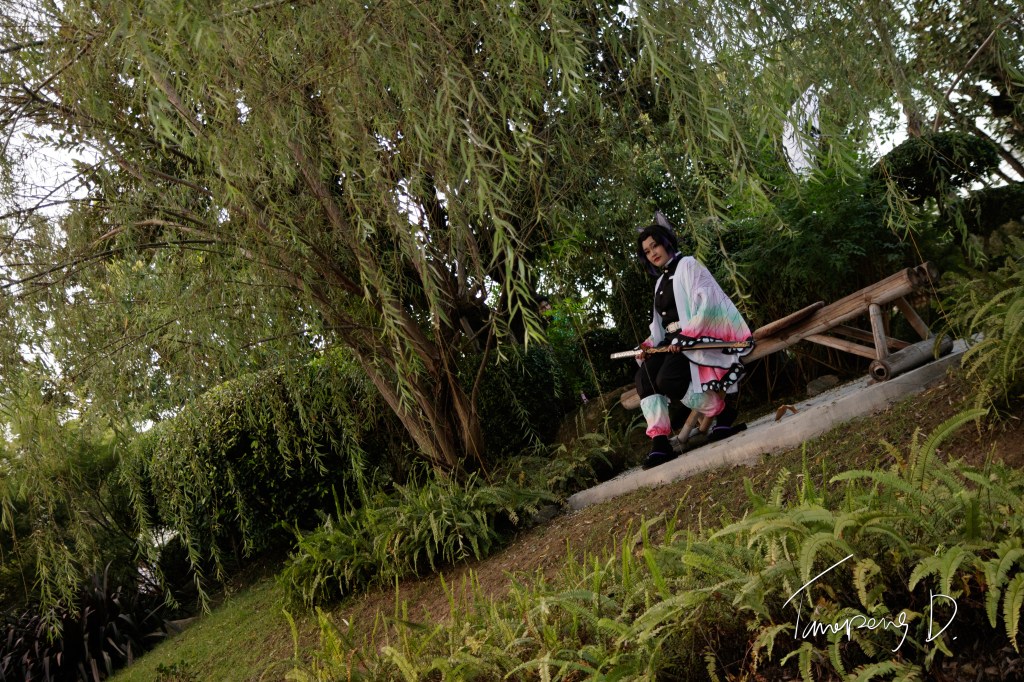
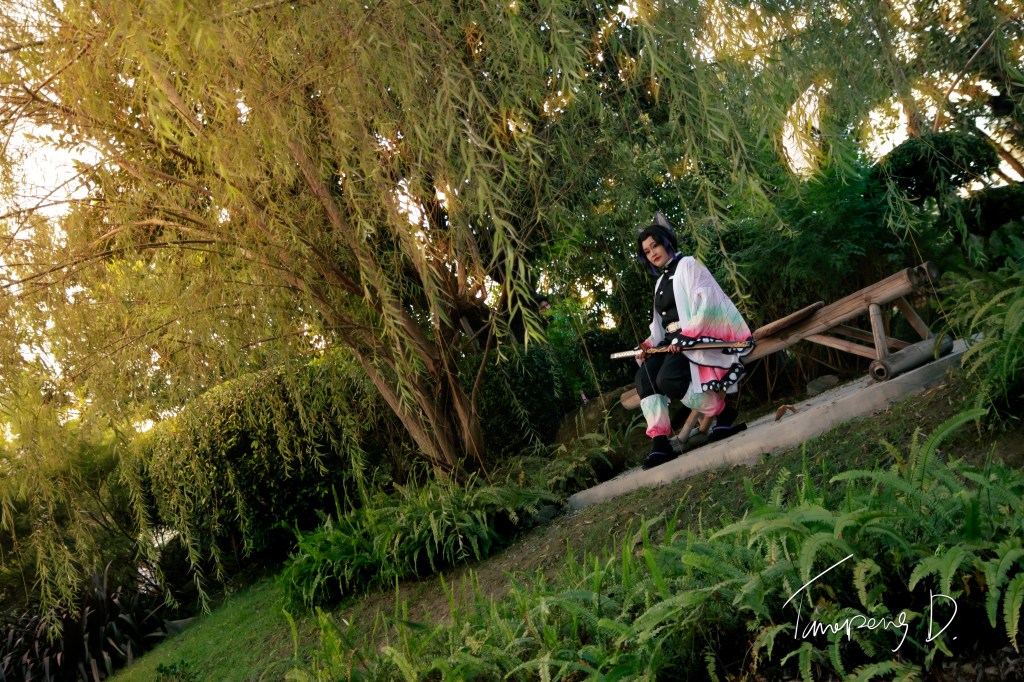
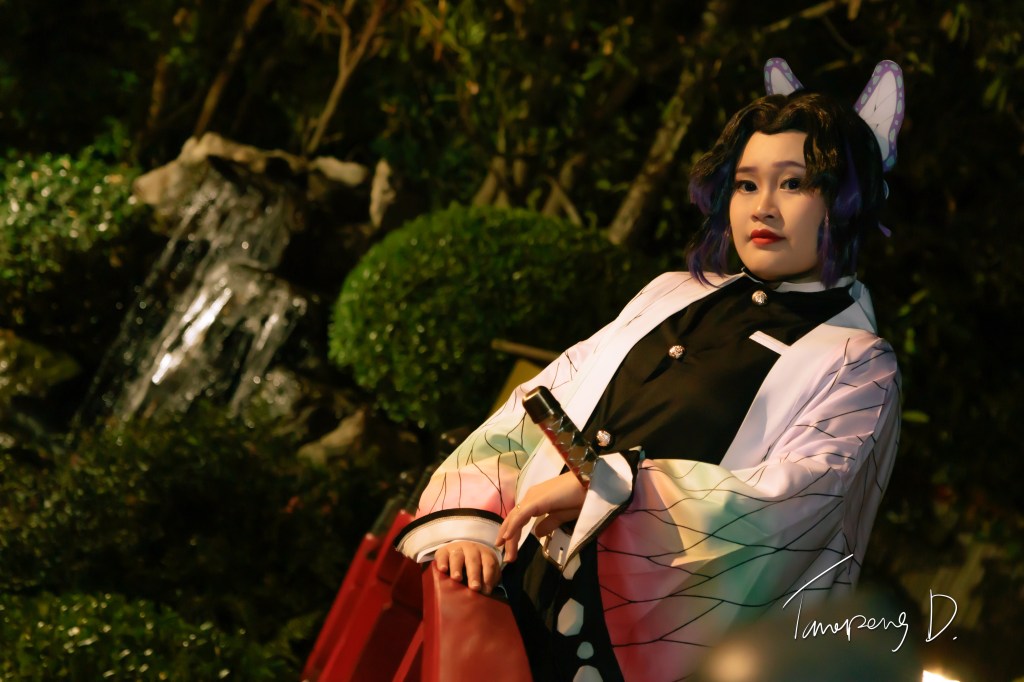
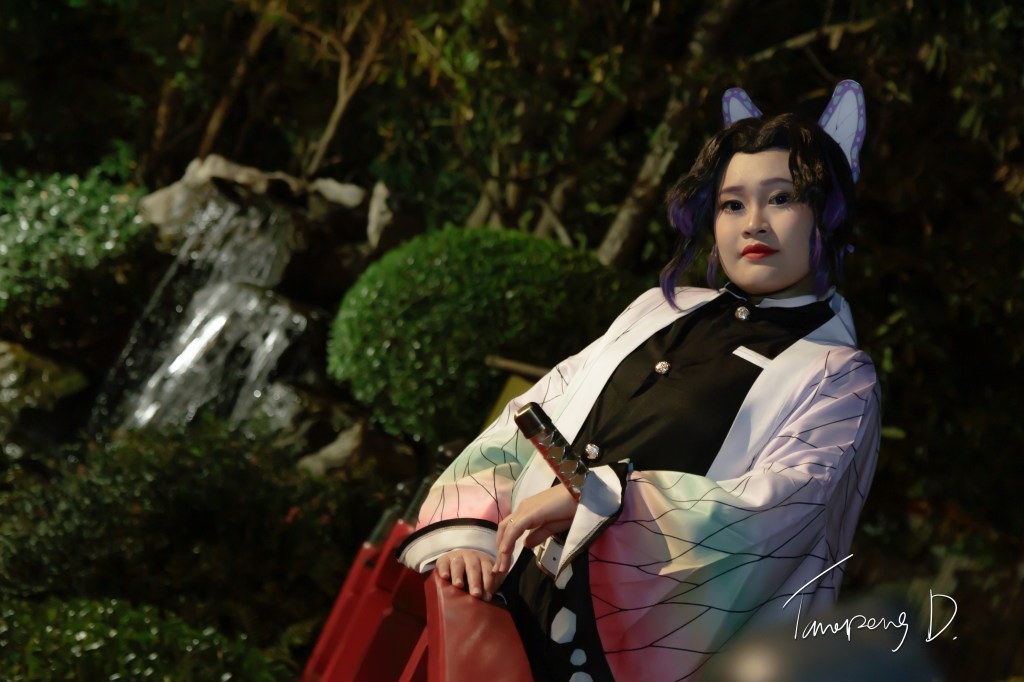
Now, my experienced with this flash – I use it to avoid the model becomes darken or being a silhouette. Since the background is too bright.
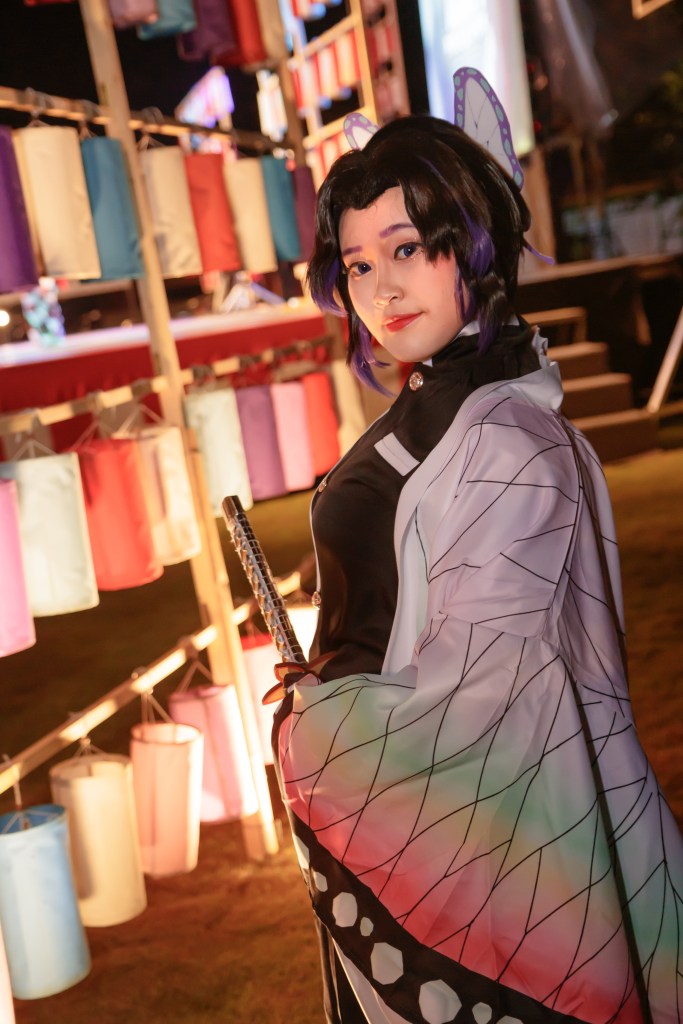
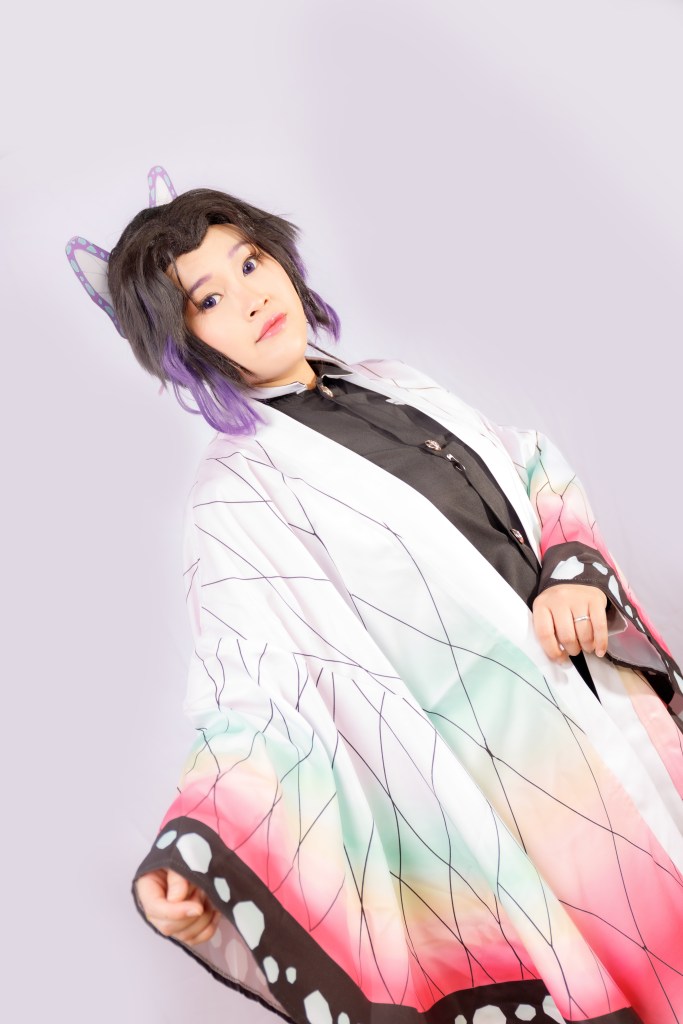
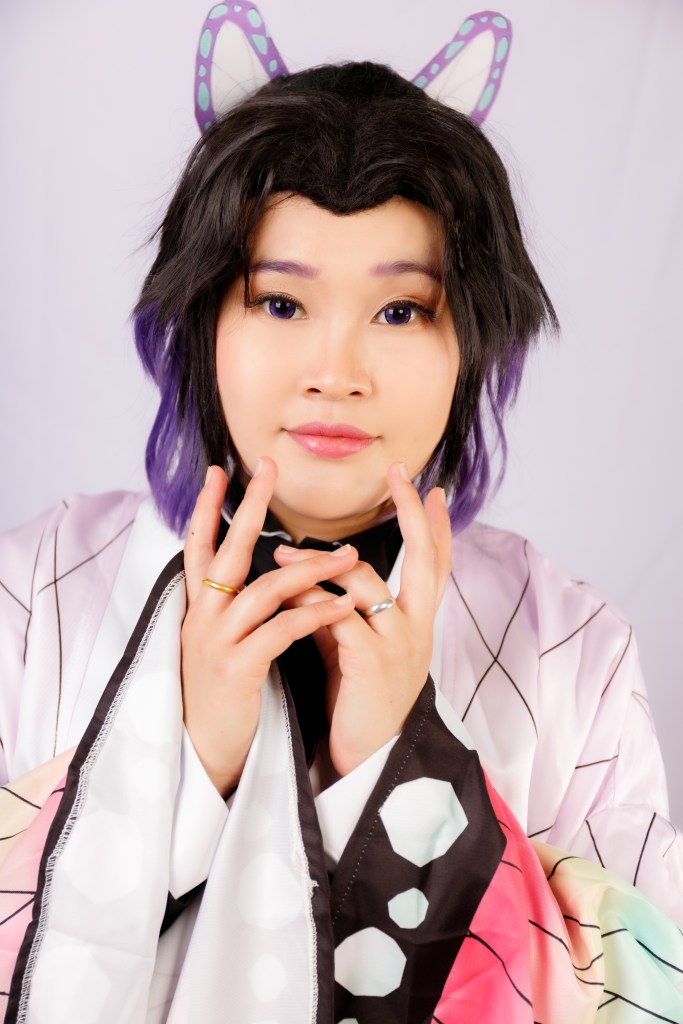
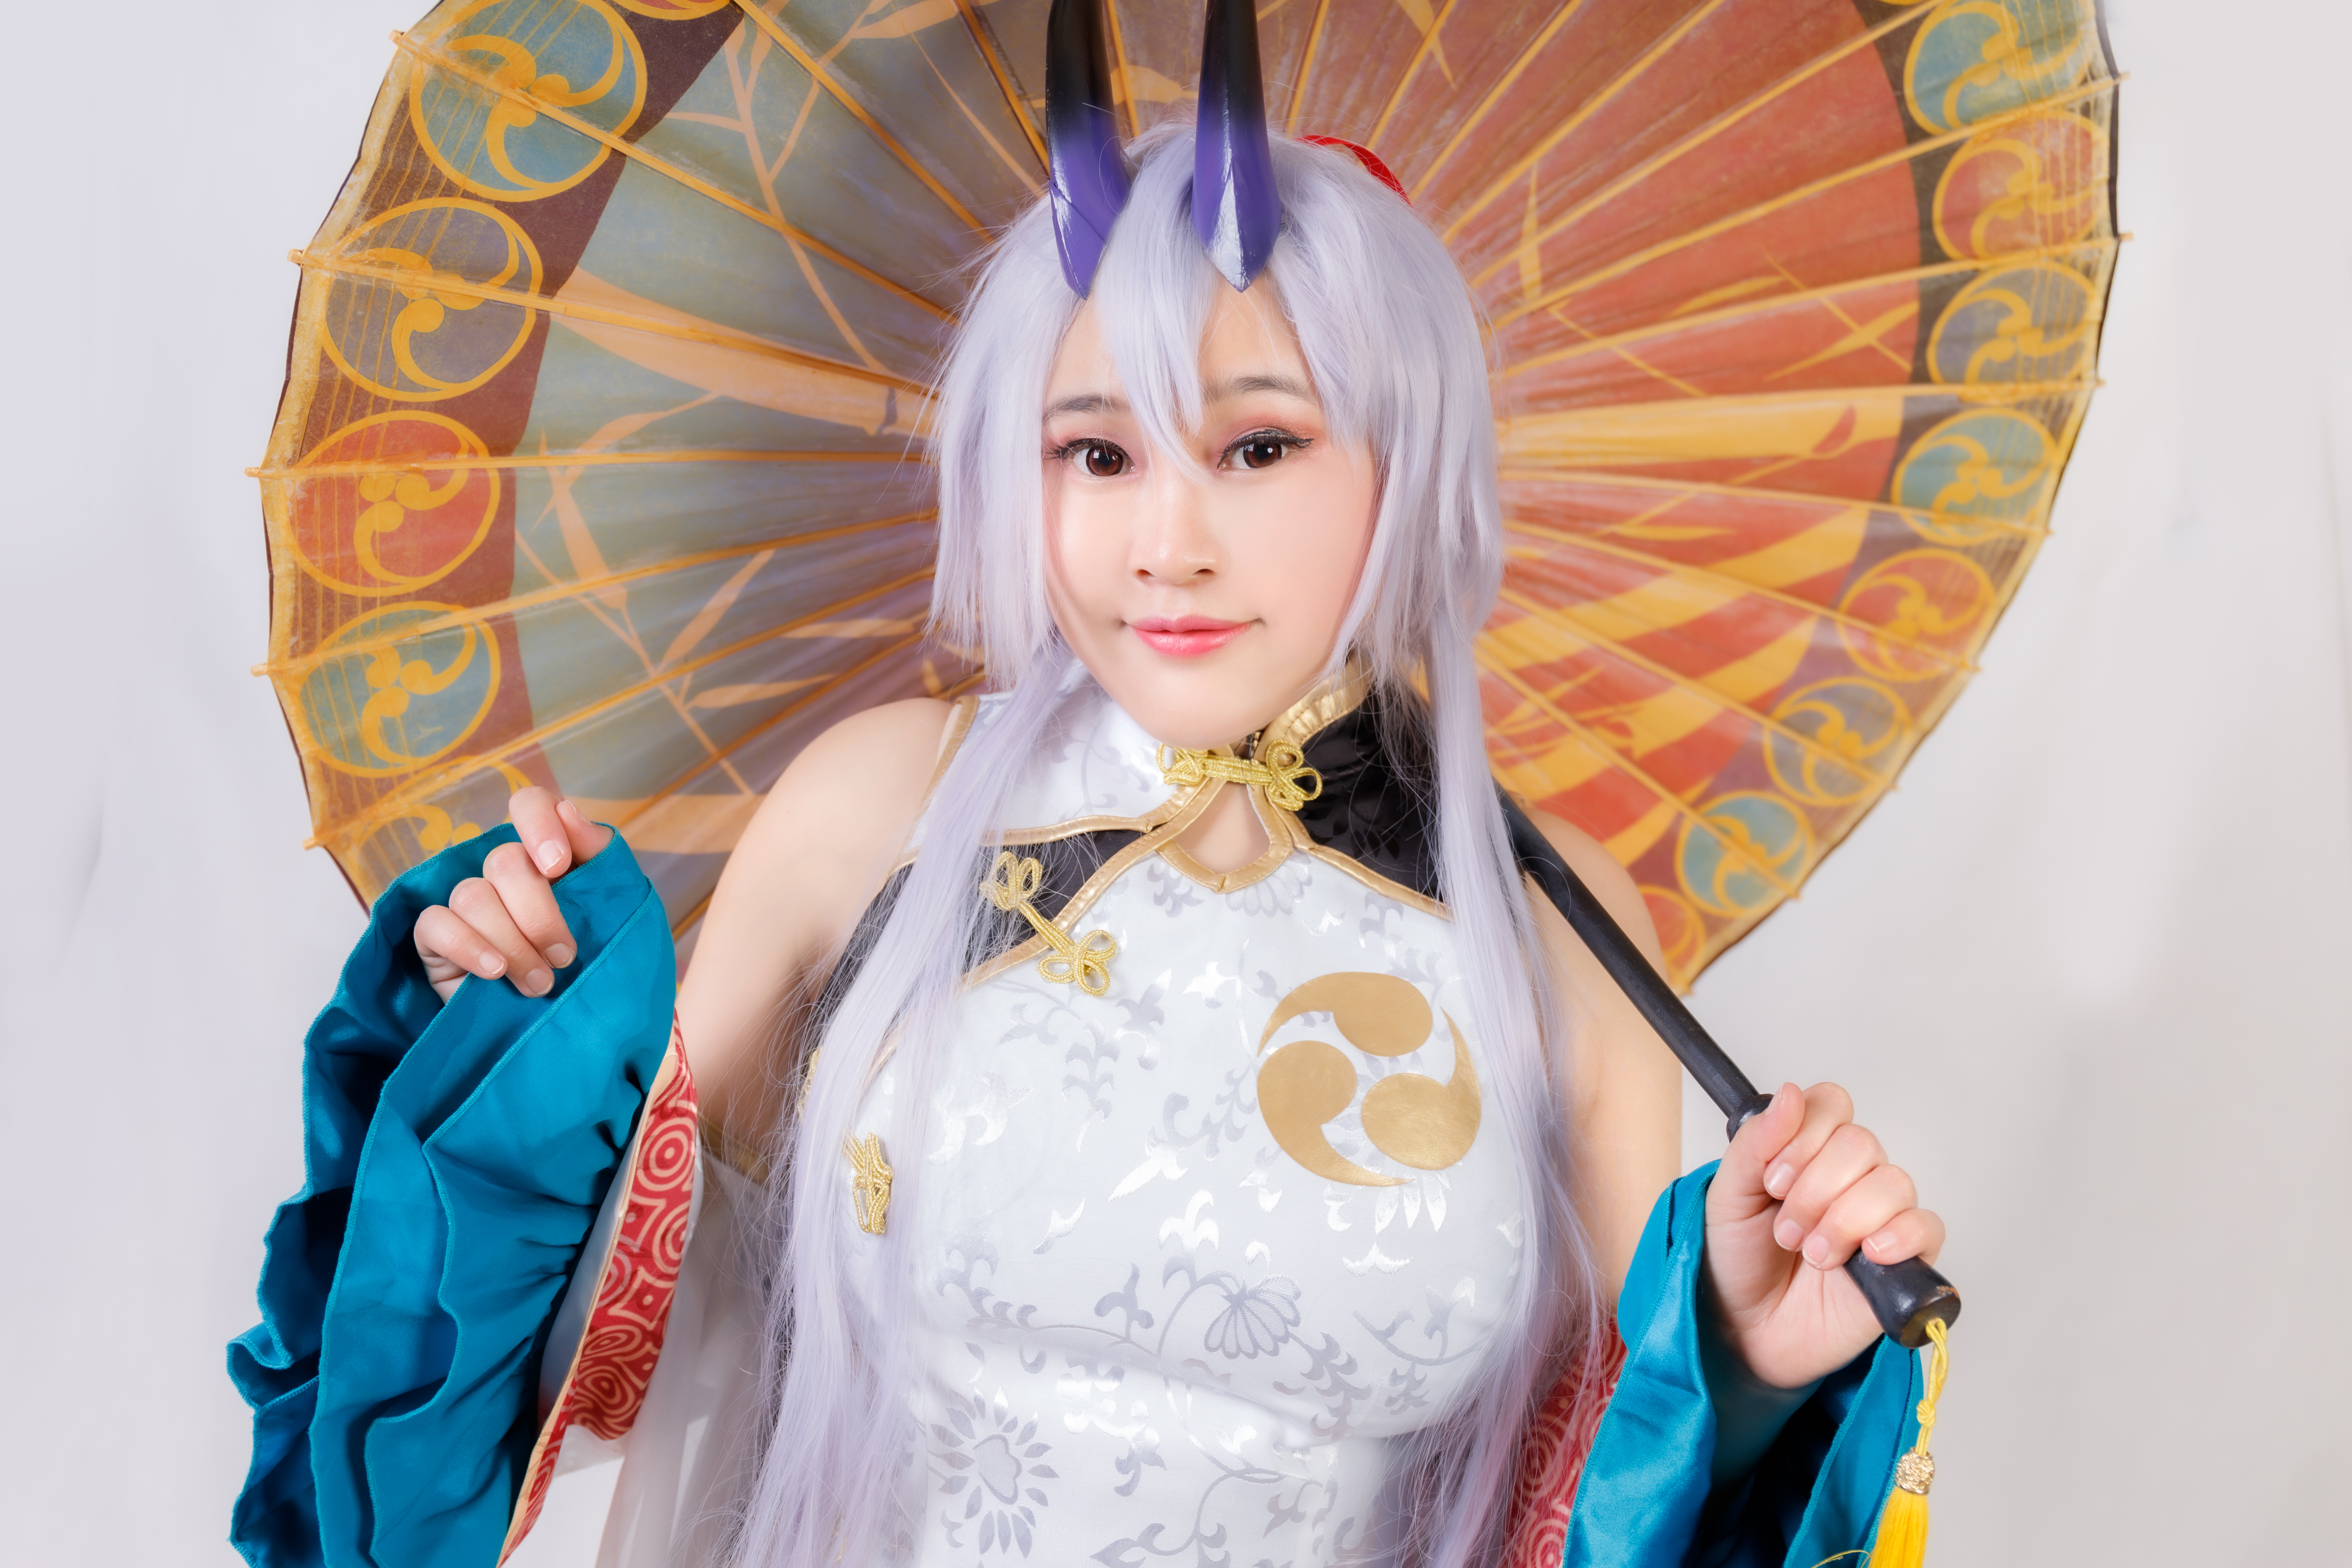
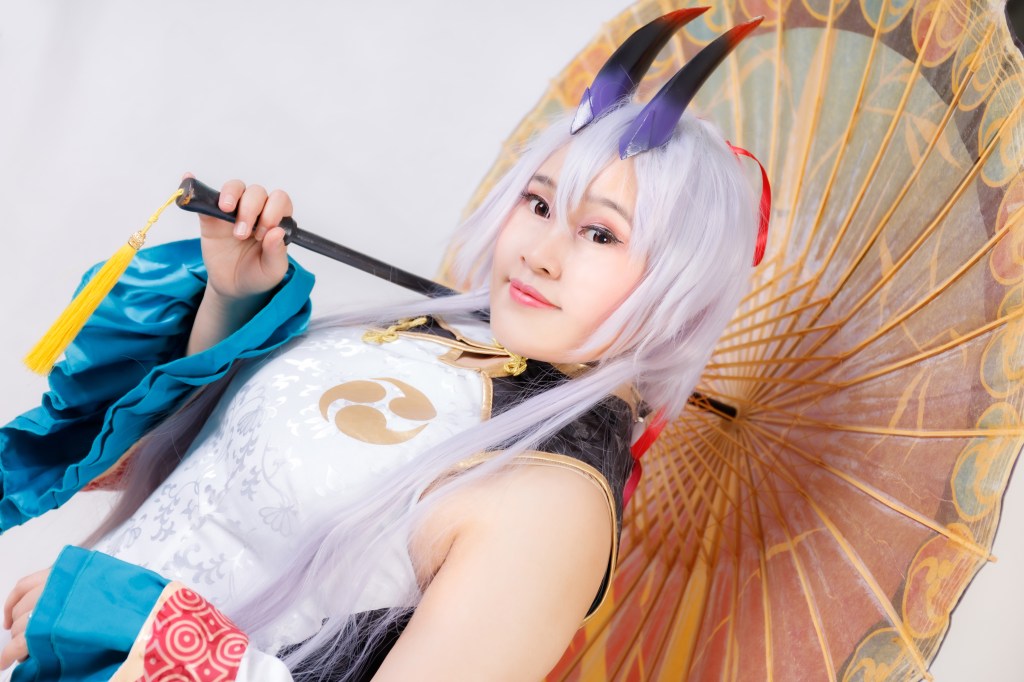
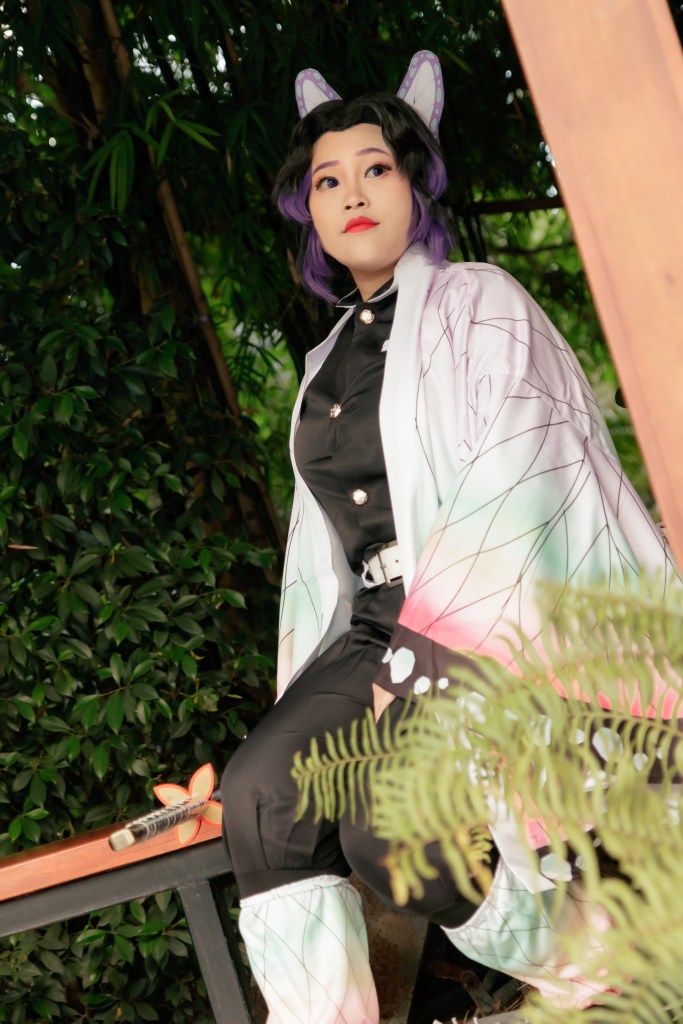
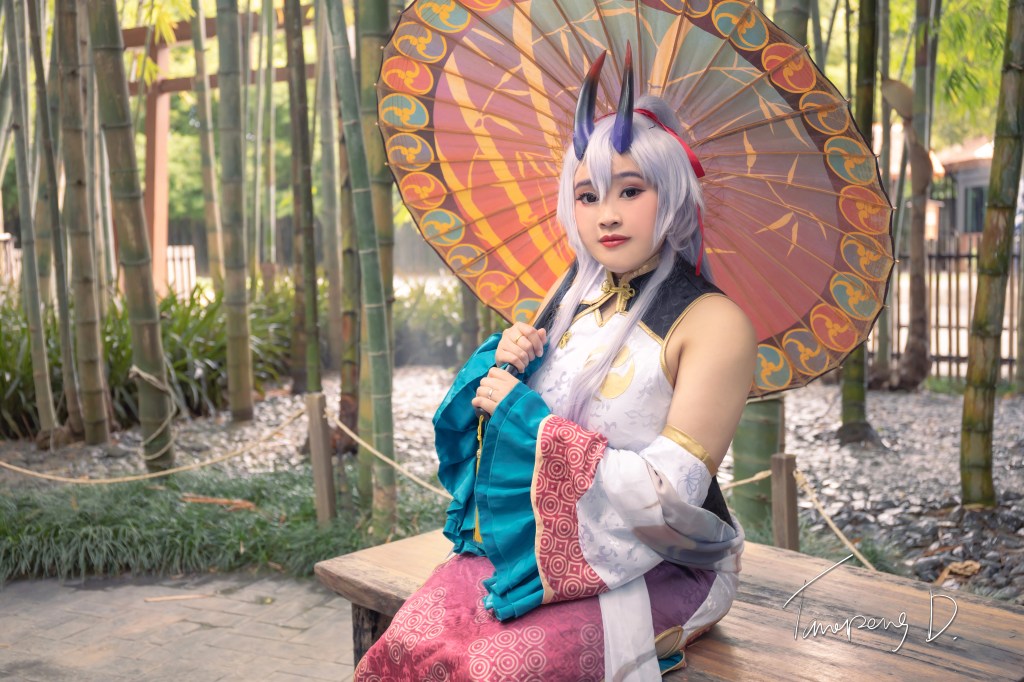
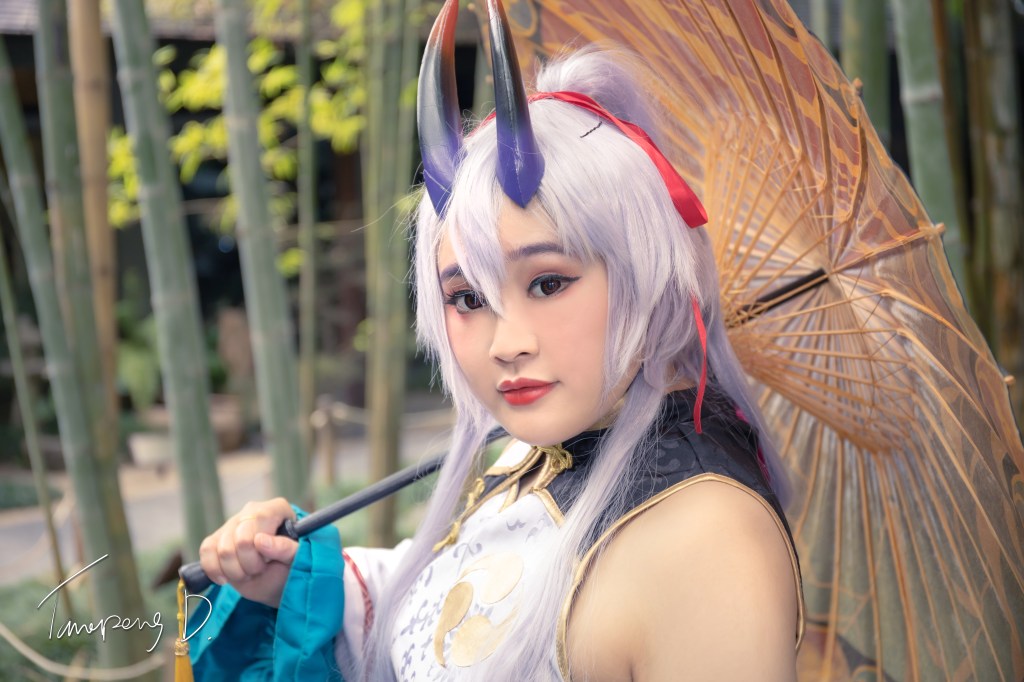
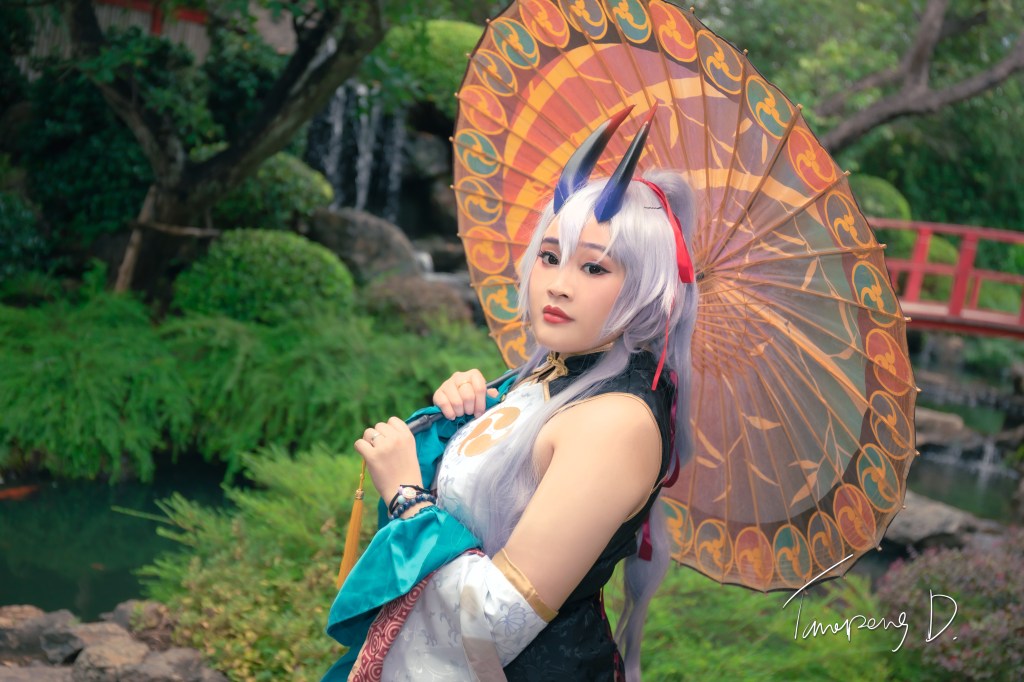
A night time of my wife cosplays as Shinobu.
Yes. it not too bright, still I can see her face and the shade. Also I still able to get the atmosphere the orange light from lanterns.
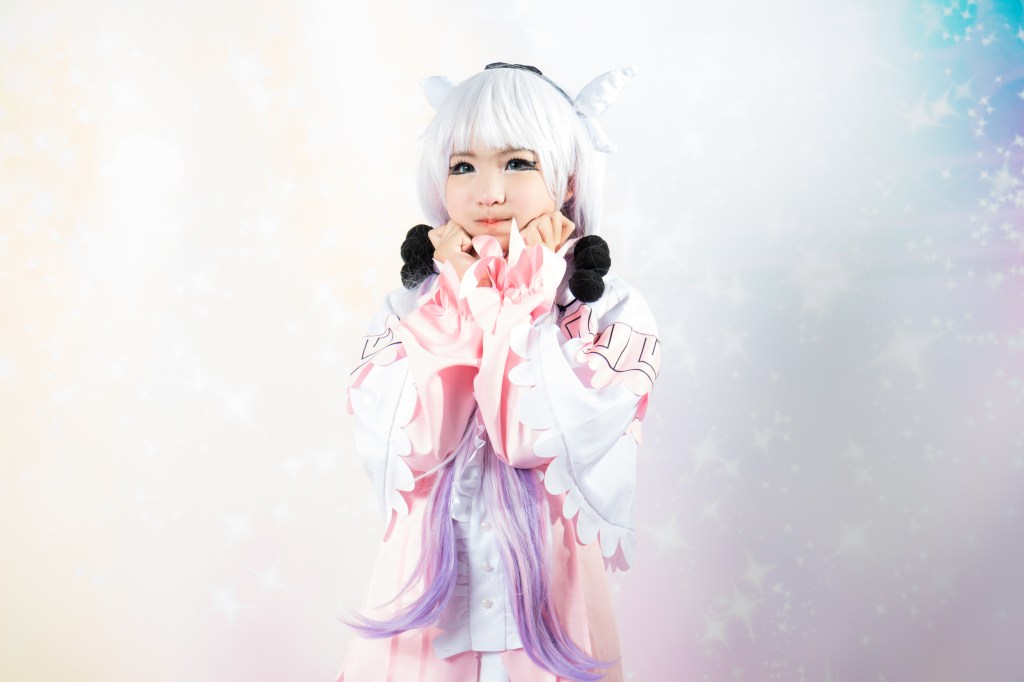
Let’s move to the studio set, They aren’t HSS. So, I need to increase the aperture.
You’ll need a wireless trigger to let the studio flashes.
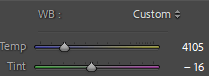
After this, you’ll able to control the “Temperature”.
OMG, omg, White Balance – WB: we are stepping to the Lightroom process, RIGHT NOW ! Behold !! it’s going to be a Long story in a 3 minutes. Here goes the examples :
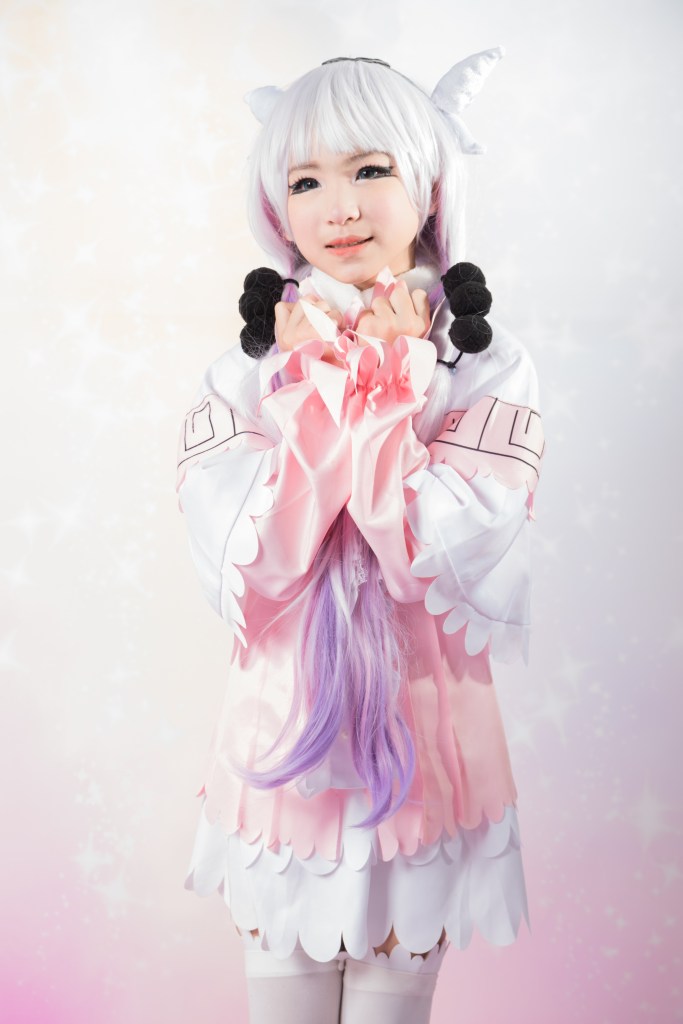
Same image, different in WB
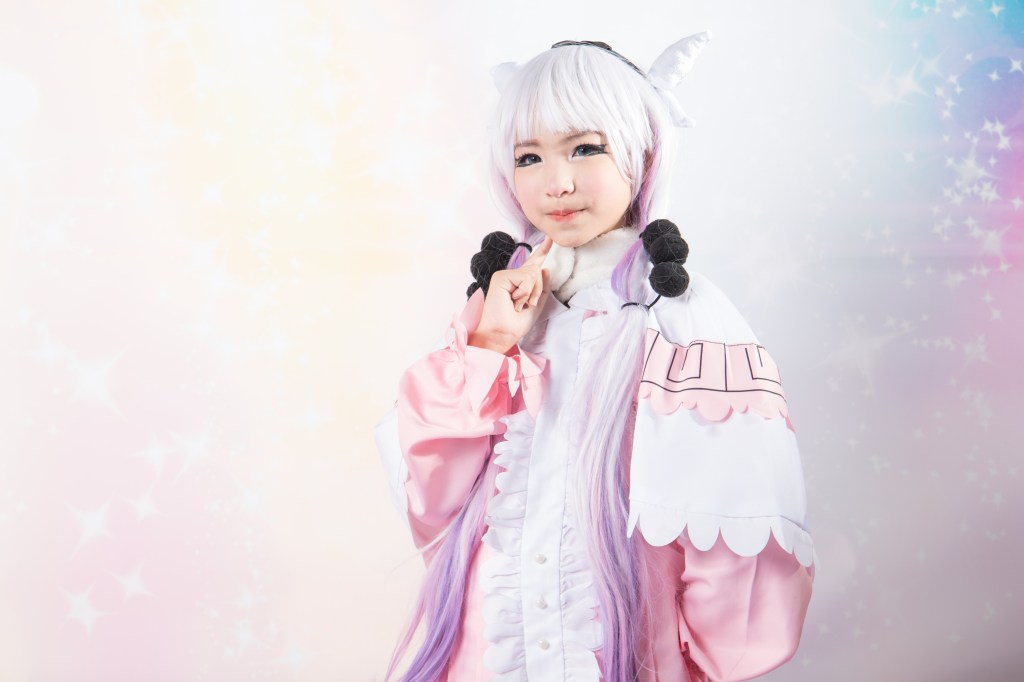
Not clear? Have some more !!
I think it might be enough…
Okay, I told you before in the setting post. White balance requires a little more experience. For what? – For making white becomes white. Is it necessary or important? Yes and No. I once worked for Muscle Dazzle the female body builder bikini maker. All I had to do is taking photos and make sure that the color is correct! Yes blue must be blue red is red, but Canon old model – purple gone blue !! OmG, you need to understand the color mixing how to mix it to white. There are only 4 colors and 2 Opposite patterns (Temp and Tint), to make it white. Lightroom also prepares it for you.
Yes, Only this, you have to play with – Blue to Orange And Green to Magenta. Image that, you take a photo of your friend in the concert – your photo is too much blue on the skin, you need to add more orange. Whatever, To make it clear if one of the object are already white, but you see it that Blue, Orange or Green, Magenta is in the white color – You need to mix the opposite color to make it white. Then, the rest of image color will be correct!
3 Minutes END !! From the 2nd set of Image, you see ? Which image is more attractive – Left or Right? White balance is good, too good is going to be very boring. Image (again) that, you take a photo of your family in the sunset beach, but you have is clear white beach and blue sky- No more Orange. lol That’s very funny! That’s why I don’t want to talk about white balance, but you just need to understand the process of the color. XD
The rest is on your experience- how you want to “Dye” your photo? You might need more green if The object is on the garden or jungle. or more blue for beach or snowing scene. More orange for a warm fireplace. ect. This means you can control the “Temperature” of the images by using color. For my case, I prefer “0” EV and normal white balance, it allows me to edit later in Lightroom. XD
Have Fun! May more, and more interesting photography experience happen to you!
….
…
..
..
…
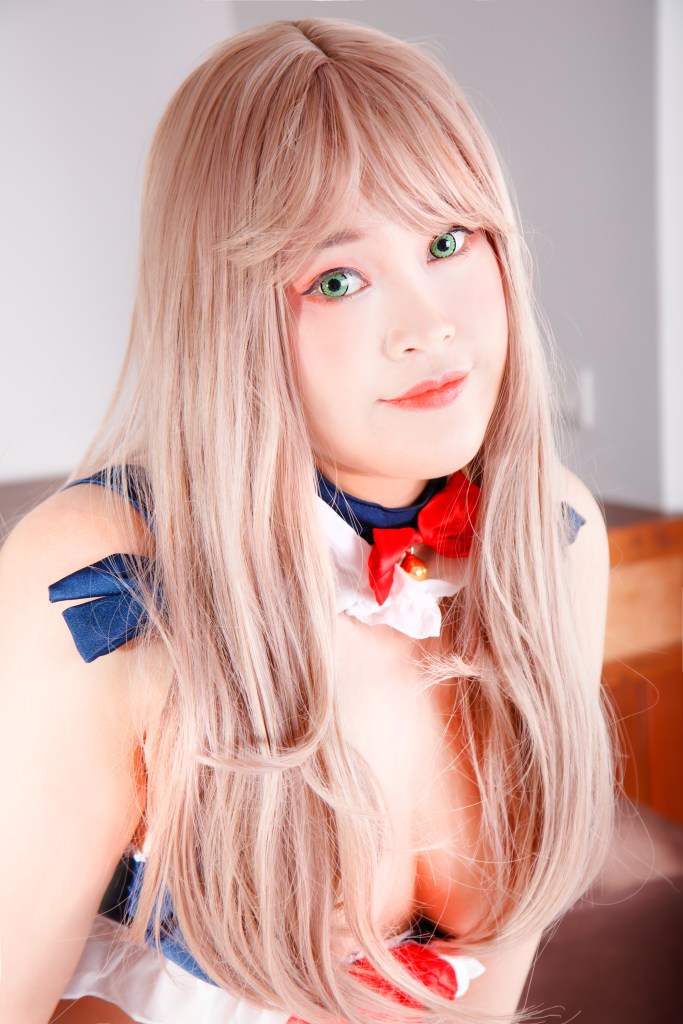
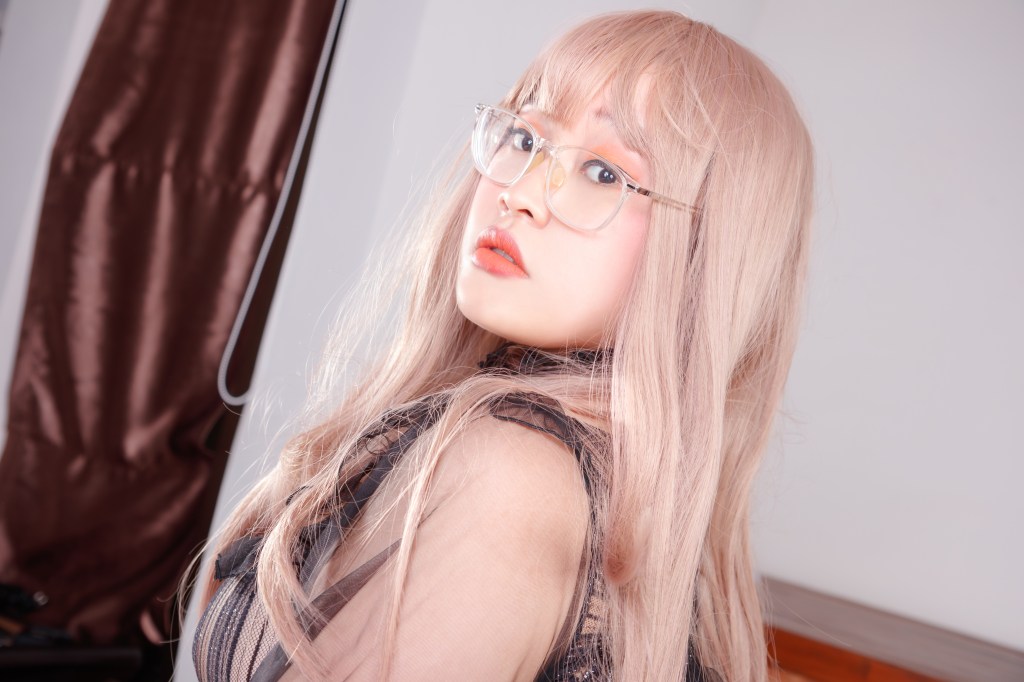
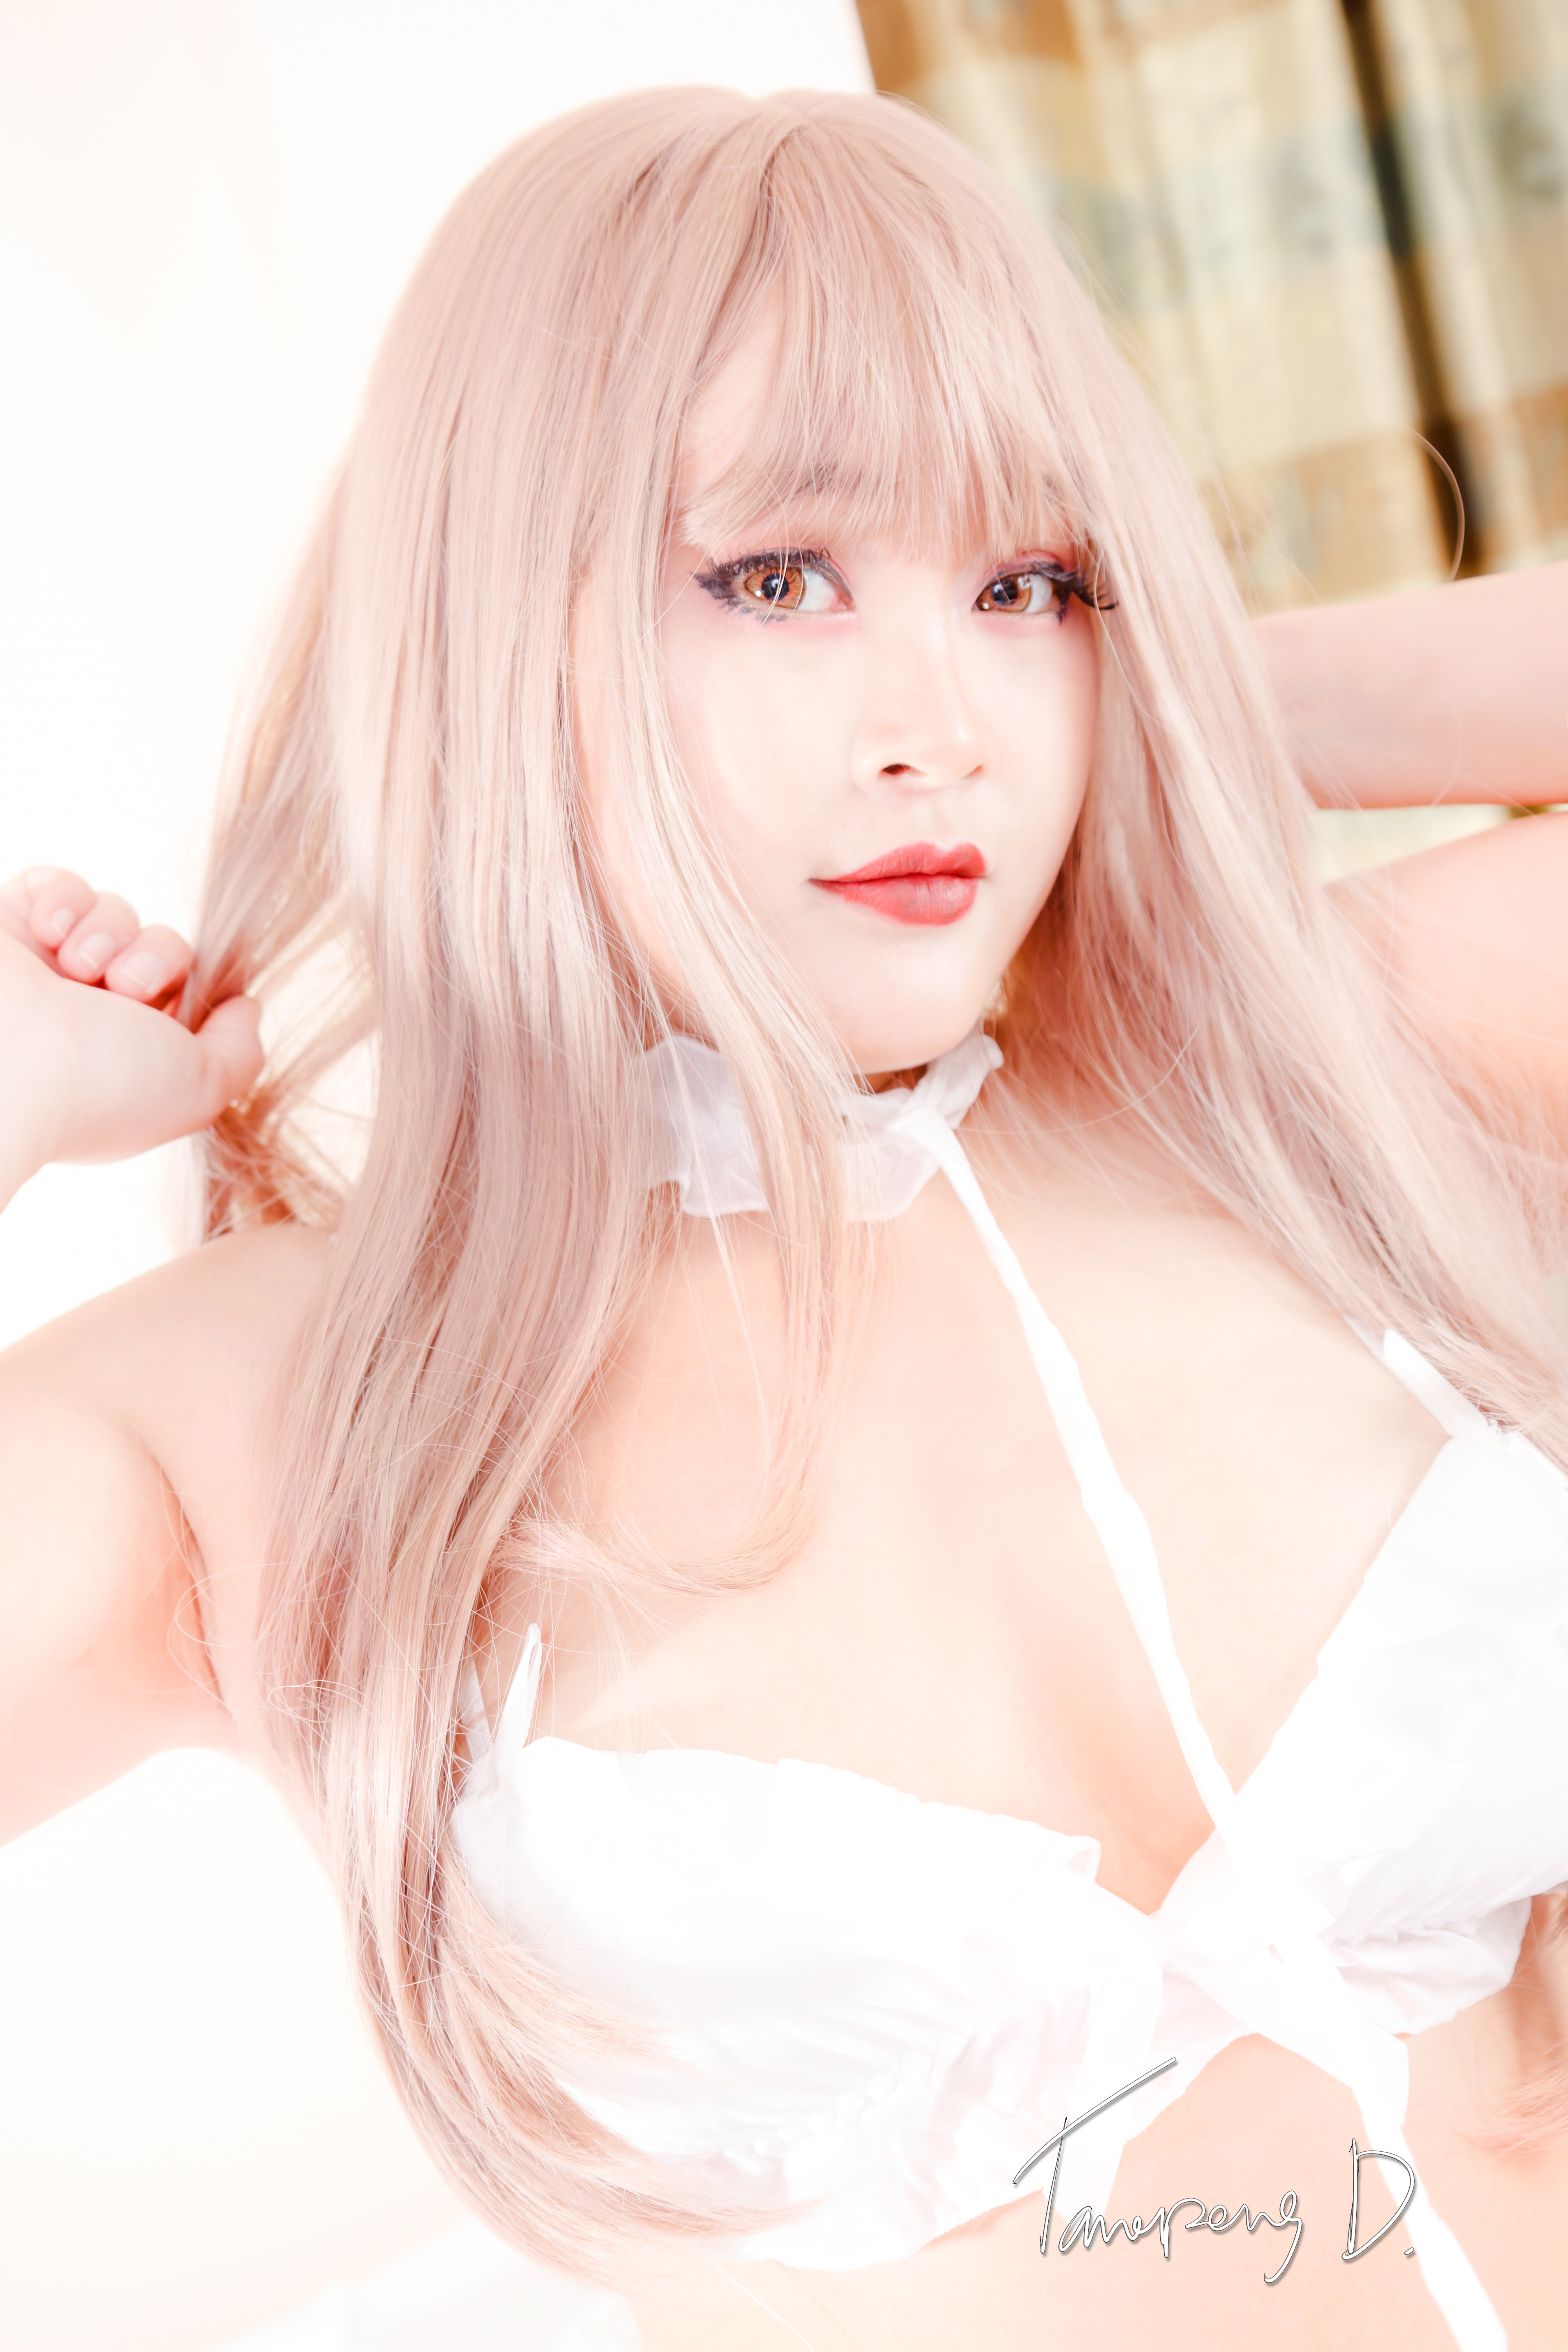
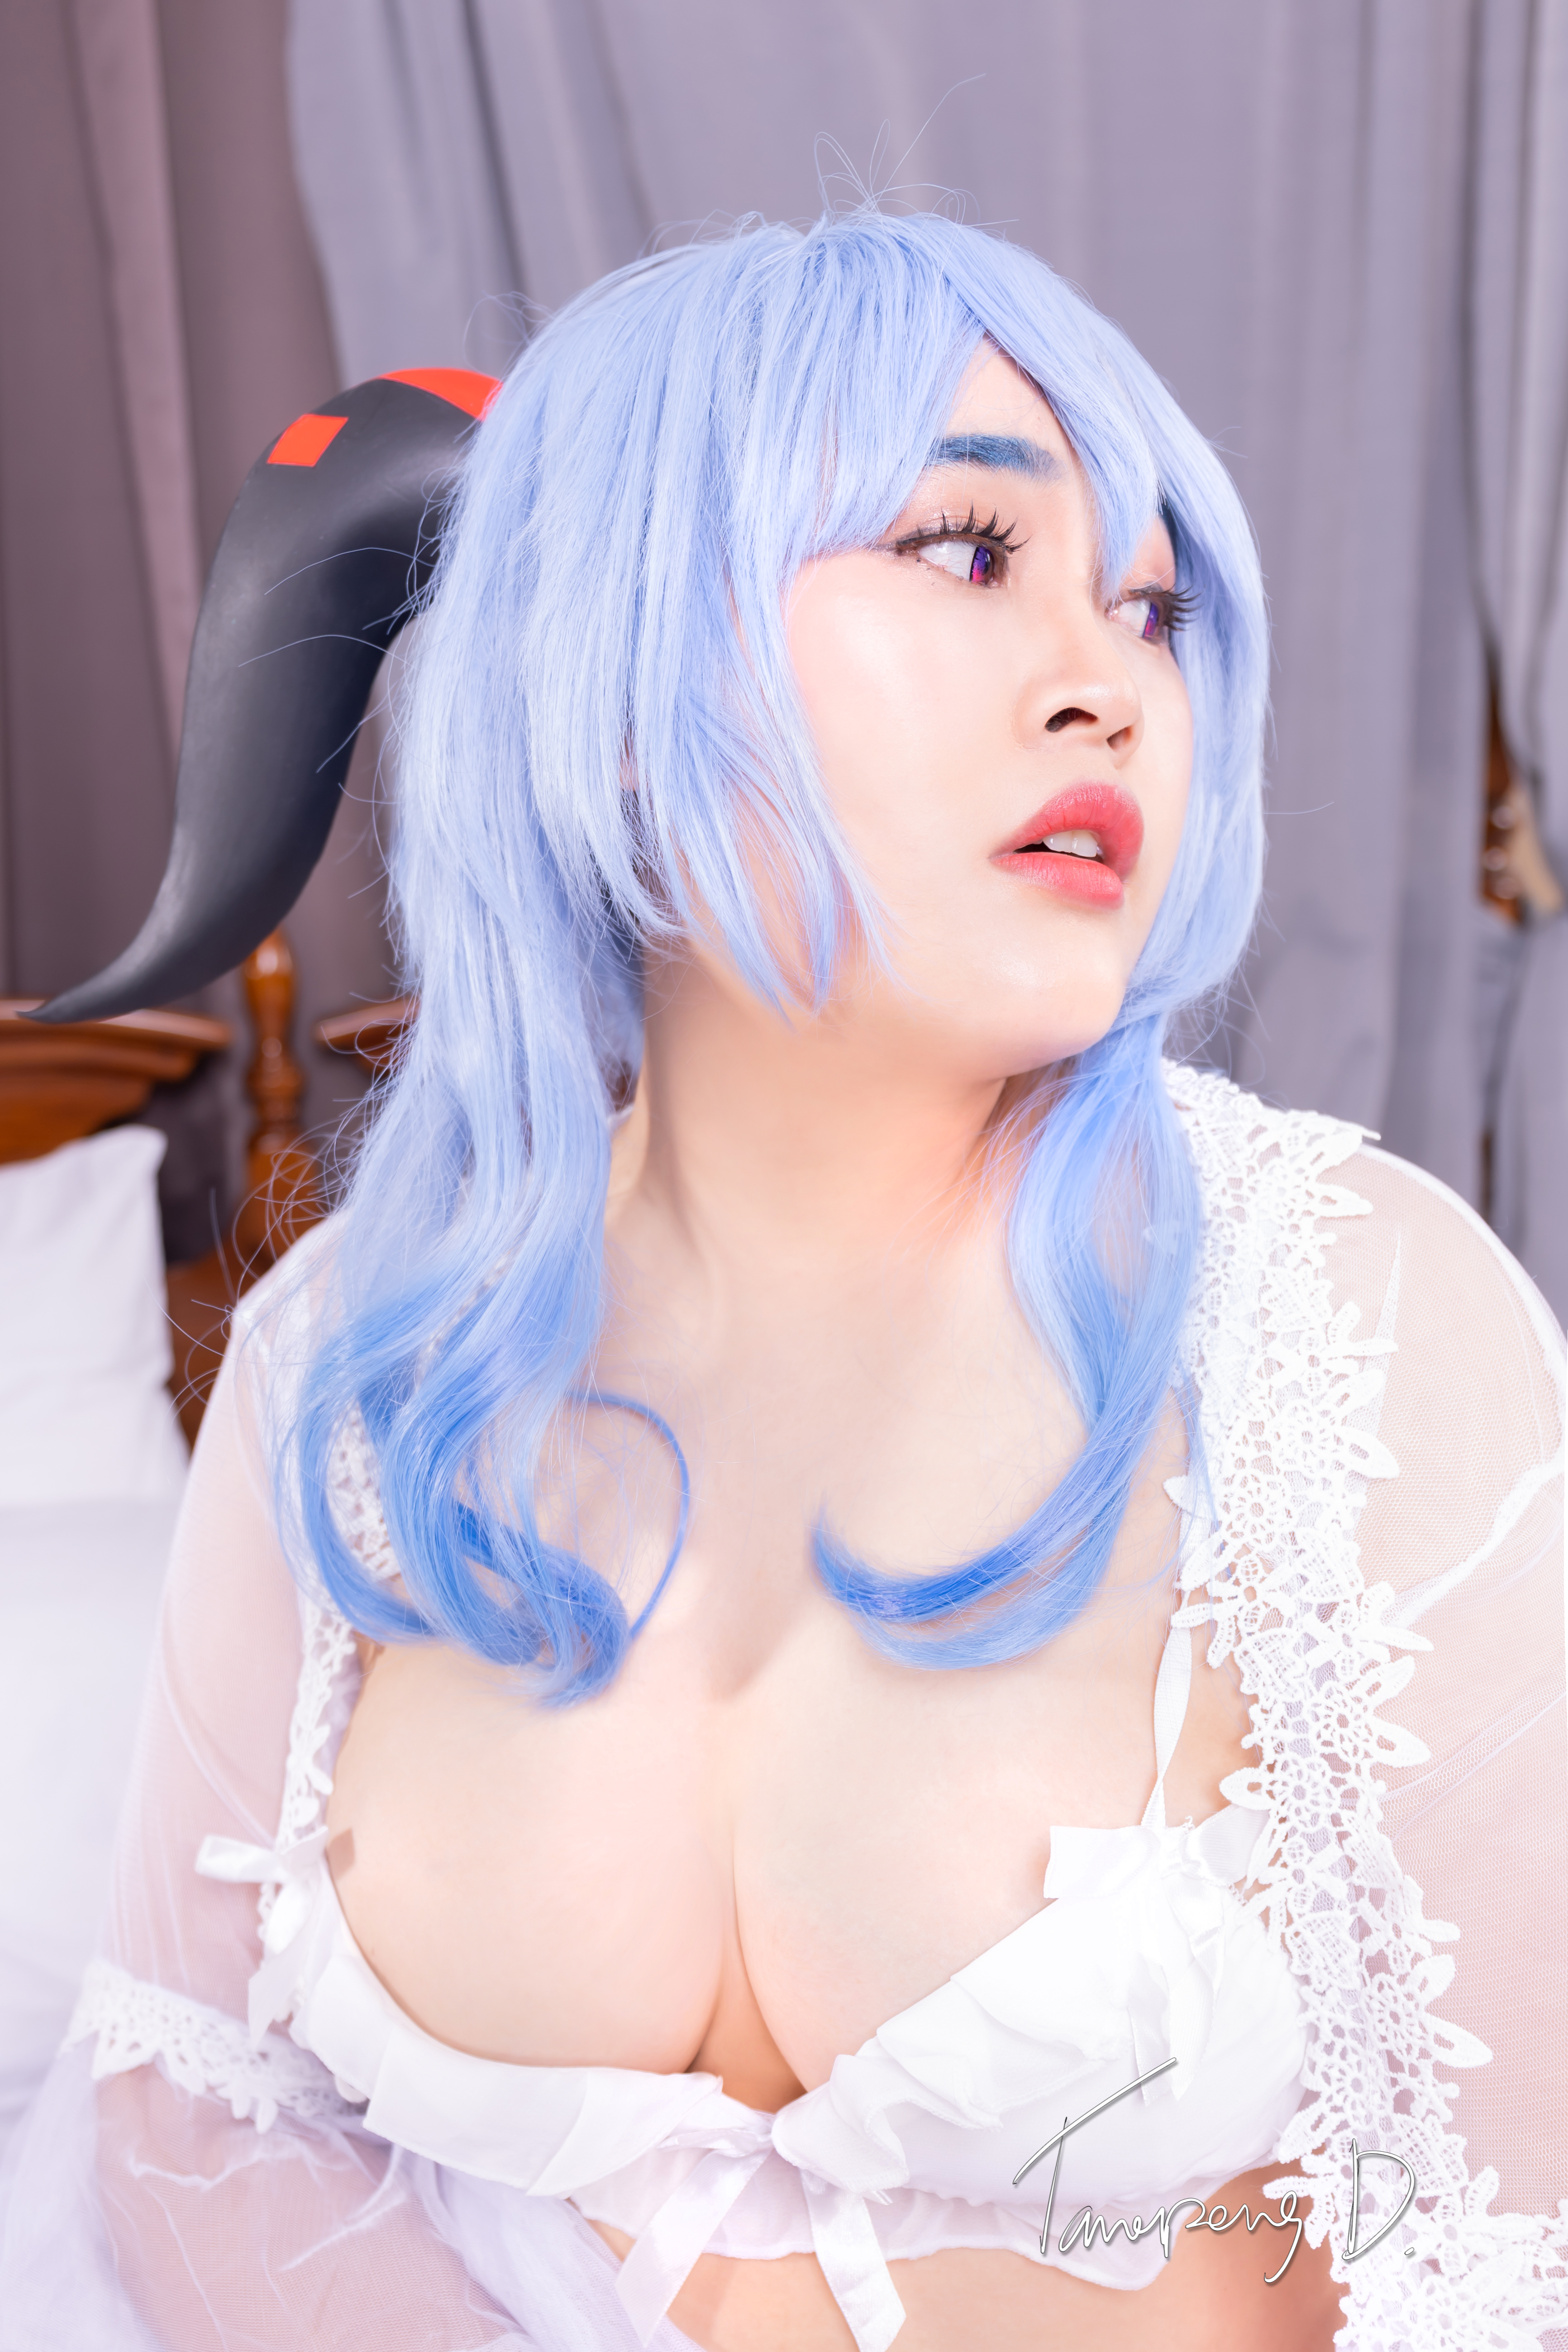
Bonus Chapter!! My wife allowed me to use her sexy photo session for this site: I just want to tell you that- hot (Orange) and Sexy (Magenta) will BOOST the photo and the Model’s skin. Bye !
Like I said above, those 3 parameters are – Shutter speed (from the cover is 1/80). – Aperture (from the cover is F4.0). – ISO (from the cover is 100). I’d like to introduce the word “Stop” : A stop is means the one push of a button or a click of camera dial when you are changing these parameter.
Everything seems to be ready for a beginner who interested in M (manual) mode. Okay, let’s continue to the relation between those three and the Stop. From the cover again you will see an EV that use for measure the brightness of a photo that you will get.
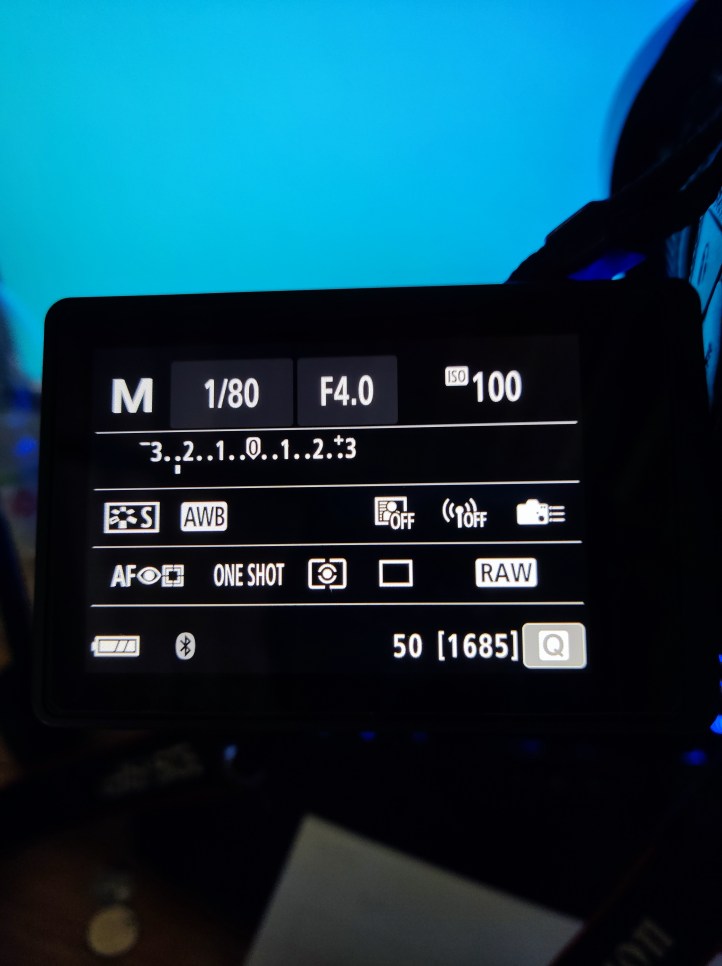
See? The EV meter is showing that the brightness is between -2 to -3…. And what does it mean? Well, it means that photo will be dark than normal … Which normal? – idk, try to take a photo while your camera EV is on the middle (0). That’s your camera result at “0” Which you able to make your own signature about what’s your favorite? Bright, Dark or just “0”. For me, my favorite is “0” to +1 since I can darken in LR. lol
A stop – A stop can be everything for those 3, speed stop. F-stop. ISO-stop. One stop can change the brightness about 1 dot on the EV meter, what ever you increase. (That’s why we call a stop) What you need to keep in your mind is ISO is the most effective to change the brightness AND THE QUALITY !! The more ISO you increase more noise you’ll get! (usually, for an old model).
To make It clear, some cameras’s ISO is not able to changes an EV meter in one dot likes the Speed-stop and F-stop. It look like to multiply instead. The entry level DSLRs will only give you a multiply ISO level only eg. 100,200,400,800… Those will be a bit difficult to use. While semi-pro level and above allow you to separate the ISO of 100,125,160,200,250,320,400…. which can change the level of EV 1 dot per stop.
Finally, to make it even more clear, the EV meter has many method of metering to select – All of above are “Evaluative metering” mode. The brightness will be calculated by averaging the brightness objects all of screen to find the middle number of brightness (which I called “0”). Then, the camera will show the brightness level of the object in focus point in EV meter. 🙂
Hope that’s help you enjoy the way of photography. About the other setting? White balanced? Let me remind and shorten my experience to be the easiest way for describe it to you. Since the white balanced requires the process of software (Lightroom) , I’ll try my best to explain you.
Remember my gear post? I said that there aren’t big change from Canon 17-55 f 2.8 (cropped) to 24-70 f 4L (full frame). My wife is the one who holding my saving, since I bought a 24-70 I still using a 80D for a few weeks, so I feel like the FOV are a bit narrower, but sharper.
Jump to the main part, she won a lotto and allow me to buy RP since my shutter count is too much, I sold it for ~320 usd and switched to Rp. Yes, it much lighter, but the battery life is shorter – so I bought twice XD. Since I have my wife as a model the Image is sharper and the focus has much more accurate + eye focus on Rp makes me easier to take a photo. But, if I want to focus on the right eye, it will focuses on the left eye instead. lol.
No more images with studio set? – We do have, but… yes, it’s nsfw.
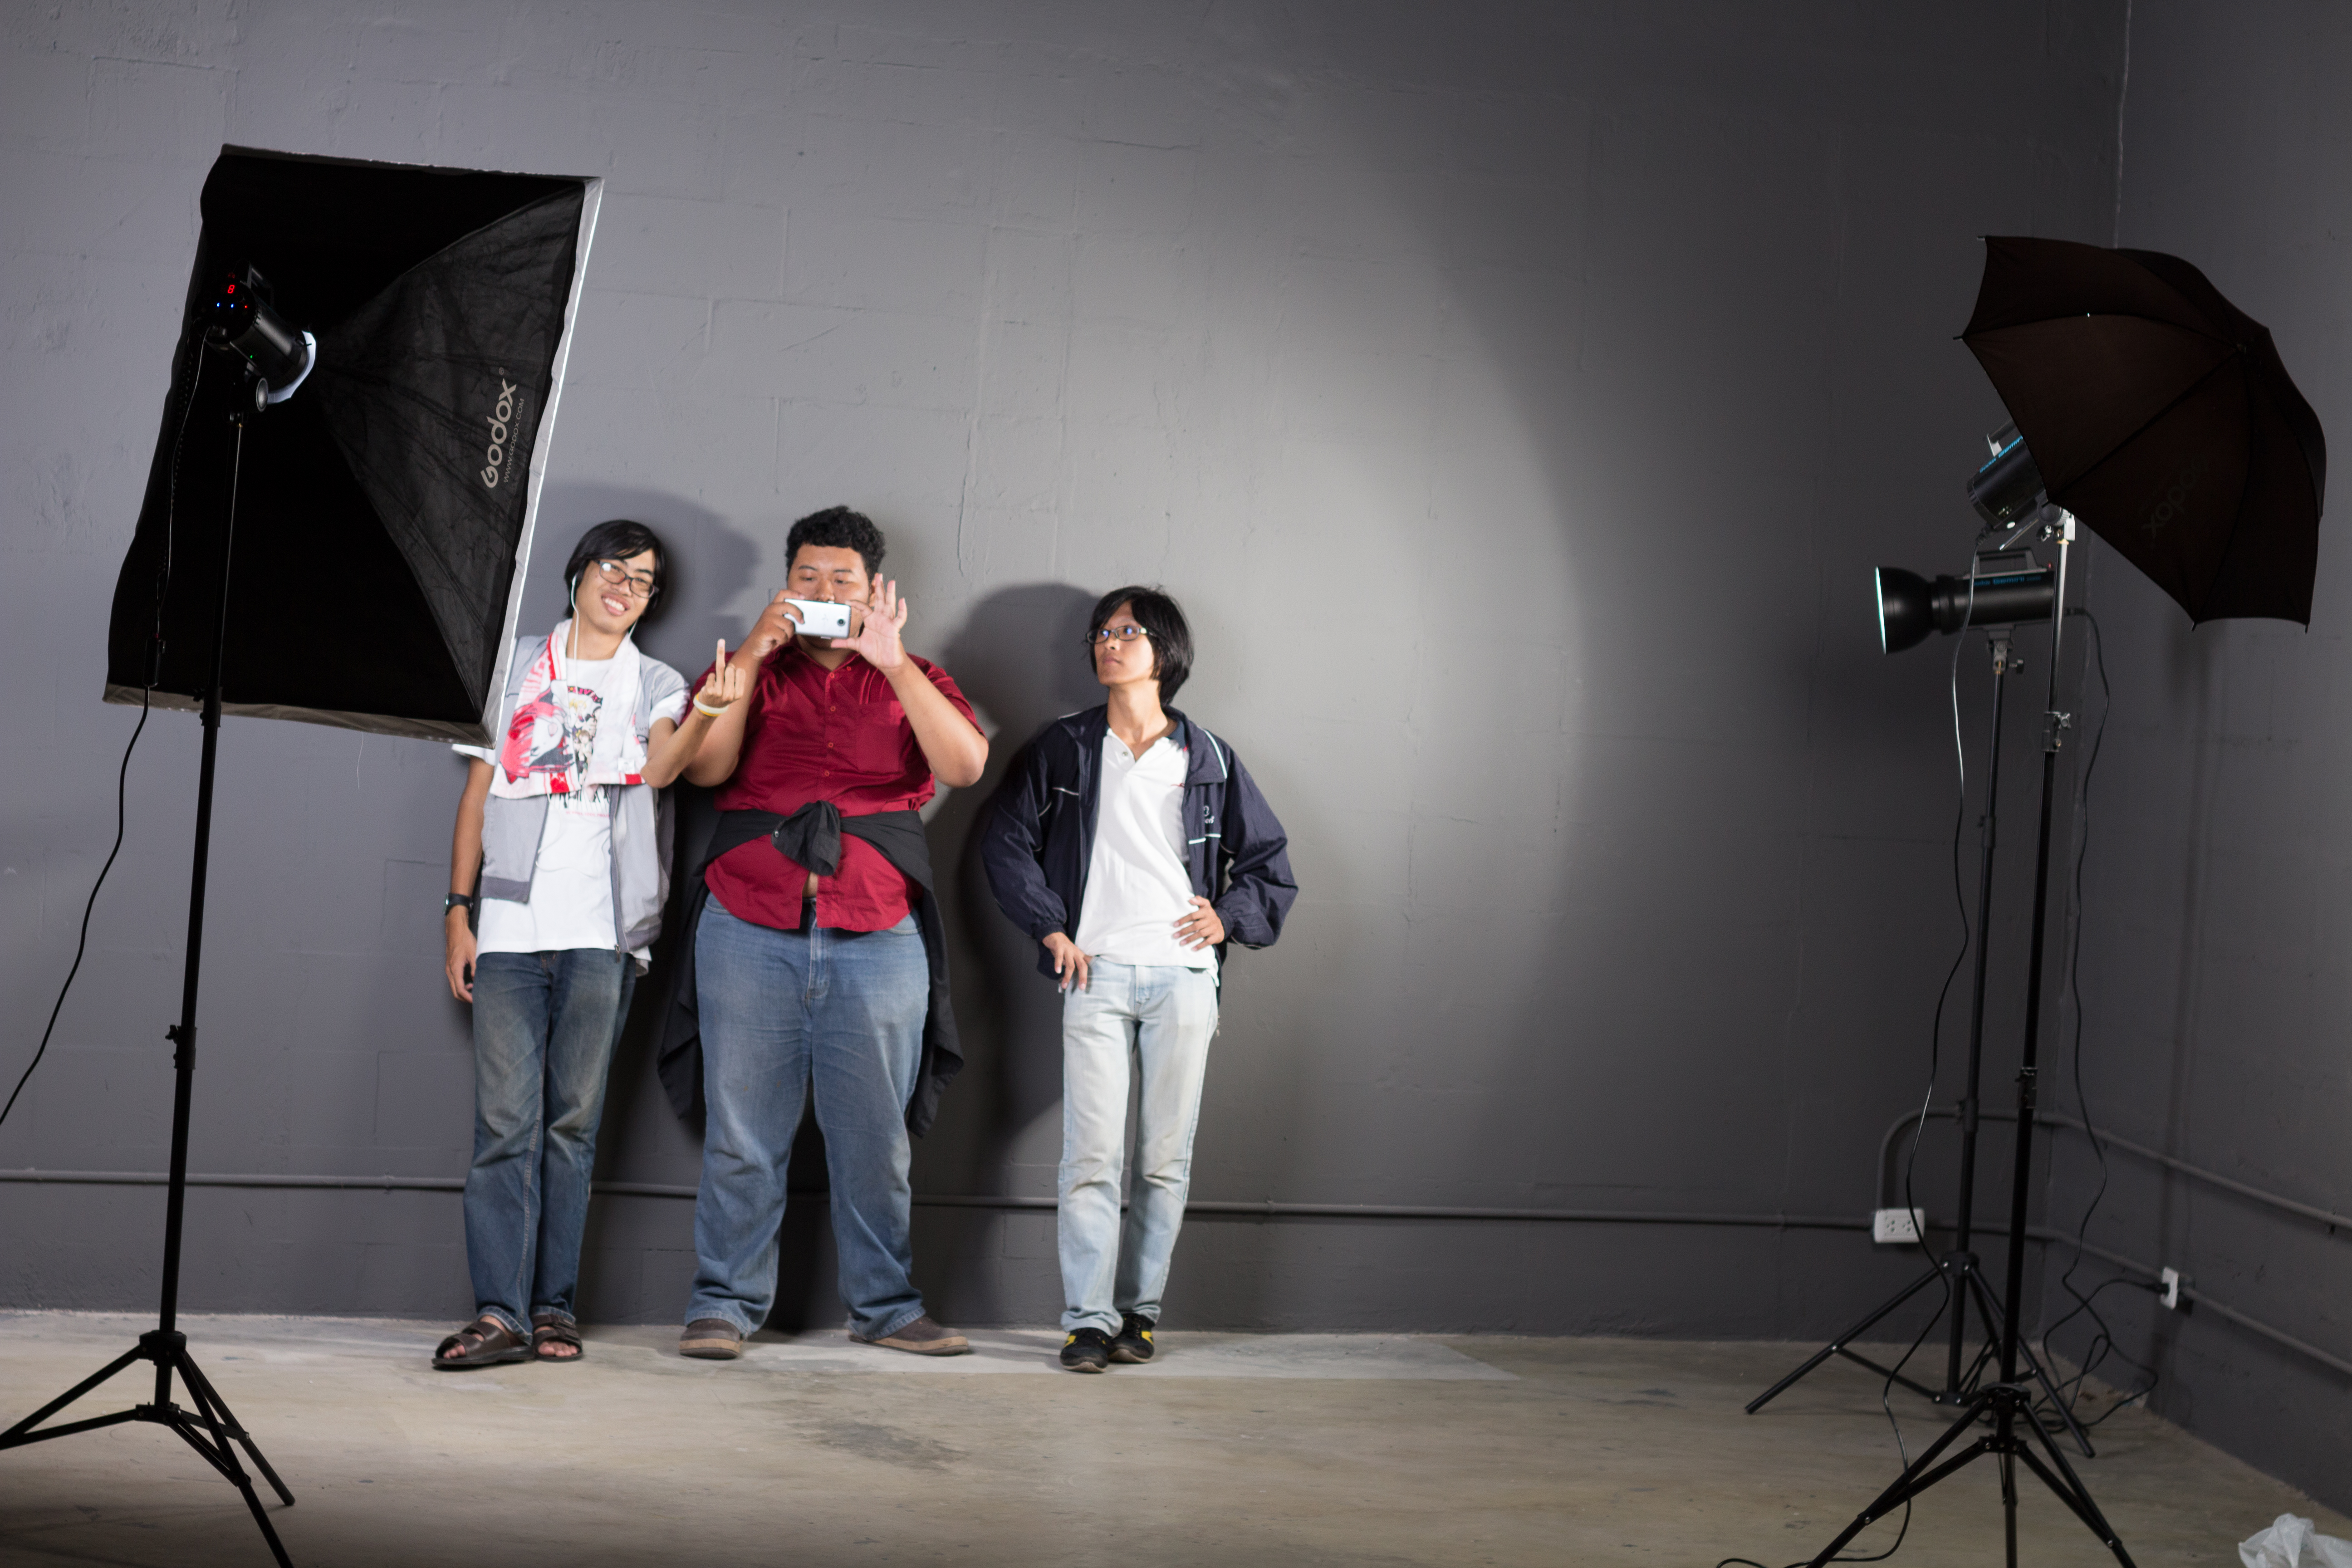
Trust me, I’m hardly take a photo of myself. Those are my friends who help me setting up me studio equipment – A set of Godox Gemini GS 200, I usually being invited to be a photographer in a cosplay event. The event holder usually a same group, but different place. Trust me I’m a hobbyist and hardly asking for a paid job.
Next one is my camera, I used Canon 700D , 80D with 17-55 f 2.8 usm. Now I’m using Rp with 24-70 f4L is. with a 50 1.4 usm. Yep, I still keep the raws (even my 450D). I hope that some day the raws from old camera model might able to be a basic guideline for the beginners. Any difference? – Nothing, except larger file and slightly change in FOV. Ps. While using a studio set I always using F4. Let’s try from this. XD
Long story – Gonna Make it short as much as possible 🙂
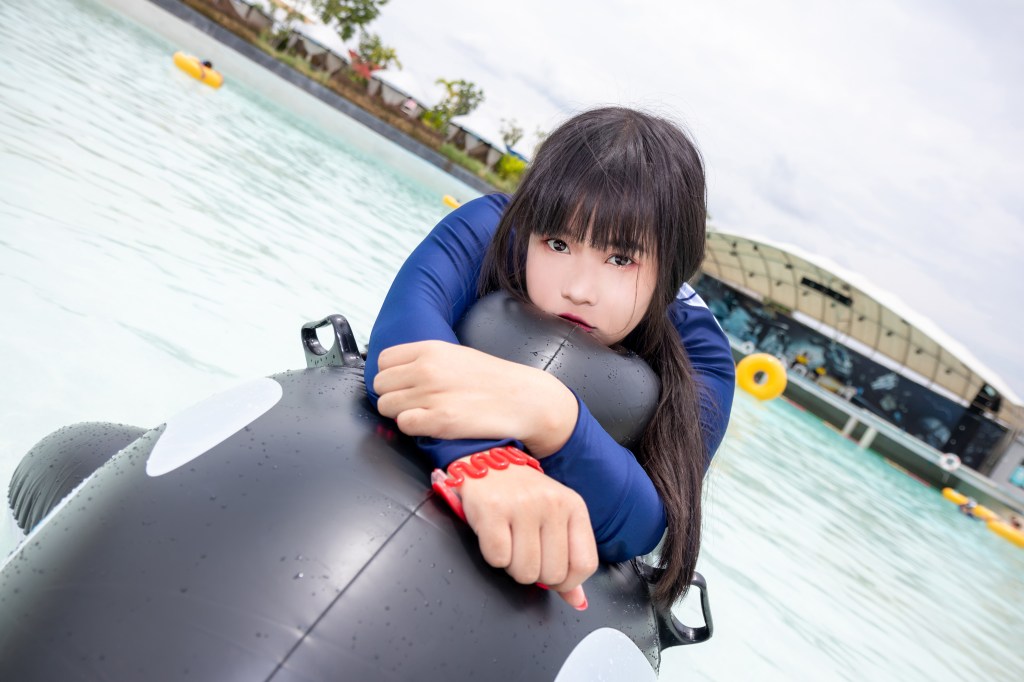
Any unique timing is the key to make an interesting photo.
– Yes, who the hell wants to keep their daily routine in a photo album.
Long time ago, in South East Asian, Thailand, 1992. A guy was born there, blah, blah, blah…. Skip to the main part – Yes, it’s me, “Tok”. I once attended a class of Photography, that is What changed me.
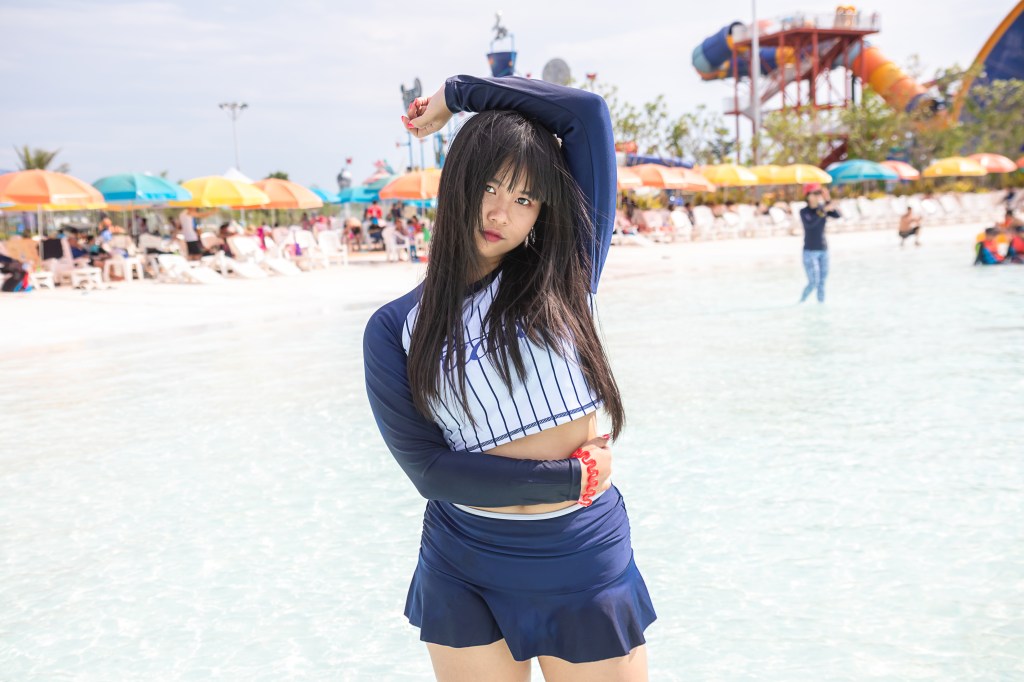
My family running a travel agency and a guesthouse. Sometime, they take me to join their trip and This is something “unique” for the others – I overlooked it, but realized later that my everyday life usually make a unique photo for the others.
What I talking about is how to find an inspiration, the one that you and me might not be the same – I’m studied Animation & Game creation. So, I usually interested in Cosplay & portrait photography. Please remind that not every one will like my photo style and my style is MY STYLE, you need to create your own way for it. 🙂